How to Change a Well Water Filter | Replacement Guide
Written by: Gene Fitzgerald // Last Updated: Aug 17, 2023
This page may contain affiliate links. If you buy a product or service through such a link we earn a commission at no extra cost to you. Learn more.
If you’re using a whole house water filter for filtering your well water, it’s important to familiarize yourself with all related maintenance procedures.
Most models on the market require very little work over time in order to keep them running.
But there is one crucial task that you should never ignore: replacing the filter cartridge(s).
Key Takeaways
Here is how to change a well water filter:
- Close the water supply.
- Depressurize.
- Remove the filter housing.
- Remove the old well filter cartridge.
- Inspect and clean the filter housing if need be.
- Inspect and replace O-rings if need be.
- Lubricate O-rings.
- Insert new cartridge into the filter housing.
- Re-install.
- Open the water supply and check for leaks.
Replacement Guide: Be Prepared!
Before you start the procedure, make sure you have everything you need available. If you have to stop in the middle of changing your well water filter to look for something, this can complicate things, as you will be left without running water the entire time.
Getting the Right Tools & Supplies
Use the below list to verify that you’ve gathered all tools and accessories you’re going to need for changing your filter:
- Filter wrench
- Bucket
- New O-ring (optional)
- New filter cartridge
Step-by-Step Instructions on How to Change a Well Water Filter
Step 1 – Close the Water Supply
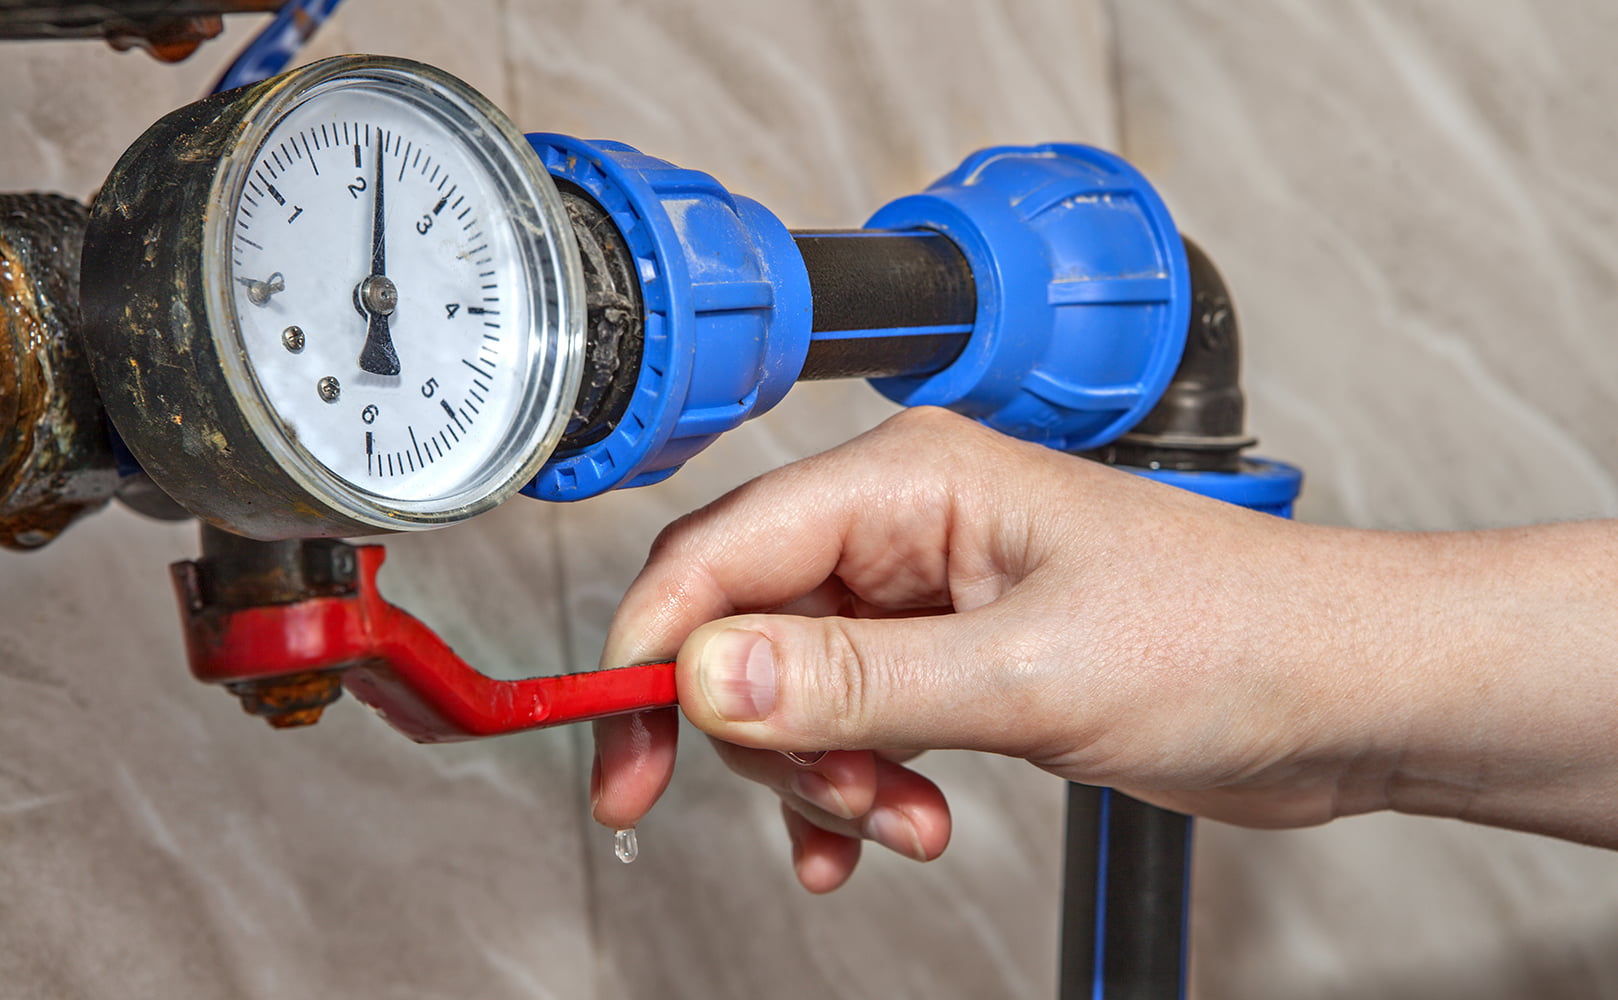
Always shut off your well water supply completely before starting to change your well water filter. This will prevent unexpected damage to the filter, your plumbing, and your house. Water must be shut off at a point before it reaches the filter – pay attention if you have multiple shut-off valves in your home!
It’s a good idea to open a few faucets around the house and let water drain completely before proceeding. This will maximize the chances of completely draining your plumbing before commencing work on replacing the filter. It’s possible that you might have a lot of water stuck in the plumbing after the filter, which can cause problems once you’ve opened the filter housing.
Step 2 – Release Pressure
Your well filter system may have a button for releasing its pressure. Press and hold it for a few seconds to ensure there’s no leftover pressure which could cause additional problems.
Step 3 – Remove the Filter Housing with a Wrench
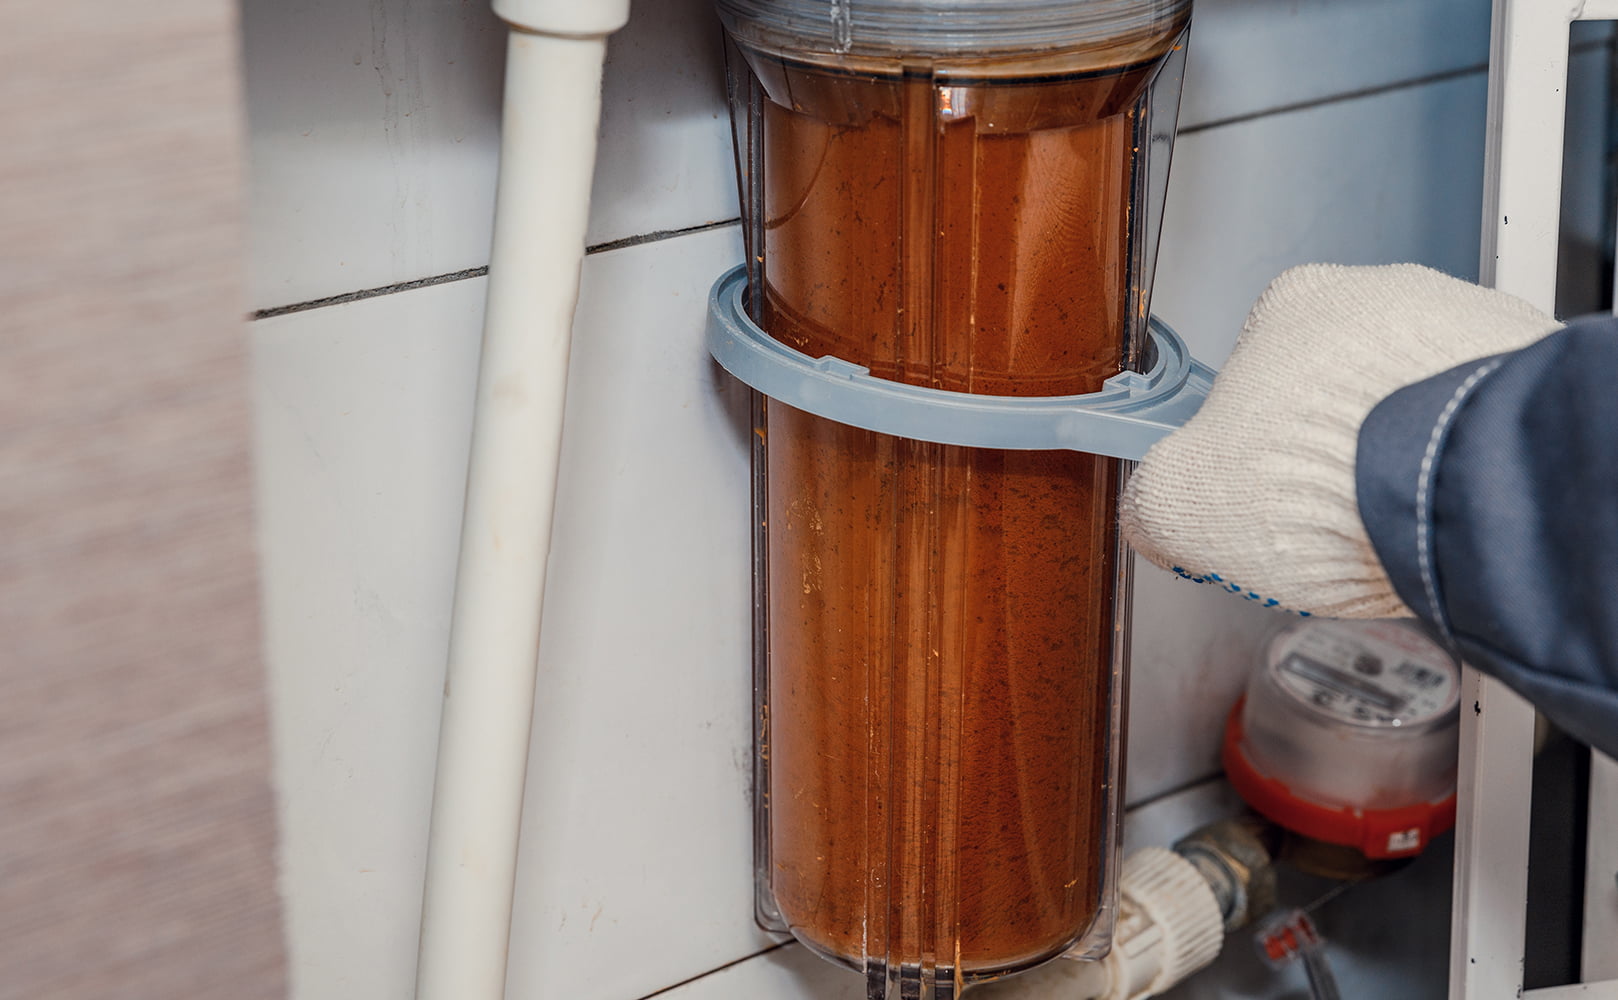
Use your wrench to carefully remove the filter housing. You might need to use more force if it’s been a while since you last opened it.
Use the bucket to collect any water that’s been left over in the water line or filter.
Step 4 – Take Out and Discard the Old Well Filter Cartridge
Take out the old well filter cartridge and put it in a safe place so you can properly discard it afterwards. You must pay attention to any special guidelines from your manufacturer regarding appropriate disposal.
Step 5 – Inspect and Clean the Filter Housing
Replacing the well water filter is a good opportunity to perform some general cleaning and maintenance on the housing.
Gently wipe it down with a piece of cloth and check that there are no signs of cracks or other potential problems.
Step 6 – Inspect and Replace the O-Ring If Need Be
Check the state of the O-ring(s). O-rings can degrade after prolonged use, and need to be replaced regularly to maintain the overall filtration system in a good condition.
Good news is, new O-rings can be purchased cheaply.
Step 7 – Lubricate the O-Ring
Use silicone (always food-grade!) to lubricate O-rings and make sure they fit snugly in place. You may have to wiggle them around a bit to get them to fit right after taking them out the first time.
Step 8 – Insert New Well Water Filter Cartridge
Put the new well water filter cartridge in place. Tighten it by hand – you should not need any tools for this. Make sure it’s sealed tight and that it doesn’t rock back and forth.
Also, be careful not to bang the new filter around the inside of the housing too much, as this could create small cracks that will initially be invisible.
Step 9 – Screw the Sump Back On
It’s time to close the housing back how you found it. Use the filter wrench to make sure that everything is screwed in as tightly as possible and there are no unexpected motions around the setup.
Use some gentle force to verify that the system is put back together as tightly as possible. Don’t be afraid to use a little more force when screwing the housing to ensure that it’s sealed properly.
Step 10 – Open the Water Supply and Check for Leaks
Now you’re ready to reopen your well water supply. Turn on the valve that you shut off in the beginning as well as a nearby faucet, and wait a while for the plumbing to start filling with water. You’re not completely done yet – take a few minutes to inspect the filter and see if there are any obvious signs of leaks.
What If My Filter Housing Is Stuck?
Your filter housing may get stuck if it’s been a while since it was last opened. Don’t worry, this is a normal occurrence and can be easily fixed.
- You can try tapping on the filter head using your bare hands or a rubber mallet – gently though, don’t use too much force.
- Alternatively, use a hair dryer to heat and expand the top.
- You can also use two filter wrenches simultaneously. Be careful, because depending on how your filter is made, this could be dangerous and you risk breaking the filter if you apply too much pressure.
How Often Do You Need to Change a Whole House Well Water Filter?
The ideal frequency for replacing your whole house well water filter depends on several factors:
- The quality of your water,
- your usage habits,
- and of course the filter itself.
Some filters can last longer than others – for example, Aquasana recommends swapping out their sediment pre-filter cartridge every 2 months, whereas their polishing post-filter cartridge is good for 6 months.
Generally speaking, you should check your product manual for the ideal replacement frequency. And if you’re dealing with heavily contaminated water, especially involving sediments, it’s a good idea to replace your filter more often to ensure that your water stays clean and the filter doesn’t get clogged up.
Replacement Schedule: How Long Does a Well Filter Last?
With most filters, you should schedule a replacement once every 3-12 months. There are also cases where you need to do it more frequently. With some filters, you may have to do it every other month to stay safe, especially smaller models used in households with heavy water consumption patterns.
What Happens If You Don’t Replace Your Well Water Filter?
Failing to replace your well water filter on time means that it can get clogged up and stop functioning correctly. This can lead to various problems.
- Your water flow rate might be reduced as the filter starts acting as a bottleneck.
- It’s also possible that some contaminants might start making their way into your water supply.
Is There a Well Pump Filter?
If you’re using a well water filter, it’s pretty much the same thing as a well pump filter. You don’t need to follow any specific instructions for replacing a well pump filter compared to what we outlined above.
Final Tips
You should replace your well water filter even if you haven’t been using it for a while, for example if the house was left vacant for several months. Don’t expect that this will extend the lifetime of the filter by default. Some materials within the filter will degrade over time regardless of usage patterns, making it important to follow the manufacturer’s recommendations for replacement frequency.
If you have any questions about well water filter replacement please don’t hesitate to leave a comment below!
Information provided on BOS is for educational purposes only. The products and services we review may not be right for your individual circumstances.
We adhere to strict editorial guidelines. Rest assured, the opinions expressed have not been provided, reviewed, or otherwise endorsed by our partners – they are unbiased, independent, and the author’s alone. Our licensed experts fact-check all content for accuracy. It is accurate as of the date posted and to the best of our knowledge.


