How to Fill a Reverse Osmosis Tank | Full Guide
Written by: Gene Fitzgerald // Last Updated: Mar 6, 2023
This page may contain affiliate links. If you buy a product or service through such a link we earn a commission at no extra cost to you. Learn more.
Reverse osmosis filtration is a slow process, so having a properly functioning storage tank is imperative so that you don’t run out of water.
The RO tank will hold filtered water at the ready for you so that when you open the RO faucet, you have a steady supply of clean water on demand.
But how do you fill such a tank? Let’s find out!
Contents
show
Key Takeaways
- The vast majority of RO systems come with a storage tank that will automatically fill with water once the system has been properly installed and switched on, so there is nothing you need to do.
- Depending on system and tank size, this process can take at least 2-4 hours.
How to Fill a Reverse Osmosis Tank
So, how to fill a reverse osmosis tank?
Lucky for you, as long as your RO system has been properly installed and switched on, you shouldn’t have to do anything to fill your tank; it will do so automatically.
An RO storage tank will fill with water all on its own and shut off when it reaches capacity.
How Long Does It Take an RO Tank to Fill?
This depends on multiple factors, mainly the tank size and the water pressure you have in your feed water. A standard under sink RO system tank will take at least 2-4 hours on average to fill.
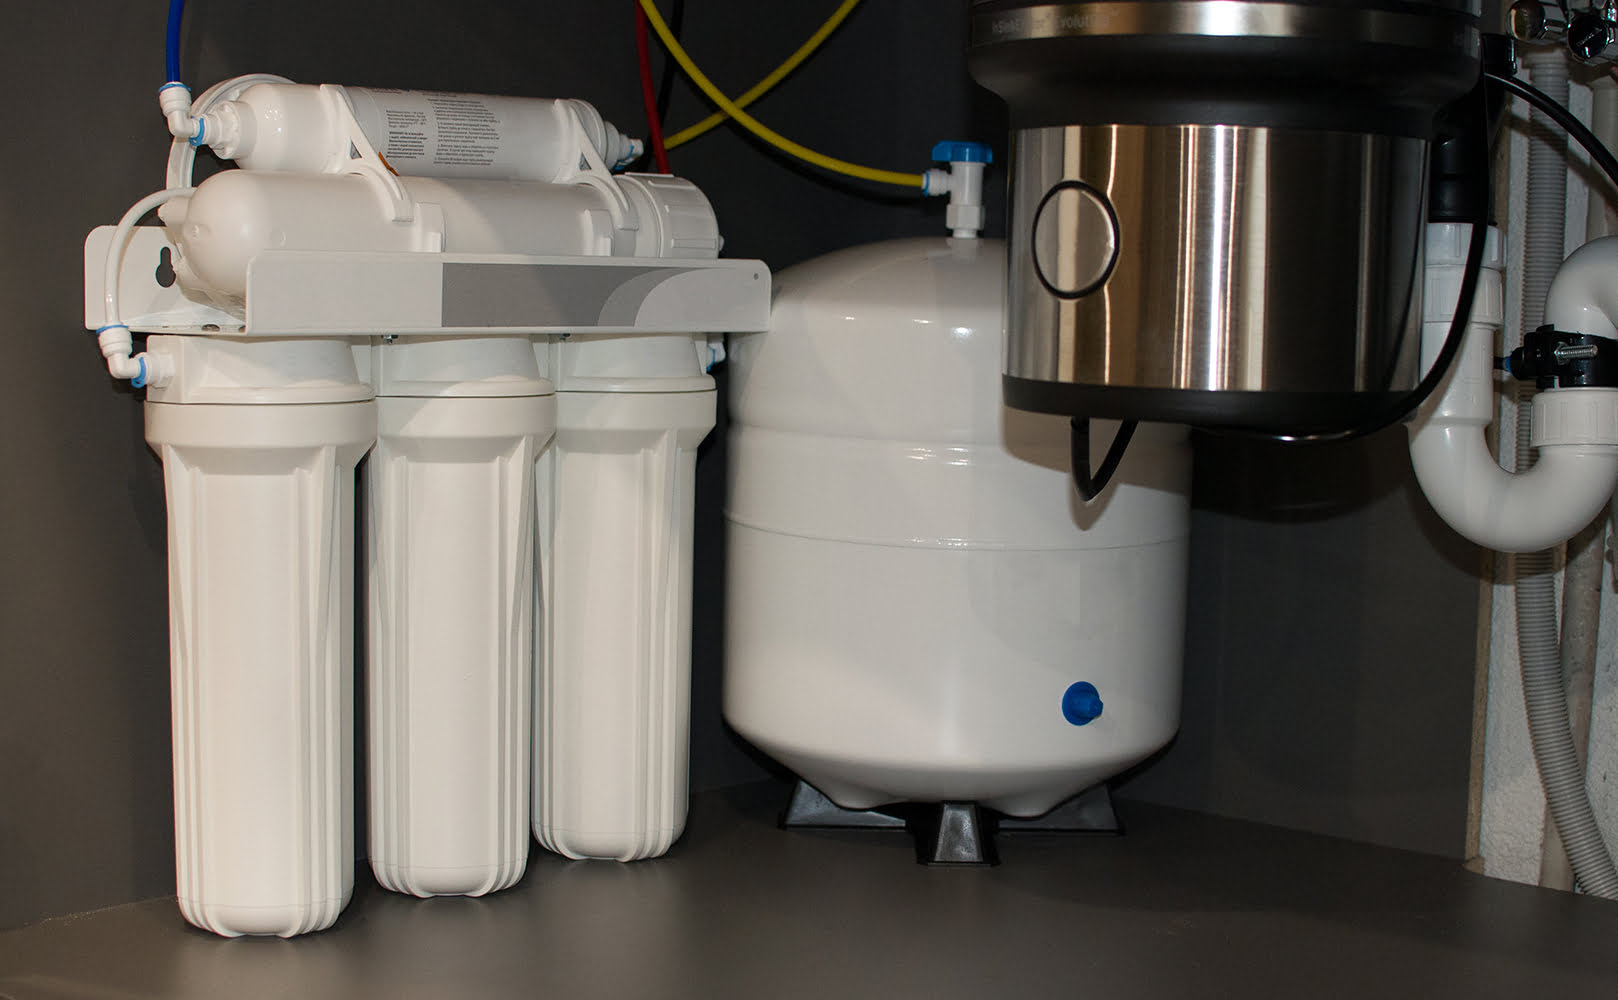
How Does a Reverse Osmosis Water Storage Tank Work?
Reverse osmosis tanks are pressurized, meaning they hold air as well as water, and they use that pressure to deliver water from the RO tank to the RO faucet as soon as you turn the faucet on, without the aid of a booster pump.
Hydropneumatic is another word for this kind of storage tank. Within the tank, there is an air chamber and a water chamber. They are divided in the middle by a bladder. As filtered water enters the storage tank, the air compresses. When the faucet is turned on, the air then pushes the water out of the tank and through the faucet.
How to Pressurize and Install an RO Tank
For the most part, your RO storage tanks should come already pressurized by the manufacturer. Still, there may be occasions in which you need to pressurize the tank yourself. In this case:
How to Pressurize the RO Tank
- Measure the pressure of the storage tank when it is empty using a pressure gauge. The pressure should be between 6-8 psi. If the pressure is not 6-8 psi, you need to repressurize.
- You can do so using a bicycle pump or a compressor. Repressurize very carefully and slowly!
- Reconnect the tank to the rest of the system (see below), open all valves, and allow the system to refill.
How to Install the RO Tank
- Place the water storage tank within 10 feet of the RO faucet. RO tanks can stand upside or lay on their side.
- Wrap six layers of Teflon tape around the threaded port at the top of the tank.
- Screw on the tank valve or connector until hand tight.
- Connect the tubing to the tank valve/connector.
Further Reading:
Why Is My Reverse Osmosis Tank Not Filling Up?
The most common things to check for if your RO tank is not filling up are:
- Shut-Off Feed Water Valve – Check the valve and ensure that it is fully open.
- Closed Storage Tank Valve – Check the storage tank valve is open, and if it is not, open it.
- Low Feed Water Supply Pressure – Check the feed water pressure in your home by using a pressure gauge. The minimum it should be is 40 psi. If the pressure is too low, you may need a booster pump installed.
- Clogged Filters or RO Membrane May Need Replacing – If your filters or RO membrane are clogged with sediment or other impurities, these must be replaced.
- Kink in RO System Tubing – Inspect all of the system’s tubes and straighten any kinks or bends.
- Improperly Pressurized Bladder Tank – When the tank is empty, check the tank pressure and adjust to 6-8 psi (check tank label for more info).
- Ruptured Tank Bladder – This will require the replacement of the entire tank.
- Shut Off Leak Detector – If your RO system has one of these, it may have been triggered. Check for leaks and reset.
- High Water Usage – If you have been using more water than your system outputs, your tank might be empty. If so, give it time to refill.
- Airlock – Air may become trapped in the system after maintenance. If this is the case, close the storage tank valve and open the RO faucet until the airlock is released.
- Low-Flow RO System – Your RO system may be too small and not produce enough water to fill its tank.
If you have any questions about how to fill a reverse osmosis tank please don’t hesitate to leave a comment below!
About the Author Gene Fitzgerald
![]()
![]()
![]()
![]()
![]()
![]()
![]()

Information provided on BOS is for educational purposes only. The products and services we review may not be right for your individual circumstances.
We adhere to strict editorial guidelines. Rest assured, the opinions expressed have not been provided, reviewed, or otherwise endorsed by our partners – they are unbiased, independent, and the author’s alone. Our licensed experts fact-check all content for accuracy. It is accurate as of the date posted and to the best of our knowledge.