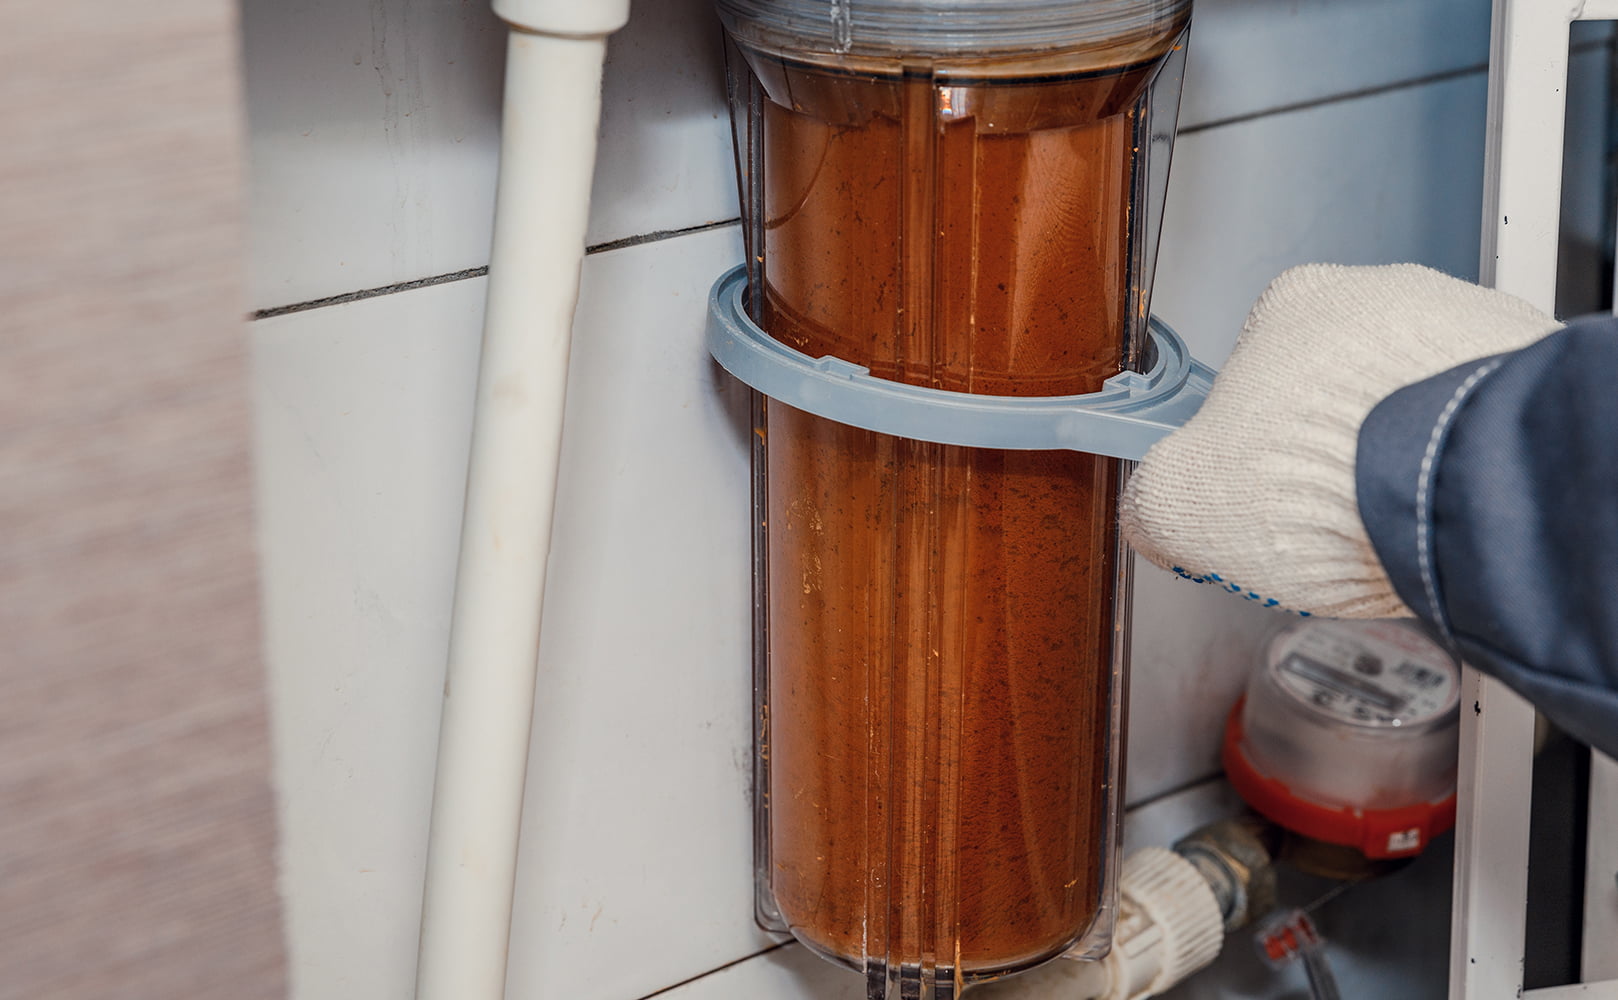
How to Install a Sediment Filter (for Well Water) Step by Step
Written by: Gene Fitzgerald // Last Updated: Aug 28, 2023
This page may contain affiliate links. If you buy a product or service through such a link we earn a commission at no extra cost to you. Learn more.
A sediment filter is important to many homes, especially those on well water.
By installing a whole house sediment filter on your water supply, you can be sure that all the water coming to your home is clean and free of floating particles.
This article will show you how to install a sediment filter for well water and tap water.
Key Takeaways
Follow these steps for installing a sediment filter for well water:
- Shut off the well water supply.
- Open faucets close to the installation location to release pressure and flush as much water from the main water line as possible.
- Remove a section of the pipe.
- Optional: Install valves and pressure gauges.
- Connect the sediment filter.
- Turn the water supply back on and check for leaks while flushing your plumbing system.
Installing a Sediment Filter
Where to Install
Generally speaking, you should install your sediment filter after the well pump and pressure tank, and before other water treatment equipment like water softeners, water filters, UV cleaners, etc.
Now, you should choose a location close to where your main water line enters your house. This is to help filter the water at every outlet. You can even filter your outdoor (i.e., garden) faucets if you want.
What’s more, your best bet would be to choose a location that can be easily accessed so that you can replace cartridges easily and without hassle.
Tools and Supplies You Need
A list of tools, installation accessories, and parts you’ll need:
Accessories
- Sediment filter (obviously)
- Mounting bracket
- Tubing
- (Push) fittings
- Shut-off valves (optional)
- Pressure gauges and bypass valves (both optional)
Tools
- Drill and drill bits
- Bucket
- Teflon tape
- Screwdriver
- Pipe cutter
- Soldering supplies (optional)
- Filter wrench
How Long Does Installing a Whole House Sediment Filter Take?
Installing a whole house sediment filter can take experienced plumbers 2 to 4 hours max. However, if you’re installing the filter yourself, it could take longer, depending on how experienced you are in plumbing.
How Much Does It Cost?
The price of a sediment water filter depends on its type, size, filter capacity, as well as other features, like micron rating. Thus, sediment filters cost from $50 to $3,000 or more.
Regarding labor cost, sediment filter installation ranges from $500 to $1,000 or more, depending on whether you’re updating your old water system or need additional plumbing work.
How to Install a Sediment Filter (for Well Water)
Do read the manual carefully and ensure you comply with plumbing codes before you begin installing your sediment filter. If in doubt what to do next, contact the manufacturer for guidance.
Here’s how to install a sediment filter for well water step by step:
- Begin by shutting off your water supply.
- Drain all remaining water by opening all fixtures and faucets. This helps to release pressure, too.
- Go to your main water line and remove a section of the pipe to make space for your filter system and its components. Use a bucket to prevent spilling.
- Sand both ends of the cut pipe and remove any debris from inside it.
Install a Shut-off Valve
Install a shut-off valve for ease of maintenance, and consider adding a water filter bypass valve, too. It helps you have water in your home even if the system is in service mode. After, shut all the valves.
Installing the Water Filter
Time to install the sediment filter.
- Ensure the In and Out ports point in the right direction when mounting.
- If your pipe doesn’t fit, use adapters on the ports.
- Now, apply Teflon tape on the threaded ends for sealing. This helps to prevent accidental leaks. That said, do be careful and not overtighten the plastic fittings to avoid cracks.
Establish the Necessary Plumbing Connections
- In case you use push fittings, there’s no need to solder. However, if you like soldering, ensure the pipes’ ends are clean and try to keep the heat as much away from any plastic as possible.
- Grease O-rings and ensure they sit tight before installing the sediment filter cartridge + housing.
Check for Leaks
- It’s time to turn the water on, open the valves and check for leaks. If there are any, tighten the filter housings and fittings.
- Go ahead and flush your water system for a little while. This removes old water, air, and debris.
- Once the water pressure is restored, close all outlets and enjoy clean and pure well water.
Maintaining a Whole House Sediment Filter
In order to maintain your new whole house sediment water filter:
Replace Filter Cartridges According to Schedule
Sediment filter cartridges should be replaced every 3 to 12 months or when you notice a drop in water pressure. When the pressure begins to drop or when the water quality is low, it means it’s time to replace your filter.
For the best guidance, though, consult the instructions of the manufacturer.
Test Water Regularly
In order to choose the correct type of well water filter, you’d have to consider the current state of your well water. For example, you’d have to identify the contaminants you’re dealing with and their quantities.
So, perform regular tests on your water to ensure you’re using the correct sediment filter setup. Sometimes, contaminants vanish over time, while new ones are introduced. If this happens, you might need to change your type of well water filtration system with another one.
Clean Filter Housings
In every case, you should clean your filter housings regularly; although, don’t overdo it. Once or twice per year should be enough because different filtration systems have different cleaning requirements.
To clean your sediment filter housings, you’d need to first shut off the water supply. Then, clean the components with lukewarm water and mild soap. Once done, put everything back together.
Shock Chlorination
This may be the first time you hear of shock chlorination, and that’s OK. All you need to know is that shock chlorination effectively reduces the number of microbial contaminants in well water, like algae or bacteria.
To perform shock chlorination, you’d have to add a large amount of chlorine bleach to your well water supply and allow it to circulate and sit in the entire water system. Once this is done, flush your pipes to reduce chlorine to a safe level.
Well Maintenance
Make sure to have your well inspected by a professional every couple of years to ensure everything is in working order.
If you have any questions about how to install sediment filters for well water please don’t hesitate to leave a comment below!
Information provided on BOS is for educational purposes only. The products and services we review may not be right for your individual circumstances.
We adhere to strict editorial guidelines. Rest assured, the opinions expressed have not been provided, reviewed, or otherwise endorsed by our partners – they are unbiased, independent, and the author’s alone. Our licensed experts fact-check all content for accuracy. It is accurate as of the date posted and to the best of our knowledge.


