How to Install a Countertop Water Filter Step by Step
Written by: Gene Fitzgerald // Last Updated: Mar 23, 2023
This page may contain affiliate links. If you buy a product or service through such a link we earn a commission at no extra cost to you. Learn more.
Countertop water filters are one of the easiest filtration systems to install and can be installed in minutes even if your DIY skill is a little lacking. If you compare the process to setting up a reverse osmosis system, the work requires is absolutely minimal.
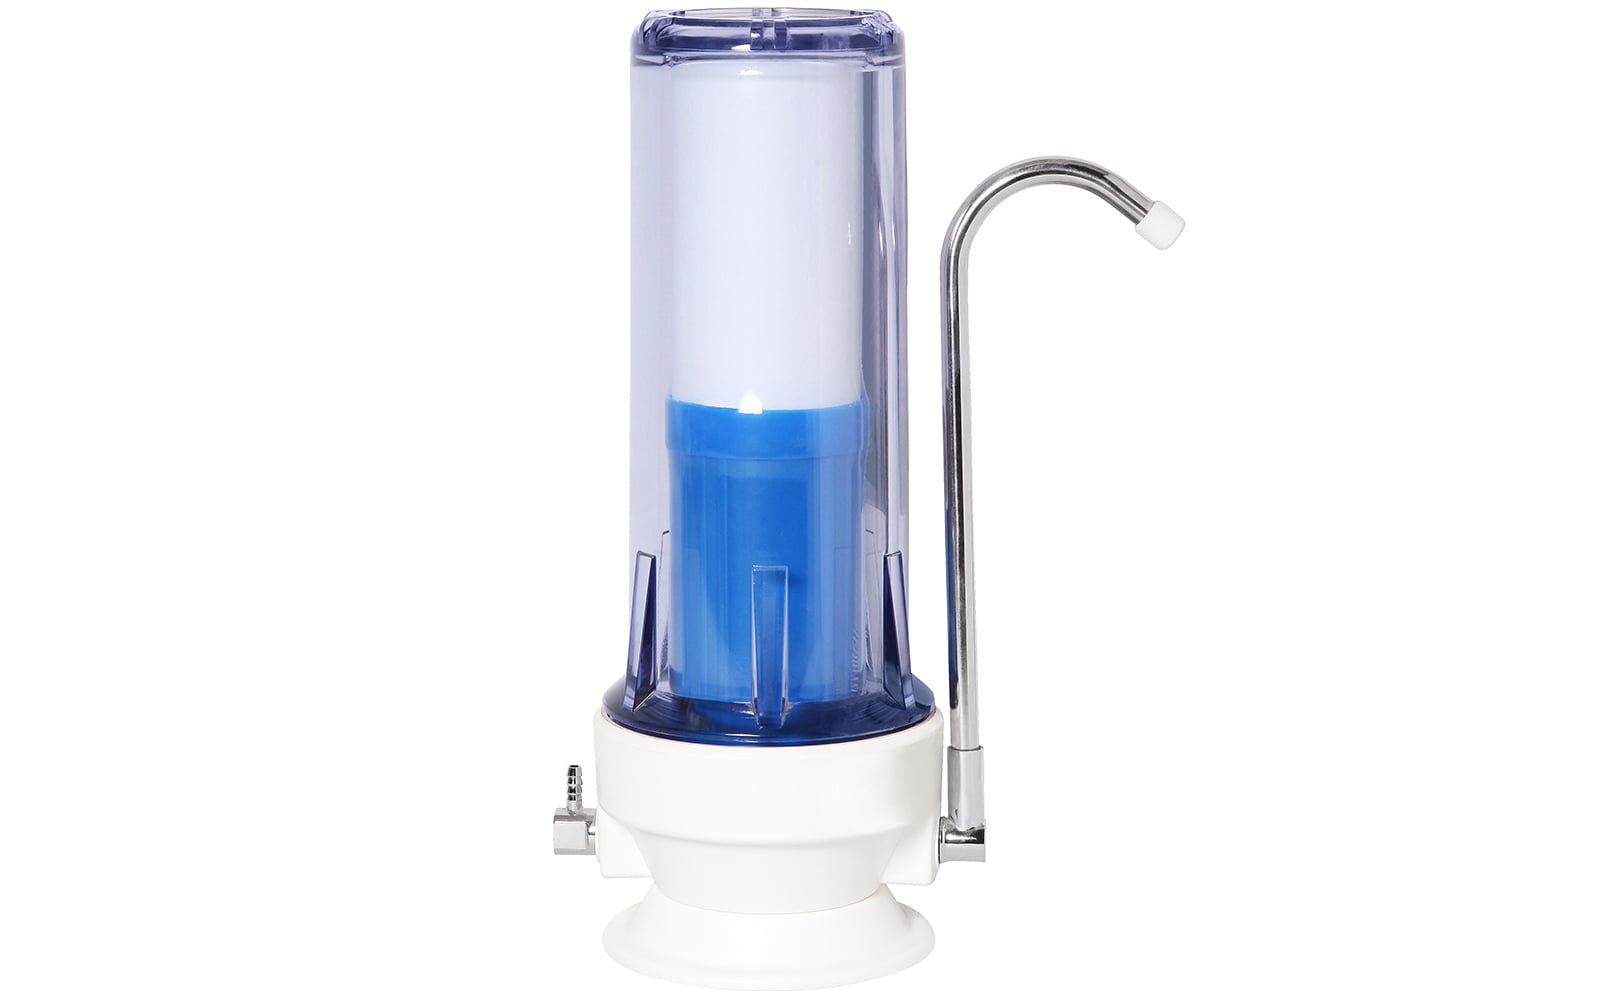
These filters – like the name suggests – rest on your kitchen countertop. Resultingly the installation process doesn’t require any special fitting, cutting, or drilling.
Let’s take a comprehensive look at how to install a countertop water filter in step-by-step detail, so you can complete the process yourself in no time.
Contents
show
Key Takeaways
- One of the big advantages of countertop water filters is their ease of installation. Unlike other filter types, these filters don’t require any sort of complex plumbing hookup or permanent installation.
- The entire process can be completed in less than 15 minutes, and won’t require any special tools or materials other than what came bundled with the system.
- The basic process involves assembling the filter and installing the filter cartridges, removing the faucet aerator, attaching a faucet adapter if needed, fastening the diverter, connecting the tubing from the filter to the diverter, and then checking for leaks and flushing the system.
About Countertop Water Filter Installation
Installing a countertop water filtration system is not a complex process and in most cases, it’s not a permanent installation. The only semi-permanent section of the installation involves attaching the faucet adapter/diverter to your kitchen faucet.
The installation involves assembling the filtration system, installing the filter elements, and priming the filters. Most of the times, a faucet diverter is used to divert water from your kitchen or bathroom faucet directly to the filter system.
This eliminates the need to fill the filter manually and is a fairly simple installation that should only take a few minutes.
As long as your faucet is the standard ½-inch type, it will fit most diverters/adapters. If your faucet is spray-type or pull-out, or if it has a fancy design, you might need be able to hook up a countertop water filter at all.
Can You Install A Countertop Water Filter Yourself?
You can install a countertop water filter yourself, and the entire process will generally take less than 15 minutes even including the faucet adapter. Unlike under sink or point-of-entry systems, there is no need for complex plumbing hookups or fitting the system inside a small cabinet.
How to Install a Countertop Water Filter – Step by Step Instructions
What You’ll Need
- Countertop filter system
- Diverter valve (usually included in package)
- Faucet adapter (usually included in package)
- Plumber’s tape (optional)
Step 1: Preparing Your Countertop Filter
First off, you’ll want to set up your countertop filter so it’s ready to fill with water. The exact procedure here depends on your specific model, but you may need to install the filter element or elements inside the filter housing. You may also need to connect any loose tubing connections, although this is typically completed by the manufacturer before you receive the system.
Step 2: Removing the Faucet Aerator
The diverter/adapter is attached to the faucet where the existing aerator is installed – so this must be removed before you can continue. The aerator is a small metal attachment with a mesh bottom that comes attached to most faucets. Its purpose is to create a uniform non-splashing stream and efficiently control the water flow.
Unscrew the aerator from the faucet by turning it counterclockwise until it’s loose.
Step 3: Attach Faucet Adapter If Needed
The need for a faucet adapter will depend on the design of your existing faucet.
If the threads on the faucet end face outward then you should be able to screw the diverter directly onto the faucet. If the threads face inward then you’ll likely need an adapter to fasten the diverter onto the faucet.
Countertop filter systems typically come with several adapters bundled, so there’s a good chance you’ll find what you need in the included hardware.
Step 4: Connecting the Filter’s Diverter Valve
At this point, you can fasten the diverter valve onto the end of the faucet. It may have a swivel collar for tightening in which case you need to tighten this fully before positioning the valve stem in your desired direction.
It’s also important to ensure the rubber gasket inside the diverter is positioned securely.
It should be noted that diverter valves allow you to toggle between running water through the kitchen faucet as normal or sending water to the filter. They typically have a small handle that will switch the flow from one to the other.
Step 5: Checking for Leaks + Flushing
At this point, connect the tubing line running from the filter base to the stem on the diverter.
Lastly, turn on your kitchen faucet with the diverter toggled between both positions. Check thoroughly for leaks and then allow the countertop filter to flush. Carbon filters in particular must be flushed several minutes to remove any carbon sediment before the water can be used.
Further Reading:
Video
If you want a better illustration of the installation process looks, check out this video which shows the entire process of installing a countertop water filter.
Additional Installation Tips
If you do encounter any leaks while making any of the tubing connections, try using a bit of plumber’s tape around the fitting. This will help create a watertight connection and prevent leaks from developing in the future.
Also, whenever running water from the faucet into the filter system, make sure the water is cold or at room temperature. Hot water can damage filter cartridges, so it makes sense to begin running water through the faucet to ensure it’s cool before toggling the diverter to send the flow to the filter.
The installation process is essentially the same regardless of whether you have a single, double, or triple-stage countertop water filter.
If you have any questions about countertop water filter installation please don’t hesitate to leave a comment below!
About the Author Gene Fitzgerald
![]()
![]()
![]()
![]()
![]()
![]()
![]()

Information provided on BOS is for educational purposes only. The products and services we review may not be right for your individual circumstances.
We adhere to strict editorial guidelines. Rest assured, the opinions expressed have not been provided, reviewed, or otherwise endorsed by our partners – they are unbiased, independent, and the author’s alone. Our licensed experts fact-check all content for accuracy. It is accurate as of the date posted and to the best of our knowledge.