How to Install a UV Light Filter for Well Water
Written by: Gene Fitzgerald // Last Updated: Dec 22, 2022
This page may contain affiliate links. If you buy a product or service through such a link we earn a commission at no extra cost to you. Learn more.
You can’t have peace of mind without knowing your well water supply is clean and free of unwanted impurities.
Thankfully, better technology and improved practices have made targeting contaminants in your household water more feasible than ever.
Innovation continues to improve every part of the treatment process – including ultraviolet filtration. UV filtration has recently grown in popularity among well owners for its strong disinfecting properties.
If you’re interested in a UV filter to protect your well water from viruses, bacteria, and other biological hazards, this article will guide you through a complete overview of the installation process.
So, how to install a UV light filter for well water?
Contents
show
Key Takeaways
- Attach a plywood board to the wall where your UV unit will be located.
- Mount the UV unit to your board using bracket clamps.
- Insert your connector fittings to the UV unit.
- Connect your water system to the inflow and outflow ports of your UV unit with copper pipe.
- Install ball valves before and after the UV unit.
- Insert the UV sensor and lamp into UV unit housing (with quartz sleeve) and plug in sensor.
- Activate your water supply and inspect the setup to ensure no leaks or blockages occurred.
Before You Start: Choose the Ideal Installation Location
To choose a location, first identify the size of your UV filter based on your needs. A UV filter can serve the whole house at the system inflow, or point-of-use at each outflow.
- Whole house: The UV filter is installed directly in-line with the home’s water supply inflow and will treat all well water entering your home.
- Point-of-use: The UV filter is installed as close as possible to where your well water exits the tap and will treat only water leaving those taps.
Before or After the Well Pump/Pressure Tank?
The general rule is: Always install a UV water purifier after the well pump and after the pressure tank. This will prevent problems with both and makes sure that none of your appliances gets damaged.
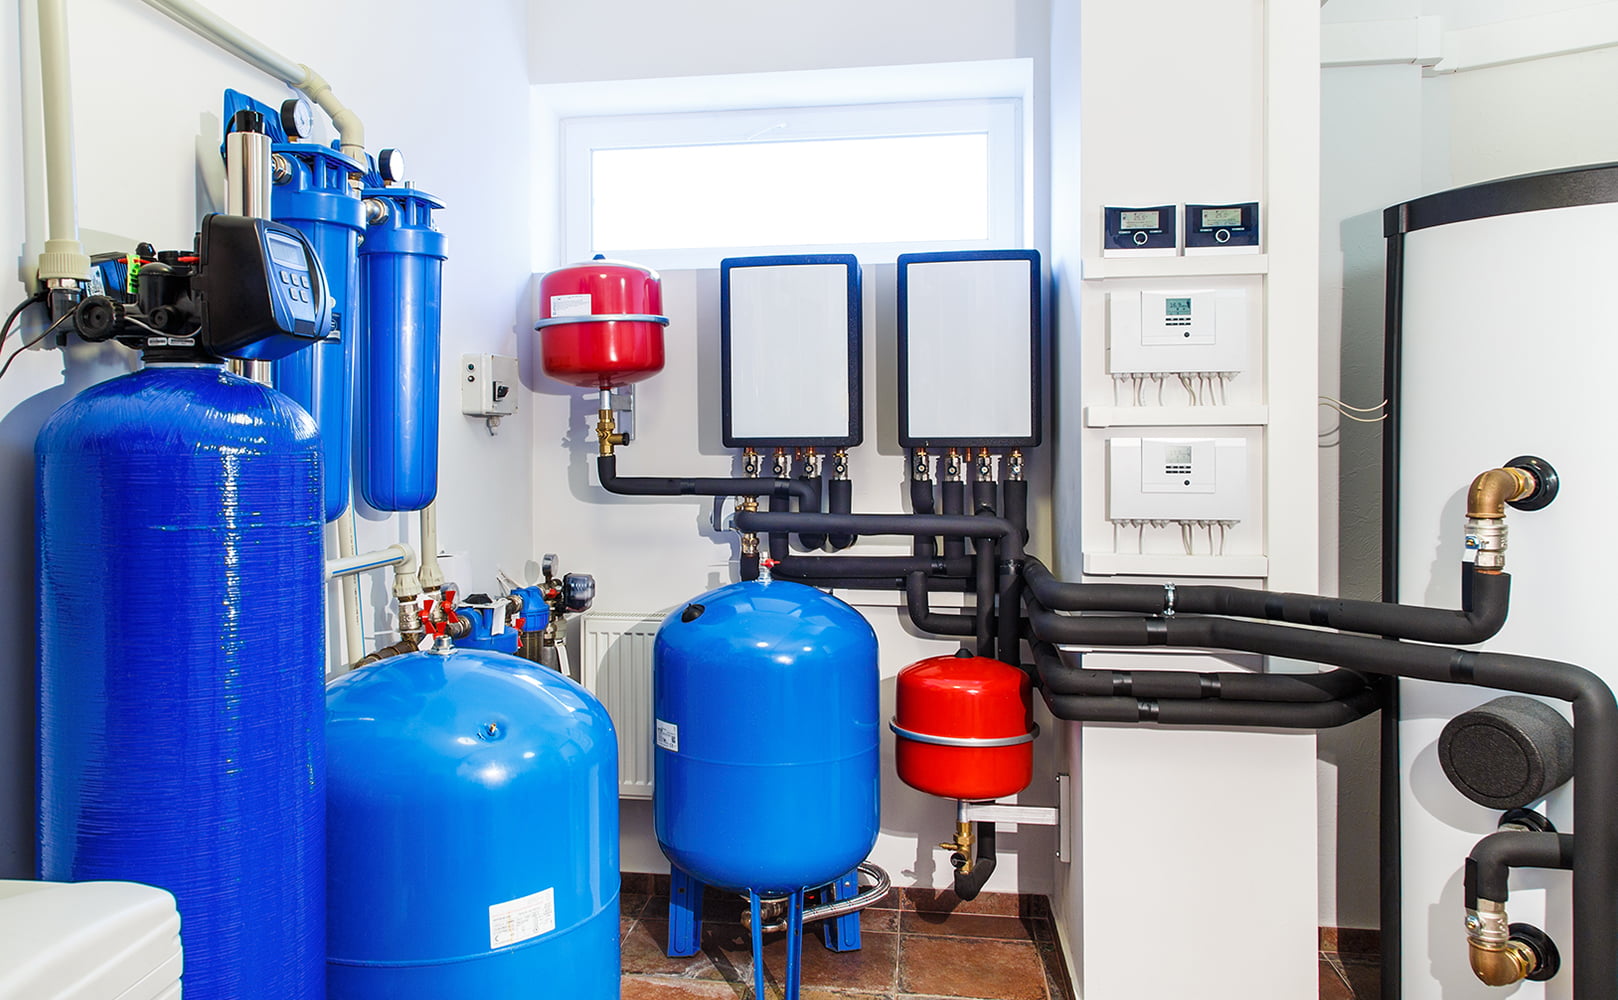
Downstream of Other Water Filters and Water Softeners
If your water has excess chemicals, metals, minerals, or dirt in it, you’ll need more than just a UV filter. So prior to installation, take some time to test and plan out what other treatment stages your system will need.
A supplementary treatment step can help your UV filter reach its full potential. If there are too many dirt particles in the water for example, viruses and bacteria can be completely shielded from ultraviolet rays!
Also, well water is often especially hard, meaning it needs pre-treatment to remove minerals like calcium and manganese.
Knowing exactly what to remove from your water before it reaches a UV filter is important, so we’ve put together a list of common contaminant limits below:
- Turbidity < 1.0 NTU
- Suspended Solids < 10.0 ppm
- Hardness < 7.0 gpg
- Manganese < 0.05 ppm
- Iron < 0.3 ppm
- Tannins < 0.1 ppm
Following this list, your water should facilitate over 75 percent UV ray transmittance.
In short, UV disinfection systems should be installed downstream of other pre-treatment steps.
How to Install a UV Light Filter for Well Water
When it comes to installing a UV well water filter, even small errors in planning can result in ineffective or damaged components. Careful attention should be given to the specifications of your UV setup before plumbing it into your water supply.
There’s no replacement for the manufacturer’s own instructions, so take the time to read over any manuals that came with your chosen UV unit. After that, you can begin installing your filter with confidence.
With system planning, it’s always better to be safe than sorry!
Gather the Necessary Tools and Supplies
Different filter models will need different tools, but a general list of what equipment you’ll need can be found below:
- Piping
- Connector fittings
- Shut-off valves
- Solder supplies (or shark-bite fittings)
- Pipe cutter
- Wrenches
- Teflon tape
- Screwdriver
Mounting
You’ll likely need a base to attach your unit to.
- Install plywood (or other type of board) to the wall where your unit will be located.
- Attach bracket clamps to the board.
- Attach the UV unit to the board’s bracket clamps and tighten screws.
Plumbing the UV System
PVC and other plastic piping can be broken down by UV waves, reducing system lifetime and leaching chemicals. For this reason, copper is the recommended plumbing material in UV systems. Fittings can even be used to substitute soldering.
If your unit came with a manual, it would probably tell you to do the following:
- Attach connector fittings to the UV device (be sure not to obstruct any pipes!)
- With copper pipe, connect your inflow and outflow to the UV system.
- Secure exposed plumbing joints using Teflon tape.
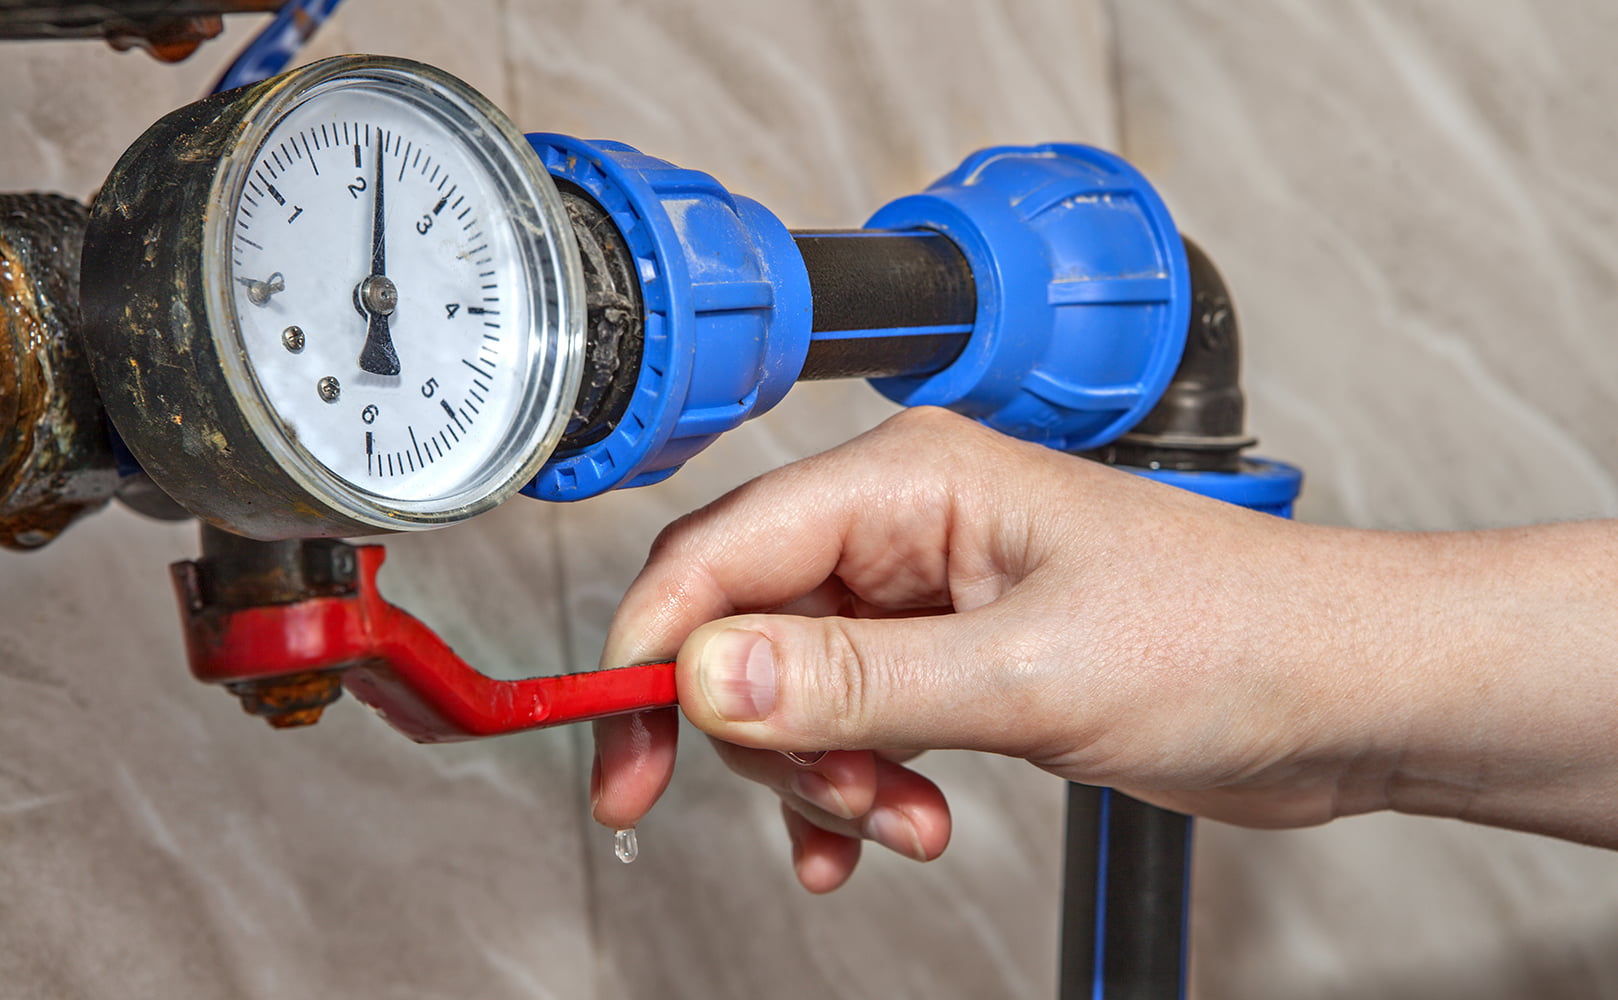
Installing Shut-Off Valves
Placing shut-off valves before and after the UV unit helps to isolate and maintain your purifier. A good basic configuration is to place a ball valve at the filter inflow. Then, on the outflow, attach a ball valve and a hose bib.
Shut off valves will allow you to:
- Isolate system components for maintenance
- Take water samples
- Relieve pressure
Insert the UV Lamp
The last step will be to insert the UV lamp and sensor into the unit basin. Following any instruction manual you might have to:
- Fix the UV lamp in place and connect to power.
- Install your UV sensor in place and connect to power.
When shipped, UV filters might contain unwanted contaminants. Household bleach (sodium hypochlorite) can be used to sterilize your unit before installation.
Further Reading:
How Much Does It Cost to Install a UV Well Water Purifier?
Installation of a point-of-use system can cost roughly $100 to $300 before supplies, while installation of a whole house UV well water purifier – which often needs a professional – can run up to $500 or even more.
DIY Installation vs Hiring a Pro
If you’re confident in your plumbing ability, you might prefer to save money by installing the unit yourself rather than hiring somebody.
Going diy or not largely depends on your abilities. The job itself is simple, so if you have some experience or rudimentary plumbing knowledge then self installation should be manageable.
But keep in mind that minor mistakes could lead to unexpected problems in your water system and damage to your UV unit. Like we said, when it comes to water systems, it’s better to be safe than sorry. If you don’t trust your plumbing skills to get the job done right, you’ll save time and money (and stress!) by hiring a pro.
Testing for Microorganisms and Other Contaminants
Knowing what’s in your well water is the most important step in planning a treatment process. Testing kits with full-spectrum testing are available for well water, or you could request a water test from a lab.
The bottom line is that you’ll want to conduct coliform and hardness tests to determine whether your water needs supplementary treatment before reaching the UV unit.
Coliform tests determine how many and what type of bacteria are likely to exist throughout your water supply. The sample is generally left overnight and will change colors to indicate E-coli and other microbial contamination.
A hardness test gives you an idea of the concentration of minerals and metals in your water – which causes scaling and buildup. If the test indicates a hardness of more than 7 gpg, you’ll want to add a water softener to your system.
If you have any questions about installing a UV light for well water please don’t hesitate to leave a comment below!
About the Author Gene Fitzgerald
![]()
![]()
![]()
![]()
![]()
![]()
![]()

Information provided on BOS is for educational purposes only. The products and services we review may not be right for your individual circumstances.
We adhere to strict editorial guidelines. Rest assured, the opinions expressed have not been provided, reviewed, or otherwise endorsed by our partners – they are unbiased, independent, and the author’s alone. Our licensed experts fact-check all content for accuracy. It is accurate as of the date posted and to the best of our knowledge.