Reverse Osmosis Tank Not Holding Pressure? Here’s What to Do!
Written by: Gene Fitzgerald // Last Updated: Mar 7, 2023
This page may contain affiliate links. If you buy a product or service through such a link we earn a commission at no extra cost to you. Learn more.
Reverse osmosis storage tanks operate under pressure to avoid the need for a booster pump. This means they need to maintain internal pressure within a narrow range to work correctly with the rest of your RO system.
If your RO tank won’t hold pressure despite multiple attempts to repressurize it, then you are likely dealing with a ruptured bladder inside the tank.
Before you go ahead and toss your storage tank though, you’ll want to make sure that you’ve correctly diagnosed the underlying problem of it not holding pressure…
Contents
show
Key Takeaways
- If the pressure inside a reverse osmosis tank leaks rapidly and the tank is unable to send more than a cup of water to the faucet despite repressurizing it, it is generally indicative of a ruptured bladder inside the tank.
- Unfortunately, there is no way to repair a ruptured RO tank bladder, so you’ll need to replace the entire tank.
- Before you toss your tank though, make sure to run through the process described below to confirm that your bladder is in fact ruptured.
Reverse Osmosis Tank Not Holding Pressure? Here’s What to Do!
A reverse osmosis storage tank not holding pressure is a serious issue and generally means you’re dealing with a ruptured internal bladder. If the bladder is ruptured, there is nothing you can do to repair it, and the only solution is to discard the damaged tank and purchase a new one.
Unfortunately, given enough wear and tear tank bladders will rupture over time, so all you can do is be aware of how to diagnose the issue.
To find out if your RO tank is damaged beyond repair, you’ll need to repressurize and test it.
Further Reading:
- To do this, first, close both the valve feeding your RO system with water as well as the storage tank valve.
- Disconnect the storage tank from the rest of the RO system.
- Then empty the tank completely by opening the tank valve. You will need to pump air into the tank using a suitable bump – think bicycle pump – in order to get all the water out.
- Read the pressure on the tank once empty. You can use any gauge for this as long as it allows reading pressure under 10 psi.
- Use your pump to repressurize the tank back to 6 to 8 psi, being careful not to overpressurize.
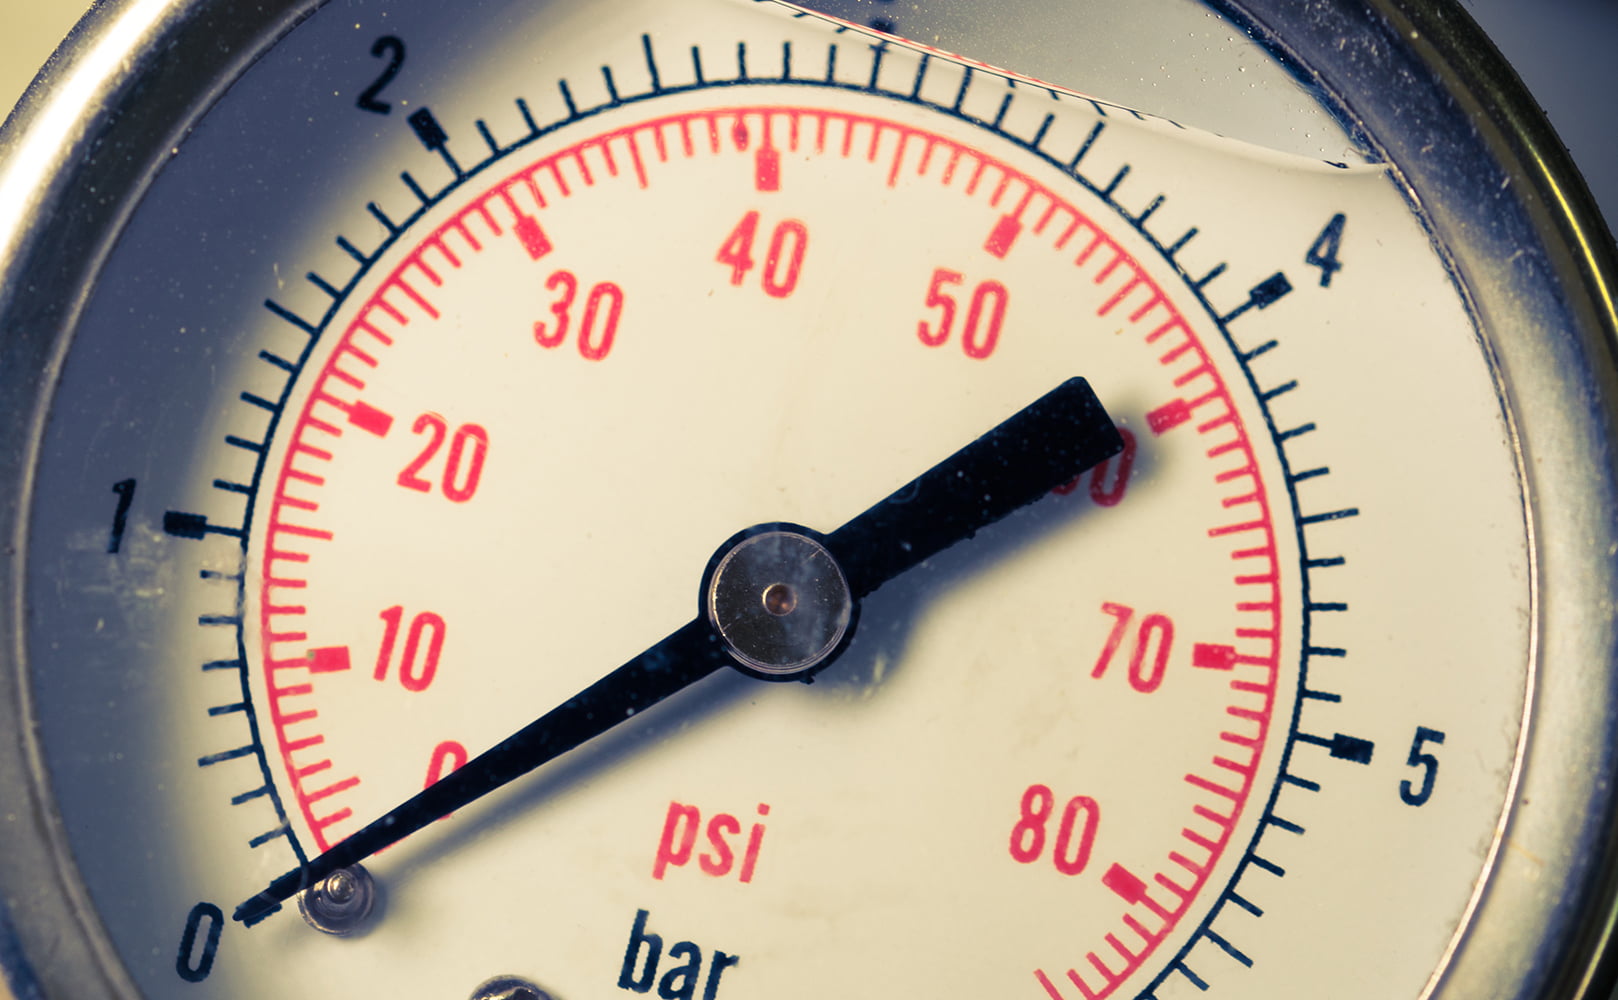
Side note: If you connect your gauge to the pressure valve and water spurts out of the tank, you can be sure you’re dealing with a ruptured bladder.
At this point, reconnect the storage tank to the rest of the RO system. You’ll need to allow the tank to refill completely before you continue, which will take between 2 and 4 hours plus for most standard-sized tanks.
Once your reverse osmosis tank has been refilled, open the faucet. Generally, what will happen with a ruptured bladder is it will only allow a cup or so of filtered water through the faucet before slowing down to a trickle. If this sounds like you, then you can be sure you’re dealing with a ruptured bladder, and it’s time to order a new storage tank.
Ruptured Air Bladder
As mentioned previously, by far the most common source of an RO tank not holding pressure is a ruptured air bladder. Another possibility is a tank leak, but this will generally be easy to spot from water pooling around the tank.
If you’re dealing with a full storage tank with little to no water coming out of the RO faucet, then you’re likely dealing with a closed storage tank valve, low internal tank pressure, kinked tubing, or a clogged post-filter. These issues are all solvable without replacing the storage tank, so it’s wise to rule them out before tossing out a perfectly good tank.
How to Repressurize an RO Tank
Repressurizing an RO tank is a fairly simple process that you can accomplish with nothing more than basic tools you likely already have lying around the house.
RO storage tanks tend to lose pressure over time, so even if you’re not dealing with a ruptured bladder, you’ll still want to know how to repressurize one.
As mentioned previously, the process requires disconnecting the storage tank from the rest of the RO system. When the tank is disconnected, take it outside or to a bathtub so you won’t make a mess while emptying it. Then, open the tank valve on top of the storage tank and allow the water inside to flow out. When no more water flows from the valve, connect a bicycle pump or air compressor to the pressure valve and push out whatever remains.
Then, check the tank pressure with a tire pressure gauge on the tank’s pressure valve. Repressurize as needed and reconnect it to the system when you’re done.
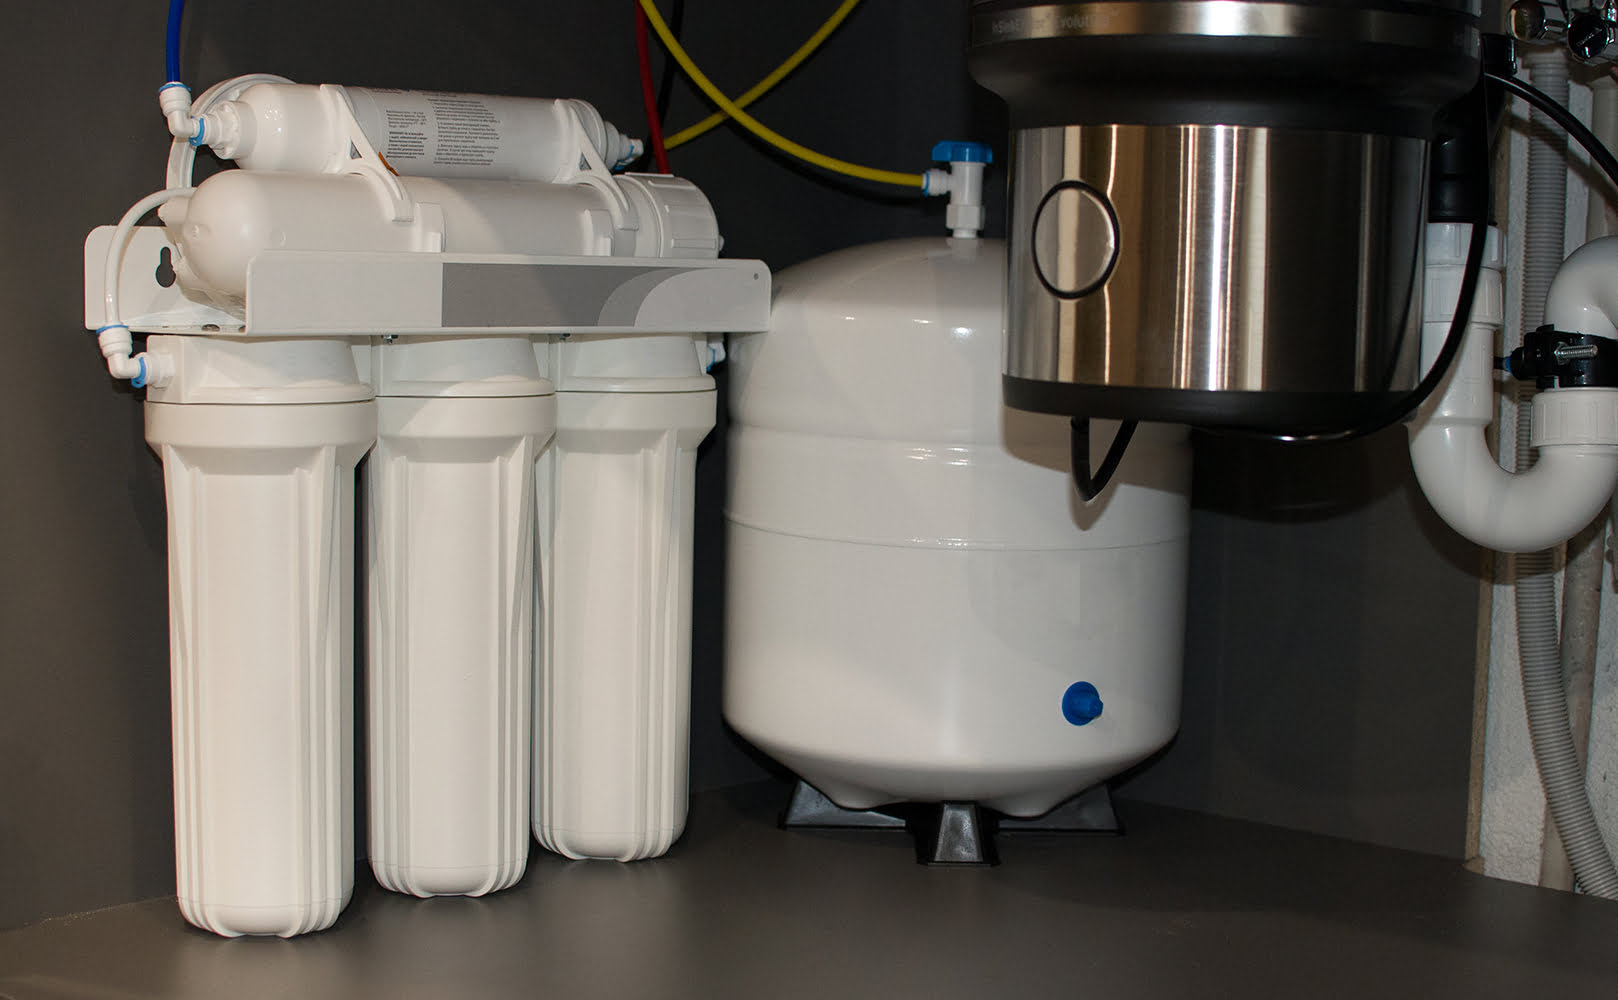
What Is a Reverse Osmosis Tank? How Does It Work?
Reverse osmosis tanks are also referred to as hydropneumatic storage tanks, as they utilize air and water pressure to send water where it is needed.
A typical storage tank will have both an internal air and water chamber, separated by a rubber bladder. The pressure inside the tank is regulated by compression of the air chamber as the water chamber fills. In other words, as water enters the chamber from the membrane outlet the air chamber compresses, which increases the tank’s internal pressure.
This pressure provides the force needed to send the water to the post-filter and then onto the RO faucet without the need for a booster pump.
Another function of the pressure inside the tank is triggering the automatic shut off valve (ASO). This valve tells the system to stop filtering water when the water level inside the tank reaches approximately ⅔ to ¾ of the tank capacity.
The ASO is key to the efficient operation of any reverse osmosis system, as without it the system would continuously dump water even after the storage tank is filled. When you open your faucet to pour a glass of water, the pressure inside the tank drops, triggering the ASO valve to open and filter more water.
Interestingly, the tank’s capacity determined the design of the internal air and water chambers. Smaller home units (under 10 gallons) will have the air bladder sitting below the water chamber. Larger units are reversed, with the air chamber sitting on top.
What’s the Ideal Air Pressure Inside an Empty RO tank?
Generally, the ideal water pressure inside an empty reverse osmosis tank will be between 6 and 8 psi. This is not set in stone, however, so be sure to check the label on the side of your tank or the manufacturer’s recommendation before repressurizing.
If you have any questions about your RO tank not holding pressure please don’t hesitate to leave a comment below!
About the Author Gene Fitzgerald
![]()
![]()
![]()
![]()
![]()
![]()
![]()

Information provided on BOS is for educational purposes only. The products and services we review may not be right for your individual circumstances.
We adhere to strict editorial guidelines. Rest assured, the opinions expressed have not been provided, reviewed, or otherwise endorsed by our partners – they are unbiased, independent, and the author’s alone. We fact-check all content for accuracy. It is accurate as of the date posted and to the best of our knowledge.