How to Fix a Leaking UV Water Filter?
Written by: Gene Fitzgerald // Last Updated: Sep 27, 2022
This page may contain affiliate links. If you buy a product or service through such a link we earn a commission at no extra cost to you. Learn more.
If your UV water filter is leaking, this is a problem that usually requires immediate attention.
Leaving it unattended for too long is a bad idea as it can lead to permanent damage to the system, depending on what’s causing the leak.
Leaking water is also bad news for your furniture, floor, and everything else surrounding the area where you’ve got a leak.
So let’s discuss how to fix a leaking UV water filter!
Contents
show
Key Takeaways
This is how to fix a leaking UV water filter:
- Close the water supply and release pressure from within UV purifier.
- Remove the plastic cap, quartz sleeve, and UV bulb. Tip: Be careful to avoid scratching the quartz sleeve.
- Check everything for loose connections, misplaced/damaged O-rings, and broken components.
- Replace parts if need be.
- Put everything back together and recheck for leaks.
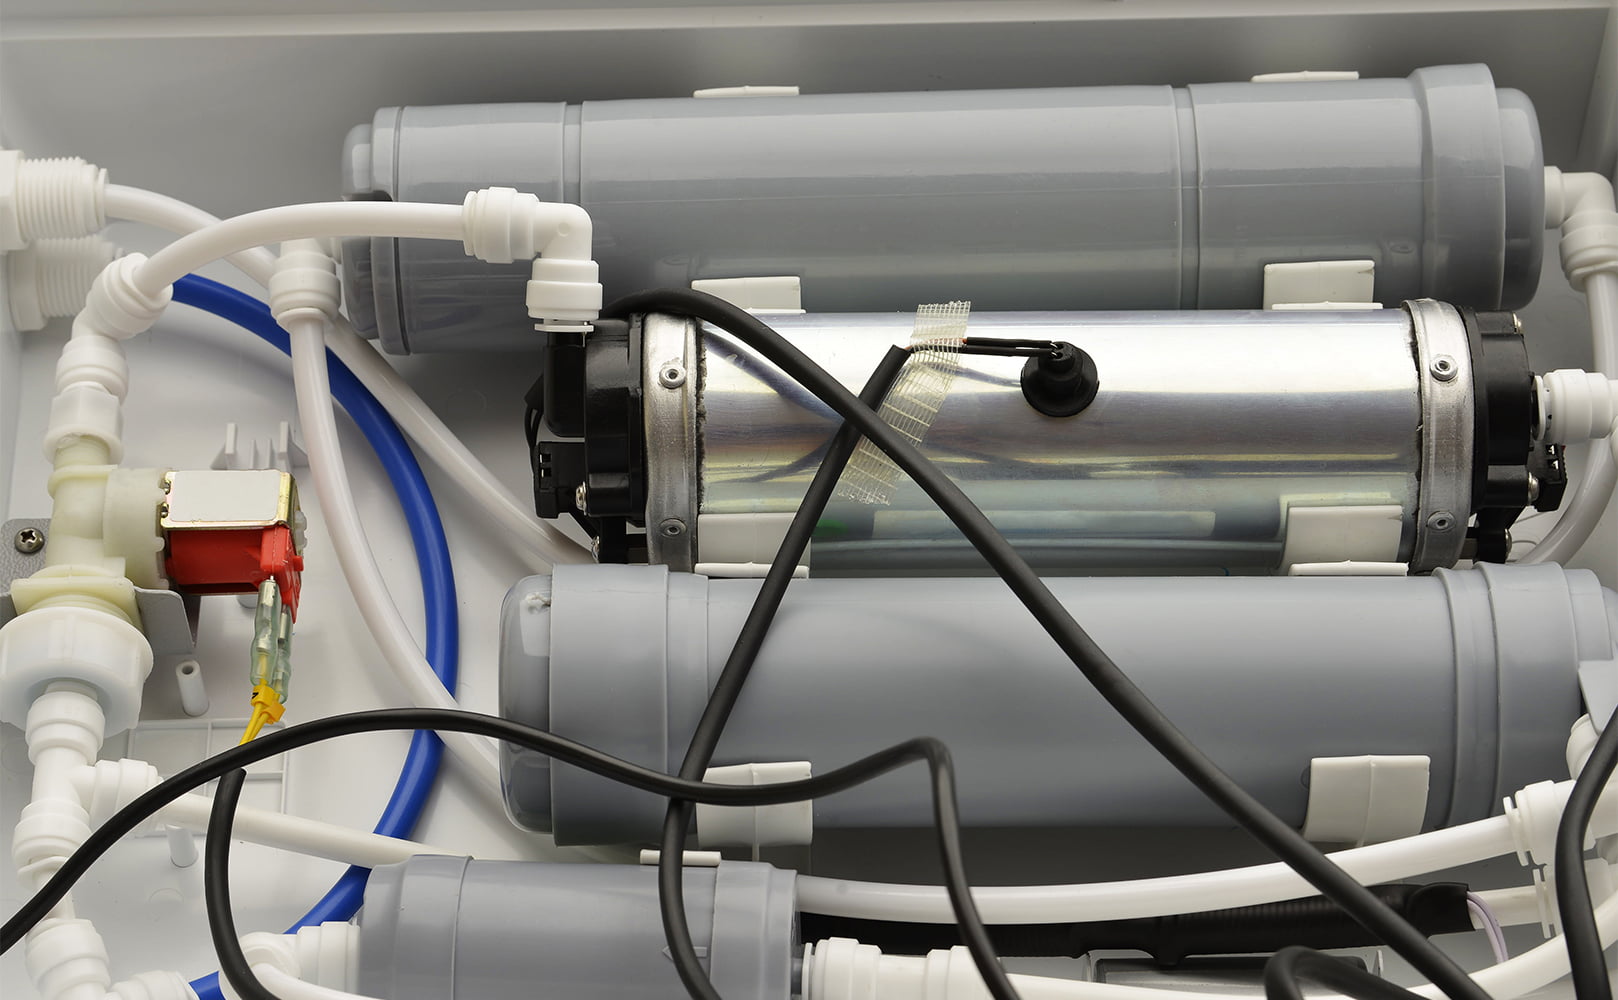
Troubleshooting: Why Is My UV Water Filter Leaking?
A leaking UV water filter can be caused by a number of factors. You should check all fittings to ensure that they’ve been properly installed and fit snugly. Pay special attention to any quick-connect fittings that your filter might be using, as those are particularly prone to leakage issues.
Inspect the housing cap as well. It should be tightened just right – having it too loose can cause a leak, but so can tightening it too much.
It’s also possible that your UV water filter itself is not designed well in the first place. Purchasing a cheaper system usually comes at a cost in the long term, as you will encounter various issues along the way. Not just leaks either – and some of those problems will be quite expensive to address.
Where Is the Water Coming From?
If possible, check to see exactly where water is leaking from. This should give you a rough idea of what to look for when addressing the leak. A quick visual inspection should be enough to give you some hints about the situation. Take photos for future reference, if applicable. If this happens again later on, they can help you identify the problem immediately.
How to Fix a Leaking UV Water Filter – The General Approach
This is our general approach for fixing a UV water filter that’s leaking.
1. Closing the Water Supply
Before you begin, shut off your home’s water supply. This should ideally be done at your main valve. If your UV water filter is on a separate plumbing section, you can shut it off there. It’s generally a good idea to keep your home’s water supply completely turned off when you’re working on your UV filter though.
You should run your faucets after turning off the water supply to ensure that your pipes are as empty as possible. Simply turn on every faucet in the house and keep them open until water stops coming out.
2. Releasing Inside Pressure
Next, release any remaining pressure inside the filter. In many systems, this can be done with a simple push of a button conveniently located at the top.
3. Removing the Plastic Cap
To remove the plastic cap, simply unscrew it. You’ll encounter resistance so you’ll have to apply some pressure, but make sure that you don’t go too far as you may damage the cap and even the whole chamber of your water purifier.
4. Removing the Quartz Sleeve and UV Bulb
Carefully pull out the quartz sleeve and UV bulb assembly. Do this as slowly as you need to avoid scratching the surface of the quartz sleeve. Even a small scratch can have a major impact on its ability to transmit UV light, and can degrade the performance of your entire UV purification unit. Scratches can also predispose the quartz sleeve to more serious damage, including large cracks.
5. Putting It Back Together + Checking for Leaks
At this point, it’s safe to check the interior of your UV water filter for any leaks. Pay special attention to the UV lamp assembly, ensuring that no water is leaking inside the quartz sleeve. While this won’t cause an exterior leak, it’s a good idea to inspect your unit as thoroughly as possible once you’ve spotted any leak at all.
Look around the interior of the reactor chamber. Closely inspect the input and output connectors. Those are the most common sources of leaks in UV purifier units. Check the reactor chamber itself. Is it cracked anywhere?
Normally the exterior shell of your UV purifier should be very durable as it’s made to withstand some level of abuse. But even a tiny crack can be enough to release a lot of water with the kind of flow you’re dealing with here.
Loose Connection
Is everything screwed in tightly? Give every connection a slight twist to ensure that it can’t go any further. However, as we mentioned above, don’t do this with too much force because you may destroy an otherwise good connection.
If you can do it safely, fill the chamber with water – at least partially – and see if you can spot where it’s leaking out from. If there are any electronics exposed as a result of removing the quartz sleeve assembly, you shouldn’t do this.
Misplaced or Damaged O-Rings
The O-rings at both ends of your chamber should be replaced regularly, because the rubber they’re made of will disintegrate after some time. Ideally, this should be done every one or two years. Every manufacturer has a different recommendation in this regard, but two years should be the absolute maximum in most cases.
Damage to your O-rings won’t always be immediately visible, so don’t count on a visual inspection to determine any problems. If it’s been more than a year since you last replaced the O-rings, it’s probably time to swap them out.
Checking Threads
Check the threads on every component that’s screwed in. Be careful when unscrewing them and screwing them back in, especially with components made of plastic. Every time you do that, you’re causing some additional wear on the threads and you may end up creating a problem where there was none before. A quick visual inspection should be enough to tell you if there’s something wrong with any of the threads.
Cracked or Misplaced Quartz Sleeve
The quartz sleeve is a delicate component of a UV filtration system. It’s easy to break it if you’re not careful, and it can also suffer from damage over time if it’s not maintained properly. Carefully turn the sleeve around in your hands and inspect it for any visible cracks or scratches. The sleeve should be replaced once every one to two years to keep your system running at optimal performance.
You should also check that the quartz sleeve sticks out equally from both ends of the housing unit. The sleeve must always be centered, and equal parts of it should be sticking out in both directions. If it’s misaligned, this could eventually cause a leak.
Broken Plastic Cap
You may also need to replace the plastic cap. If it’s broken, you should get a new one compatible with your model. Plastic caps for UV filter systems are generally not interchangeable, though some manufacturers do attempt to follow a more common design style with their own caps.
In any case, you should always purchase your new cap from your UV filter’s manufacturer or approved third parties.
A Damaged Tank
Is your main tank damaged? This is another common cause of leaks, despite the generally sturdy design of UV filter reactor chambers. If this is the case, you should replace the tank immediately.
Don’t make the mistake of assuming that you can just keep using the same tank for a little longer. As soon as you’ve got one crack in it, you can expect it to expand and eventually destroy the entire housing. This problem will get more and more expensive over time.
Preventing Future Leaks
Hopefully, you’ve been able to identify the cause of your leak by now. What can you do to prevent future leaks? In many cases, you may be completely unaware of the root cause of your current leak and might not know what to do to prevent it from reoccurring. Here are some tips that should help you stay safe in future.
Know Your Water Pressure
UV water filtration systems are designed to operate at specific pressure levels. Using a low-pressure system in a household with medium pressure in the water supply will eventually cause problems, including a leak in most cases
If you’ve made any upgrades to your home’s plumbing after you initially purchased the filtration system, it’s possible that you’ve forgotten to upgrade to a matching UV filter.
Regular Cleaning
UV water filters require little maintenance in general, and that’s a major drawing factor for many users. They still require some degree of regular work to keep them in good working condition.
You should clean your UV water filter on a regular basis, especially the quartz sleeve. Check the pre-filters as well. If they are not kept in good condition, they may allow more debris into the water supply.
Lubing and Replacing O-Rings

Your O-rings will need to be swapped out every one or two years, as we mentioned above. In the meantime, keep them well lubricated and always inspect them for visible damage when you’re doing any work on the system. You never know when one of the O-rings might have developed a small tear.
Using Plumber’s Tape on Threads
You can use plumber’s tape to tighten any loose threads. Sometimes a little looseness is unavoidable, though if it’s present on many components of your system, that’s not a good sign in general.
It could either indicate a cheap, low-grade system, or it could be a sign that you’re not using the right connectors and fittings in some places. Talk to a professional if you’re not sure how to approach this.
Changing the Quartz Sleeve
The quartz sleeve of your UV water filter should be replaced every two years at most. Using the same sleeve longer than that can lead to problems, including a decreased performance of your water filter as the sleeve accumulates grime and becomes progressively dimmer over time.
But it can also develop other problems, like small cracks that eventually propagate into a larger, more serious problem.
The Dangers of a Leaking UV Purifier
A leaking UV water purifier is something that should be addressed straight away. Leaks can easily cause damage to various components of the purifier, including its internal electronics. You can also expect heavy damage to the surrounding area, especially if there’s anything made of wood or similar materials that are particularly susceptible to flooding.
You might also run into various health problems. Mold may start to grow around the purifier, and may even make its way inside the main chamber itself. Even if that doesn’t happen, a leak will generally lower the effectiveness of your purifier as a whole. As a result, your water will contain more microorganisms and will not be as safe to drink as you might expect.
Do I Need a Professional?
Some problems that cause leaks in UV water purifiers can be addressed without professional help. Small repairs like replacing the O-rings or tightening some threads are usually easy enough to handle on your own. When in doubt, always consult an expert.
This is especially valid for cases where you’re not sure what’s causing the leak in the first place. You may not diagnose the problem correctly, and in the end you may even cause more damage to the system than there was to begin with. Often, spending the money on professional help is a good investment that can prevent much larger expenses.
If you have any questions about how to fix a leaking UV water filter please don’t hesitate to leave a comment below!
About the Author Gene Fitzgerald
![]()
![]()
![]()
![]()
![]()
![]()
![]()

Information provided on BOS is for educational purposes only. The products and services we review may not be right for your individual circumstances.
We adhere to strict editorial guidelines. Rest assured, the opinions expressed have not been provided, reviewed, or otherwise endorsed by our partners – they are unbiased, independent, and the author’s alone. We fact-check all content for accuracy. It is accurate as of the date posted and to the best of our knowledge.