How to Install a 6-Stage Reverse Osmosis System
Written by: Gene Fitzgerald // Last Updated: Sep 13, 2023
This page may contain affiliate links. If you buy a product or service through such a link we earn a commission at no extra cost to you. Learn more.
Have you ever opened a user manual to look at the setup instructions, and it’s like it was written in another language? Happens far too often.
This is why supplementary materials like this 6-stage reverse osmosis installation guide are handy!
Armed with it, your user manual, and maybe a YouTube video, getting your 6-stage RO system up and running should be a breeze.
Contents
show
Key Takeaways
Here is how to install a 6-stage reverse osmosis system:
- RO Faucet Installation
- Drill a hole in the desired location.
- Insert the faucet into the hole.
- Secure the faucet using a wrench.
- Drain Saddle Installation
- Position the drain saddle above the dishwasher and garbage disposal.
- Create a ¼” opening in the drain line.
- Attach the clamps to secure the drain saddle.
- Feed Valve Installation
- Turn off the cold water supply.
- Disconnect the existing tubing.
- Install a new feed valve.
- Reconnect the tubing to the new valve.
- Storage Tank Installation
- Place the storage tank within 10 feet of the faucet.
- Apply Teflon tape on the threaded port of the tank.
- Attach the tank valve securely.
- RO Module Mounting and Tubing Connection
- Connect the RO module using color-coded tubing.
- Ensure that all tubes are fully inserted and secure.
- Water Lines Installation
- Attach the supply line to the feed water valve.
- Connect the lines to the tank valve, drain saddle, and RO faucet.
- Filters and Membranes Installation
- Insert the pre-filters, RO membrane, and post-filters into their respective housings.
- Tighten them securely to prevent leaks.
- Turn System On
- Open the feed water valve and RO faucet.
- Check for any leaks in the system.
- Flush the system to remove any debris.
- Fill the storage tank ready for use.
How to Install a 6-Stage Reverse Osmosis System
So, how do you install a 6-stage reverse osmosis system? It all starts with the RO faucet!

Install the RO Faucet
If your sink doesn’t have a hole, you’ll need to drill a new one in the sink or countertop for the RO faucet.
- Ensure there’s a flat area for the faucet.
- Depending on the material, use a special drill bit to prevent scratching.
- For a stainless steel sink, mark the spot and slowly grind away enough material.
- Insert the faucet, secure it from underneath, and attach the water line fitting.
- Tighten it with a wrench.
Install the Drain Saddle
- Place the saddle/adapter higher than the dishwasher discharge and garbage disposal.
- Ensure it is at least 6 inches higher than the p-trap.
- Create a ¼” opening in the top or side of the drain line, avoiding drilling at the bottom.
- Securely attach the drain clamps using bolts, aligning the clamp hole with the pipe’s hole (do not overtighten).
Install the Feed Valve
- Turn off the cold water supply.
- Release the pressure in the water line by opening the respective outlet.
- Disconnect the tubing from the cold water valve.
- Securely install the new feed valve using a wrench for tightening. Remember to close the feed valve.
- Connect the cold water tubing to the new valve. If necessary, use an adapter for this step.
- Turn the water supply back on.
Further Reading:
Install the Storage Tank
The water storage tank should be within 10 feet of the faucet for optimal water pressure.
- Before installation, wrap several layers of Teflon tape around the threaded port at the top.
- Securely attach the tank valve or connector by hand-tightening.
In certain systems, the storage tank can be positioned horizontally without impacting filtration performance, making it space-saving.
Mount the RO Module and Install the Water Lines
Connecting the module with the right tubing is easy, as it is usually color-coded. Make sure you push the tubes in as far as they can go and check the connection by gently trying to pull them back.
- Attach the supply line securely to the feed water valve.
- Connect the other end of the supply line to the feed port of the RO module.
- Adjust the line length if necessary to avoid any kinks.
- Connect one line to both the tank valve and the outlet port of the filter system.
- Connect another line to the drain saddle and the flow restrictor of the RO module.
- Ensure that the line is cut to allow water to flow without forming loops.
- Connect the last line to the quick connect fitting of the RO faucet and the post-filter outlet port.
Install All Filters and Membranes
Set up the sediment and carbon pre-filters:
- Unscrew the filter housings.
- Insert the filters.
- Securely screw the housings back on, ensuring the correct positioning of all O-rings.
- Use the filter wrench to tighten them carefully.
Install the RO membrane:
- Remove the housing cap.
- Gently push the cylinder into the socket until fully seated.
- Put the cap back on, ensuring a snug fit for any O-rings.
Install the UV, carbon, and remineralization post-filters:
- Unscrew the filter housings.
- Slide the filters in.
- Screw the housings back on.
- Use the filter wrench to tighten them securely.
- For the UV filter, probably all you need to do is plug in the power cord.
Turn the System On!
- Open the feed water valve and the RO faucet.
- Keep the storage tank valve closed, and expect gurgling noises as air exits the system.
- Check all connections for leaks.
- After about 15 minutes, water will start dribbling out of the dispenser. Initially, it might appear slightly darker due to flushed carbon fibers.
- Close the faucet and open the storage tank valve for a few hours to fill the tank once the dribble starts.
- Once the tank is full, there won’t be any water running down the drain.
- Open the drinking water faucet to flush the entire unit.
- When the water flow turns into a dribble, it indicates that the storage tank is empty.
- Close the faucet and allow the tank to refill.
- Perform a second flush by opening the faucet.
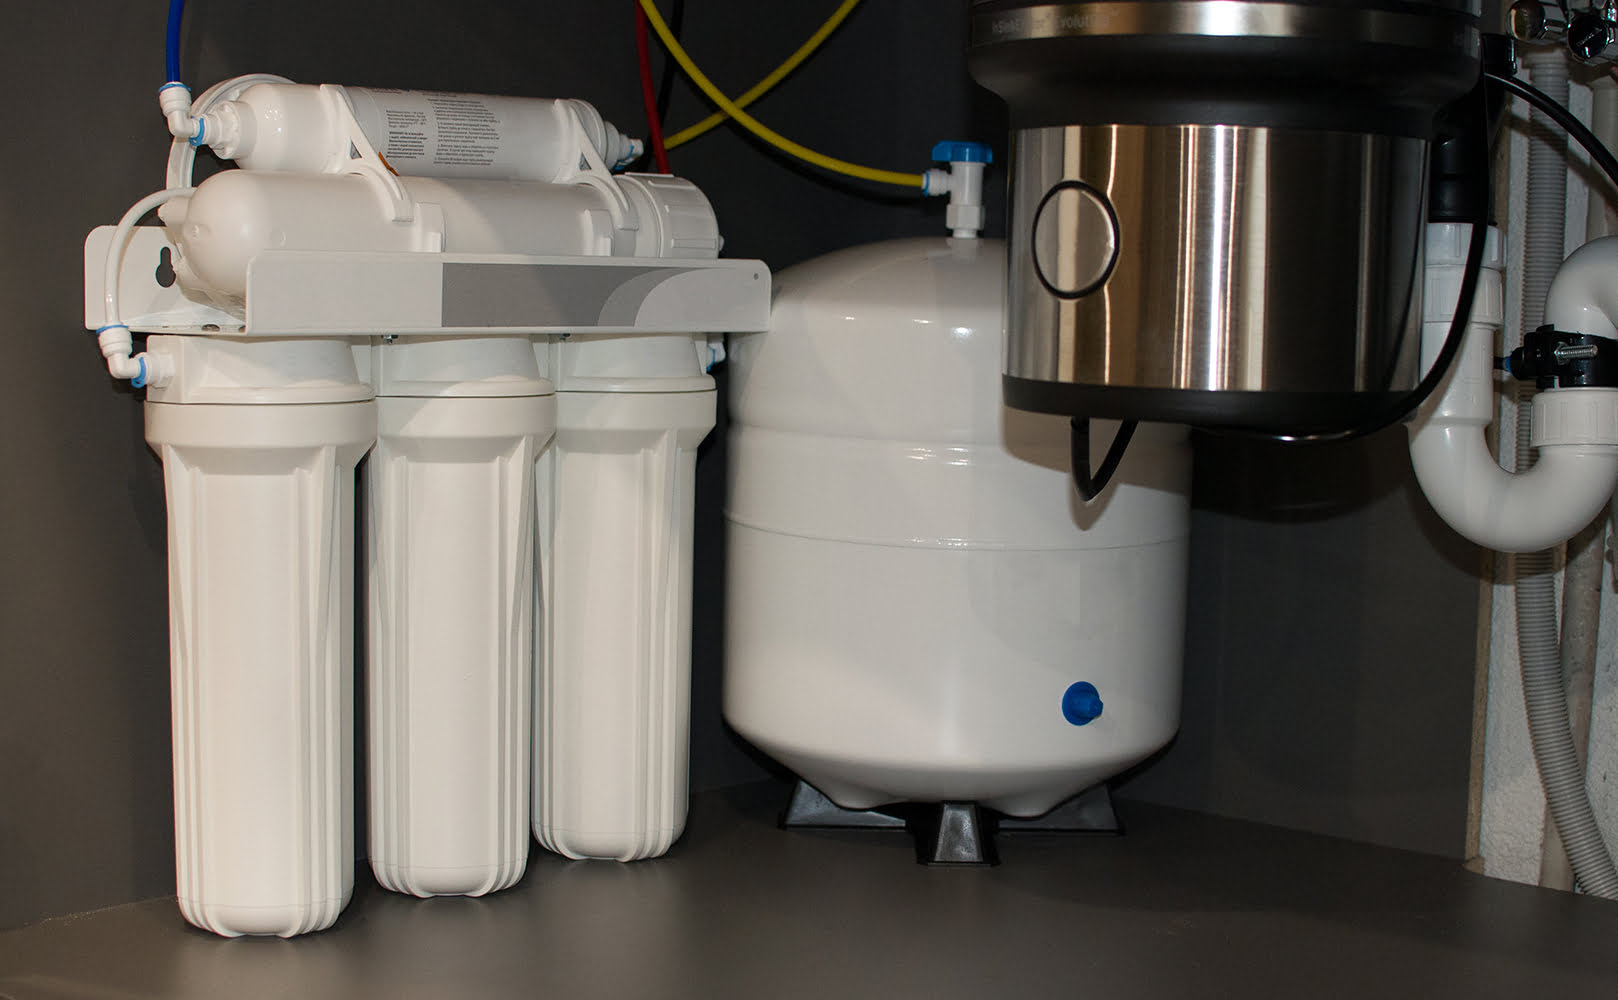
6-Stage RO System Components
System Module
Often made from plastic, this component is the primary connection between various parts of the RO system. It links the pre and post-filters, the RO faucet, and the tank for storing water.
Pre-Filters
In a typical 6-stage RO system, pre-filters consist of a sediment pre-filter specifically designed to eliminate debris and a carbon filter that effectively removes chlorine and other chemicals. These pre-filters safeguard the delicate reverse osmosis membrane from potential damage.
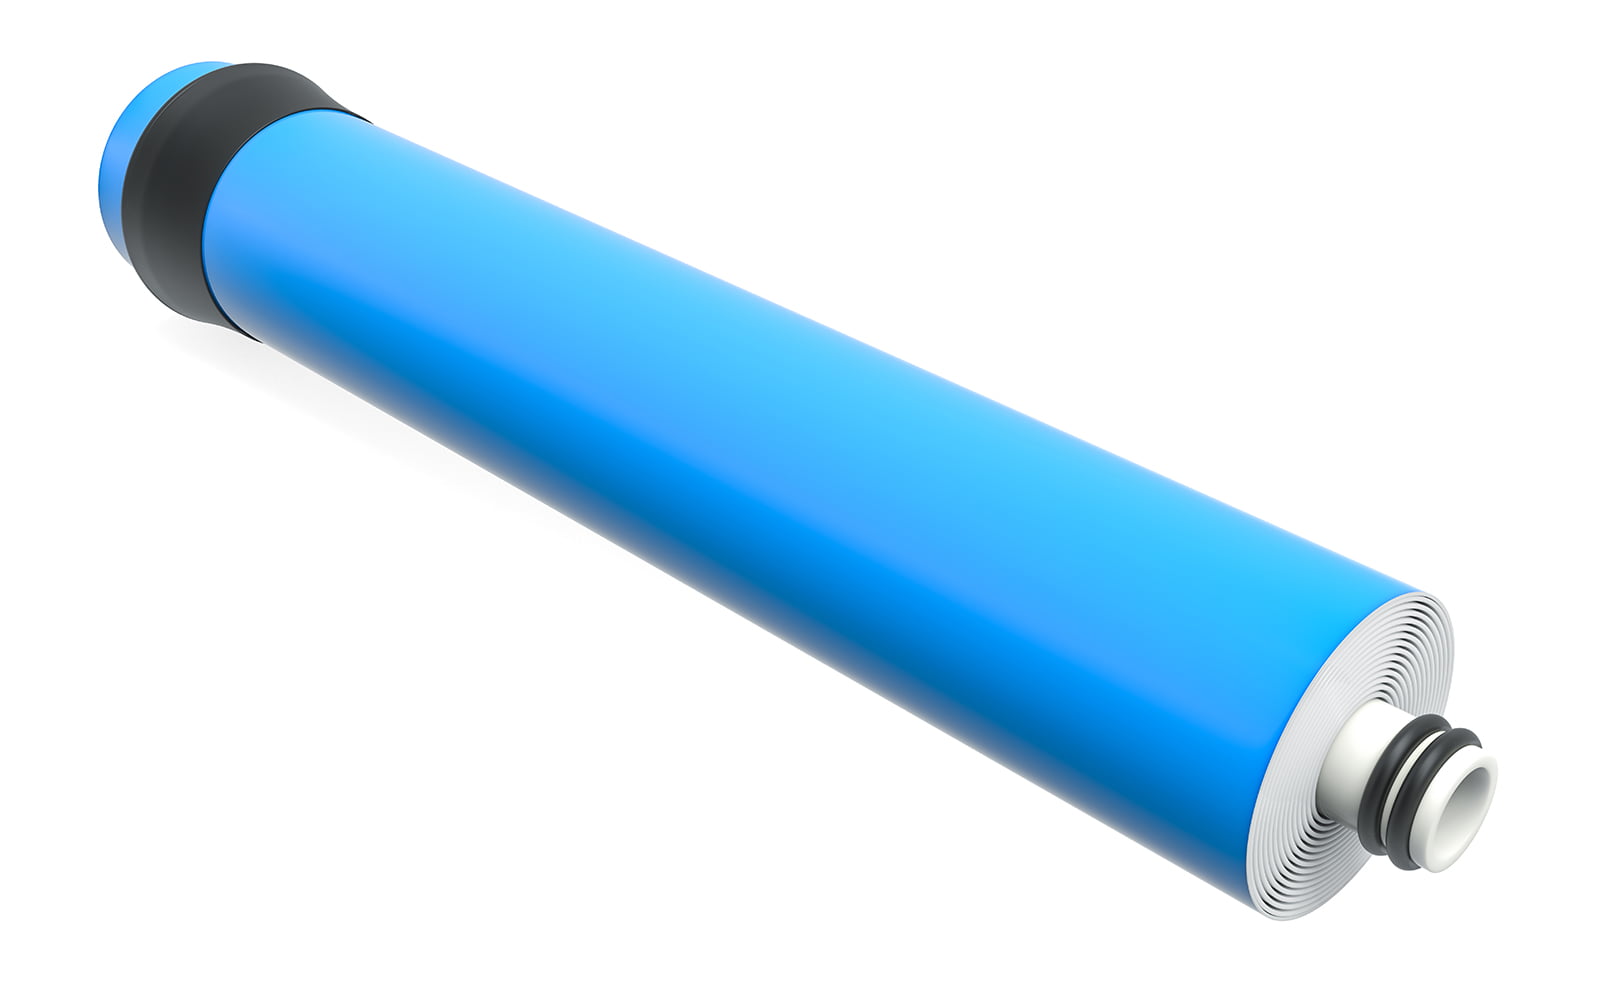
RO Membrane
The reverse osmosis membrane is the primary element in water purification. Its principal function is eliminating contaminants that may have bypassed the pre-filters. Using pressure and a semi-permeable membrane, the RO system separates impurities and dissolved solids from the water.
Post-Filters
After leaving the storage tank, the water undergoes the last phases of filtration. In the case of a 6-stage system, this might involve a carbon post-filter, a remineralization filter, and a UV purification filter. These filters eliminate any residual flavors or odors from the stored water while reintroducing vital minerals and killing potential pathogens.
Bladder Tank
The pressurized vessel functions as a reservoir for storing reverse osmosis-treated water.
Faucet
RO systems have a dedicated faucet to ensure an ideal flow rate and avoid confusion with regular tap water.
Drain Saddle and Drain Line
These components facilitate the removal of wastewater produced during the filtration process, carrying away impurities that have been filtered out of the water.
Feed Water Valve
The valve acts as a connection point between your kitchen faucet’s water supply and the RO system.
ASO Valve
Once the storage tank reaches maximum capacity, the automatic shut-off valve halts the water filtration process. Only when the tank’s water level drops again does the operation resume.
Check Valve
The primary purpose of this valve is to safeguard the RO membrane by effectively blocking any reverse water flow, thus mitigating potential harm.
Flow Restrictor
By regulating the water pressure applied to the reverse osmosis membrane, this component guarantees optimal pressure for efficient filtration.
Tubing
Your system will include multiple interconnected tubes that integrate the various components.
Fittings/Connectors
The whole installation process is made simpler through the use of color-coded connectors and fittings.
If you have any questions about 6-stage reverse osmosis system installation please don’t hesitate to leave a comment below!
About the Author Gene Fitzgerald
![]()
![]()
![]()
![]()
![]()
![]()
![]()

Information provided on BOS is for educational purposes only. The products and services we review may not be right for your individual circumstances.
We adhere to strict editorial guidelines. Rest assured, the opinions expressed have not been provided, reviewed, or otherwise endorsed by our partners – they are unbiased, independent, and the author’s alone. Our licensed experts fact-check all content for accuracy. It is accurate as of the date posted and to the best of our knowledge.