How to Clean a Sediment Filter (for Well Water)
Written by: Gene Fitzgerald // Last Updated: Aug 28, 2023
This page may contain affiliate links. If you buy a product or service through such a link we earn a commission at no extra cost to you. Learn more.
Does your home rely on well water? If so, a major component of your water system may be a sediment filter. This is usually a whole house sediment filter but could also be a point-of-use unit.
No filter lasts forever. All sediment filters need to be replaced after long periods of use. However, you can postpone replacing yours by cleaning them regularly.
This guide explains how to clean a sediment filter (both whole house and point-of-use).
Key Takeaways
- Prepare to clean a sediment water filter by shutting off the water valve to the filter system and releasing pressure.
- Remove filter housings and cartridges (as this guide explains, the process varies depending on if you have a whole house sediment filter or point-of-use sediment filter).
- Clean housings and cartridges with premixed solutions and rinse.
- Reinstall sediment filter.
- Turn water back on.
How to Clean a Sediment Filter (for Well Water)
1. How to Clean a Whole House Sediment Filter
Shut Off Water
Shutting off the water valve to your sediment filter system typically involves turning the valve handle 90 degrees. Instead of being parallel to the pipe, it should be perpendicular.
If your shut-off valve isn’t located immediately before your filter, you may instead shut off your pressure tank by following the water line to it. Shut off power to the water pump if you use one in place of a pressure valve.
Release Pressure
There are two basic steps to release pressure in your filter system.
- If you notice a small button on top of your filter (it will often be red, although there are exceptions), wrap it with a rag and press it. The rag will guard against the released water spilling too much.
- Next, flush water and any remaining pressure by opening all the water faucets in your house.
If your sediment filter has an exit valve, close it once all the pressure is released.
Remove Filter Housings and Cartridges
Consider placing an empty bucket beneath you as you proceed to this step. It should catch water as it spills throughout the process.
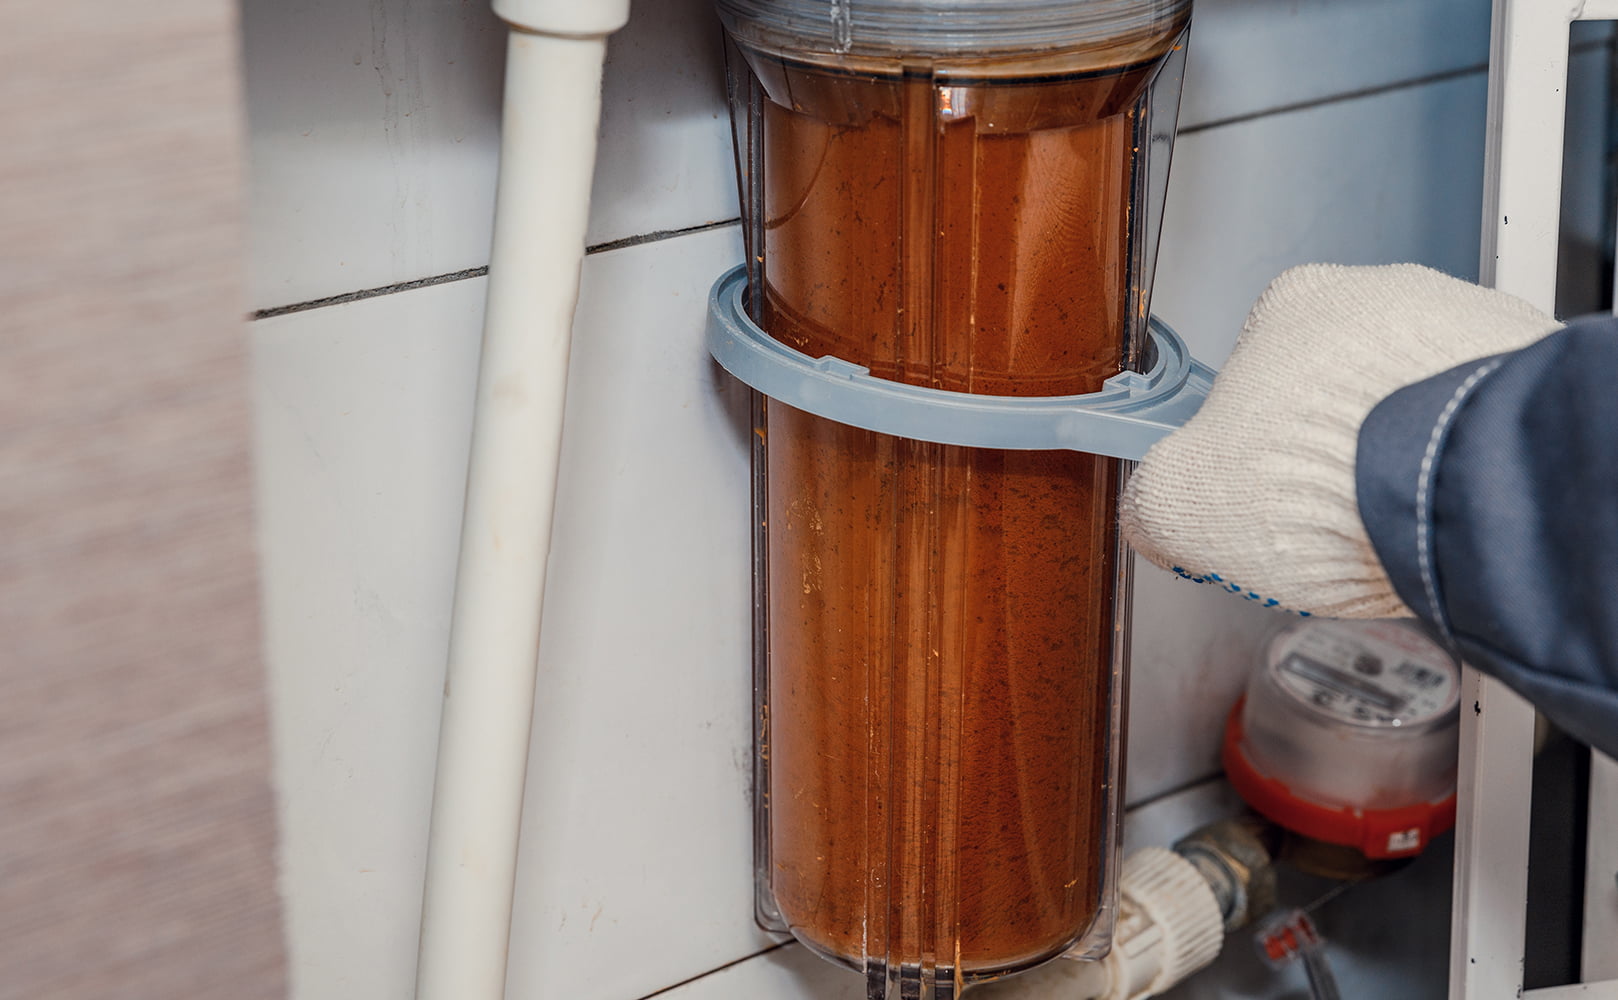
Unscrew the first filter housing after all pressure has been released. This task is easier with a filter housing wrench designed specifically for use with your system. With the wrench, turn the filter housing to the left to unscrew it. Press the button on top of the filter again to release more pressure if it still feels tight.
Remove the cartridge from its housing and pour any water into the bucket beneath you after the housing is unscrewed. Be sure to remove the O-ring with the cartridge.
Clean Filter Housings
All you need to clean a whole house sediment filter is a brush, warm water, and soap. Wash the filter housing’s inside and caps thoroughly before rinsing them. Your goal is to remove sediment, mold, algae, etc.
Take this opportunity to examine the O-ring. You might decide it’s best to replace it if it’s in bad condition. Also, clean the O-ring seating. This will ensure it seals correctly.
Determine If Filter Cartridges Can Be Reused
Now, examine your used filter cartridges to determine if you can reuse them or if they need to be replaced. Even if you’re simply planning on discarding your filter cartridge and installing a new one, take the time to examine it closely anyway.
If the levels of sediment build-up that have accumulated are surprisingly high, this might indicate you need to replace your filter more frequently than you have been. Or, it could indicate you should add an extra step to the filtration process.
Clean and Reuse Filters
To clean and reuse a sediment filter, follow these steps:
- Purchase a pre-mixed cleaning solution for use with sediment filters. Muriatic acid is a common choice. You can also make your own cleaning solution by combining 2 ounces of oxalic acid with a gallon of water.
- Place the sediment filter back into its housing. Soak both in the acid solution for 20 minutes. You don’t need to scrub them while they soak.
- Rinse both sediment filter and its housing with water thoroughly after they’re done soaking in the acid solution.
- Add a couple of tablespoons of baking soda to the acid solution to neutralize it before pouring it down the drain.
Reinstall Filter Sumps with Cartridges
Place the O-ring back in its seating for every filter stage. Then, insert the sediment filter cartridge into the filter sump.
Next, screw the housing and filter cartridge into the system module. Use a wrench to tighten.
Check for Leaks
Reopen the water supply after reinstalling all filter housings. Begin by opening the valve which sends water to the filter. Monitor for leaks during this stage. If you notice any, this might mean an O-ring was installed improperly or it’s damaged. Open the valve at the other end of your water filter if you don’t spot any leaks.
Then, one-by-one, run the water from each faucet in your home. Because the system needs to push air through the pipes, water is likely to be released in bursts or spurts at first.
The water may also initially appear gray or hazy. This is normal. After a few gallons have been used, the filters should be primed and this coloring should go away.
2. How to Clean a Point-of-Use Sediment Filter
The process of actually cleaning a point-of-use sediment filter is the same as the process described above. However, the process of accessing a point-of-use sediment filter is different.
For example, to access an under-the-sink sediment water filter, you need to:
- Gather supplies like a filter wrench, towels, and new O-rings if you believe you might be replacing yours.
- Turn off the valve supplying water to the filter, then turn off the tank valve if you have a tank. Turn off any other valves on the lines or pipe that connect to the system as well.
- Turn on the faucet connected to the water system and allow the water to flow out. This will remove water pressure from the lines. Turn the faucet off again once the water is no longer flowing.
- Turn the cartridge housing to the left to loosen and remove it. Then, remove the sediment filter and dispose of any water remaining in it.
Again, you can now clean the components according to the instructions for cleaning a whole-house sediment filter. Then, place the clean or new sediment filter back in the housing and screw the housing to the bracket.
Next, open the water valve in the back of the cabinet, then open the tank valve and all filter system lines. Check for leaks and allow the water to run for a few minutes to release air.
Why Clean a Sediment Water Filter?
Regularly cleaning a sediment water filter can be important for several reasons. They include:
- Optimizing pressure: A dirty sediment filter can reduce pressure. Cleaning a filter will address this.
- Extending filter lifespan: Cleaning a sediment water filter can ensure it stays in good condition for longer than it otherwise might.
- Saving money: Cleaning a sediment water filter is an affordable alternative to replacing one entirely. That said, there will eventually come a time when you need to replace your filter, as you can’t clean it over and over again without its performance eventually suffering.
Clean Only If It Makes Sense
Pay attention to the benefits you enjoy as a result of cleaning a sediment water filter. If you find you need to frequently clean your filter to ensure it works correctly, it’s likely time to simply replace it.
If you have any additional questions on this topic, be sure to ask an expert. Consulting with a pro is the best way to learn more about properly maintaining your water system.
If you have any questions about cleaning a sediment filter please don’t hesitate to leave a comment below!
Information provided on BOS is for educational purposes only. The products and services we review may not be right for your individual circumstances.
We adhere to strict editorial guidelines. Rest assured, the opinions expressed have not been provided, reviewed, or otherwise endorsed by our partners – they are unbiased, independent, and the author’s alone. Our licensed experts fact-check all content for accuracy. It is accurate as of the date posted and to the best of our knowledge.


