How to Open an RO Membrane Filter Housing
Written by: Gene Fitzgerald // Last Updated: Feb 22, 2023
This page may contain affiliate links. If you buy a product or service through such a link we earn a commission at no extra cost to you. Learn more.
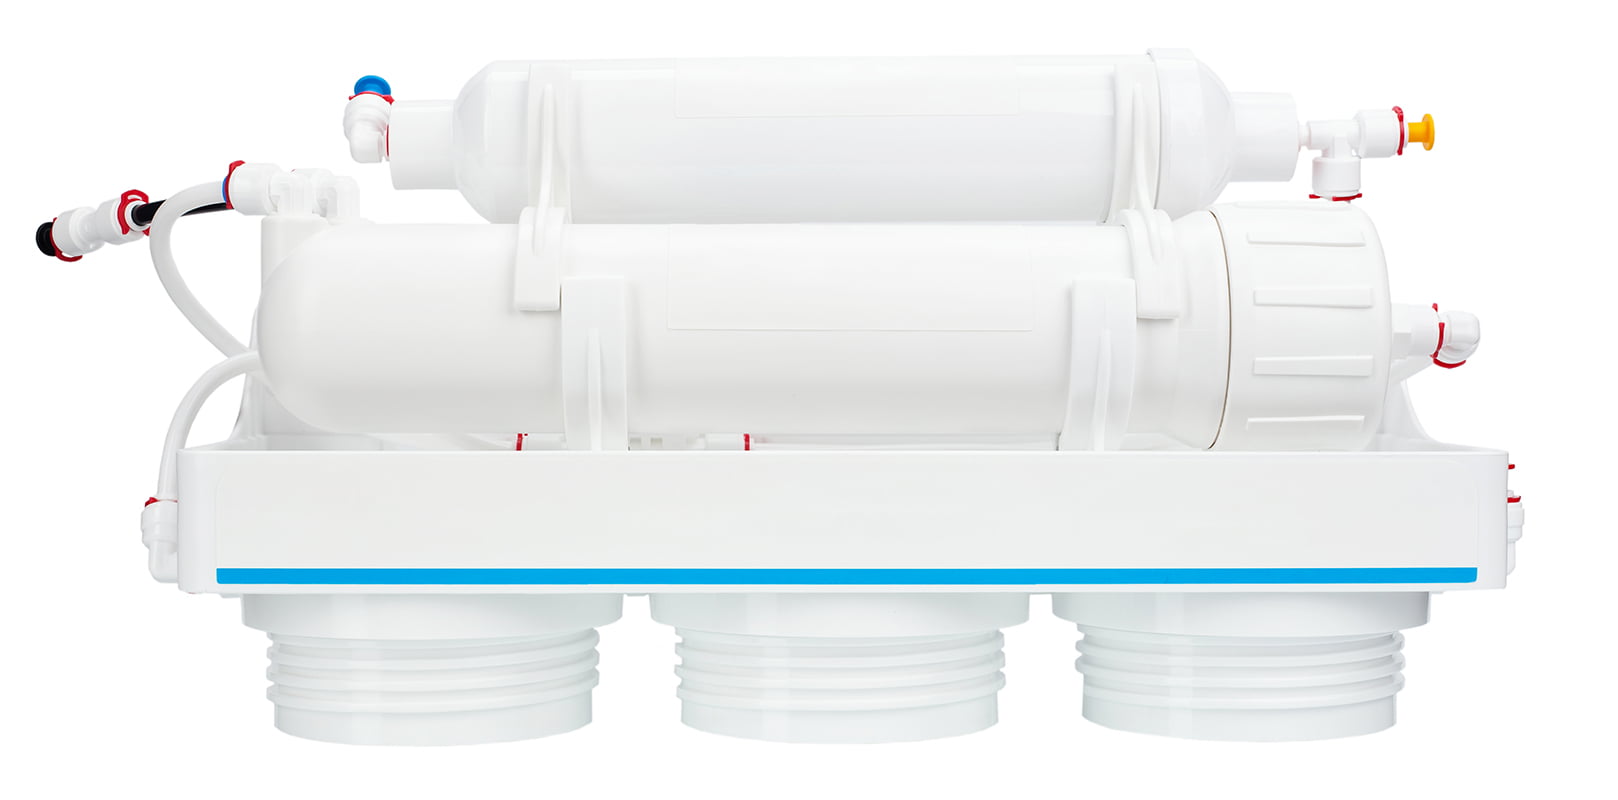
Reverse osmosis systems usually have a filter housing that holds the semipermeable membrane.
Occasionally, you have to access this housing to clean it or replace said membrane.
If you need help with yours, this article will show you how to open an RO membrane filter housing (and how to replace an old membrane).
Contents
show
Key Takeaways
To open an RO membrane filter housing:
- Disconnect the tubing from the housing cap
- Unscrew the housing cap
- If the cap doesn’t come off quickly, hold the housing cap with a piece of cloth or housing wrench/spanner and turn it again.
How to Open an RO Membrane Filter Housing
To open the housing of your reverse osmosis membrane, follow these easy steps:
- Remove the tubing connected to the housing cap; this allows you to access the housing more easily.
- Unscrew the housing cap with your hands.
Sometimes, the housing cap does not come off readily. When that happens, you can use either of these to make it come off:
RO Membrane Housing Wrench
Fix a housing wrench on the cap and turn it. The spanner gives you a firmer grip so you can unscrew the filter housing cap easily.
Rag
If there’s no wrench, you can place a piece of cloth on the housing cap and turn it. The cloth makes it easier for you to grab the cap firmly.
Full Process: How to Replace an Old Reverse Osmosis Membrane
No matter how carefully you maintain an RO membrane, you’ll need to replace it eventually. Here’s a complete guide to replacing an old reverse osmosis membrane!
(Note: Before you start, ensure that your hands are clean, switch off the main water supply valve, and allow all the remaining water to drain out. Then, you can begin!)
Remove Tubing
There’s a tubing connected to the membrane housing cap; you need to pull that out first. To do so, insert a collet and hold it firmly against the connect fitting. If there’s a plastic clip, remove that too.
Unscrew Housing Cap
Unscrew the housing cap by turning it from left to right. If it doesn’t unscrew easily, use a filter wrench, strap wrench, or piece of cloth to turn the cap. Keep a towel handy to absorb any possible water spill quickly.
Remove Old Membrane
Once you take off the housing cap, you’ll find the old reverse osmosis membrane. Simply take it out with your hands. If that doesn’t work, remove the membrane with needle-nose pliers.
The membrane housing may be dirty and covered with a buildup of contaminants. Clean it using mild soap and lukewarm water. Alternatively, you can use mild household bleach. After washing the housing, carefully rinse it with clean water.
Insert New Membrane
Slot in your new RO membrane. Confirm that the black O-rings in the housing fit right and are in good shape. If the O-rings are damaged, you should apply silicone grease or replace them. Then, screw back the housing cap. You can use a wrench to tighten the housing cap but don’t overdo it; you don’t want the lid to get stuck again.
Reconnect Tubing
Now you can connect the tubing you removed earlier. Insert the tubing into the cap fitting and ensure it is firm.
Further Reading:
How Often to Change
There’s no die-hard rule on how often to change an RO membrane. The best thing is to determine how often your RO membrane needs replacement; by monitoring its performance.
Monitoring RO Membrane Performance (Rejection Rate)
An easy way to monitor the performance of your RO membrane is to calculate its Total Dissolved Solids (TDS) rejection rate. The formula is this:
Rejection rate in % = (TDS of untreated tap water – TDS of purified RO water) / TDS of untreated tap water x 100
You can get the values for the TDS of your tap water and purified water by using a TDS meter. You should change the membrane if the calculated rejection rate is lower than 80%.
RO membranes usually last for three to five years before needing replacement, but if the water is highly contaminated, they may last only a year or two.
If you have any questions about how to open an RO membrane housing please don’t hesitate to leave a comment below!
About the Author Gene Fitzgerald
![]()
![]()
![]()
![]()
![]()
![]()
![]()

Information provided on BOS is for educational purposes only. The products and services we review may not be right for your individual circumstances.
We adhere to strict editorial guidelines. Rest assured, the opinions expressed have not been provided, reviewed, or otherwise endorsed by our partners – they are unbiased, independent, and the author’s alone. Our licensed experts fact-check all content for accuracy. It is accurate as of the date posted and to the best of our knowledge.