How to Remove an Under Sink Water Filter
Written by: Gene Fitzgerald // Last Updated: Sep 11, 2023
This page may contain affiliate links. If you buy a product or service through such a link we earn a commission at no extra cost to you. Learn more.
If you need to remove your under sink water filter, the necessary tasks to complete are generally not that complicated.
As long as you prepare yourself with the right tools and read up on each step, it should be a relatively simple and straightforward process.
Eager to learn more? Enter our guide about how to remove an under sink water filter!
Contents
show
Key Takeaways
To remove an under sink water filter:
- Close the water supply and open the faucet to release pressure from within the filter system.
- Drain, disconnect, and remove the water storage tank if there is one.
- Remove all other plumbing connections.
- Remove the under sink water filter.
- Remove the extra dispenser if there is one.
- Reset and reconnect the plumbing.
- Open the water supply and check for leaks.
How to Remove an Under Sink Water Filter Step by Step
Step 1: Gathering Tools
Start by gathering the appropriate tools. You’ll need, at the minimum:
- A screwdriver and a wrench.
- You may also need a hammer for elements that have gotten stuck after sitting for a while.
- If you’re using an under sink water filter with a dedicated faucet, you’ll also need filling material and some glue or tape to repair the hole it will leave behind.
- If you have to readjust your plumbing when resetting it, you might also need some piping.
- Keep a bucket or two handy in case any leaks appear and you have to deal with them urgently. Even if you take measures to avoid that, you never know when something might go wrong.
Step 2: Closing the Water Supply
Always shut off the water supply before you start a project of this kind.
It’s sufficient to close the valve feeding your kitchen sink. This way the rest of your home will still have access to water.
If, for some reason, there is no valve to close beneath your sink, you will have to shut off the main supply. If you don’t know where your home’s main shutoff valve is, now is a good time to find out. This is something every responsible homeowner should be aware of in general.
Step 3: Releasing Pressure
Next, you will need to release the pressure from within your under sink water filter and connected tubing/pipes. Otherwise, you might be in for an unpleasant surprise once you start unscrewing those connections.
For this, simply open the kitchen faucet and also the separate filtered water dispenser if you have one. Wait until the flow of water has stopped completely.
Further Reading:
Step 4: Draining the Water Storage Tank (If Applicable)
This should have already been taken care of in the previous step. Still, you want to make sure that you’ve drained as much water from any storage tank connected to your under sink water filter as possible.
Again, this should be easy to accomplish by just letting water run for a while until the tank is empty, after you’ve shut off the water supply.
Step 5: Disconnecting Any Tubing
Disconnect any pipes and tubing that run into and out of the under sink water filter. Even with a more complicated filter model, this should always be a simple task, as you’ll pretty much always have one input and one output pipe to deal with.
Keep any excess piping handy. It could be useful once you start reconnecting everything. However, this can also be a good opportunity to replace some piping sections with brand new ones. Pipes can get worn out over time and it’s a good idea to take advantage of any chances you get to do some repairs.
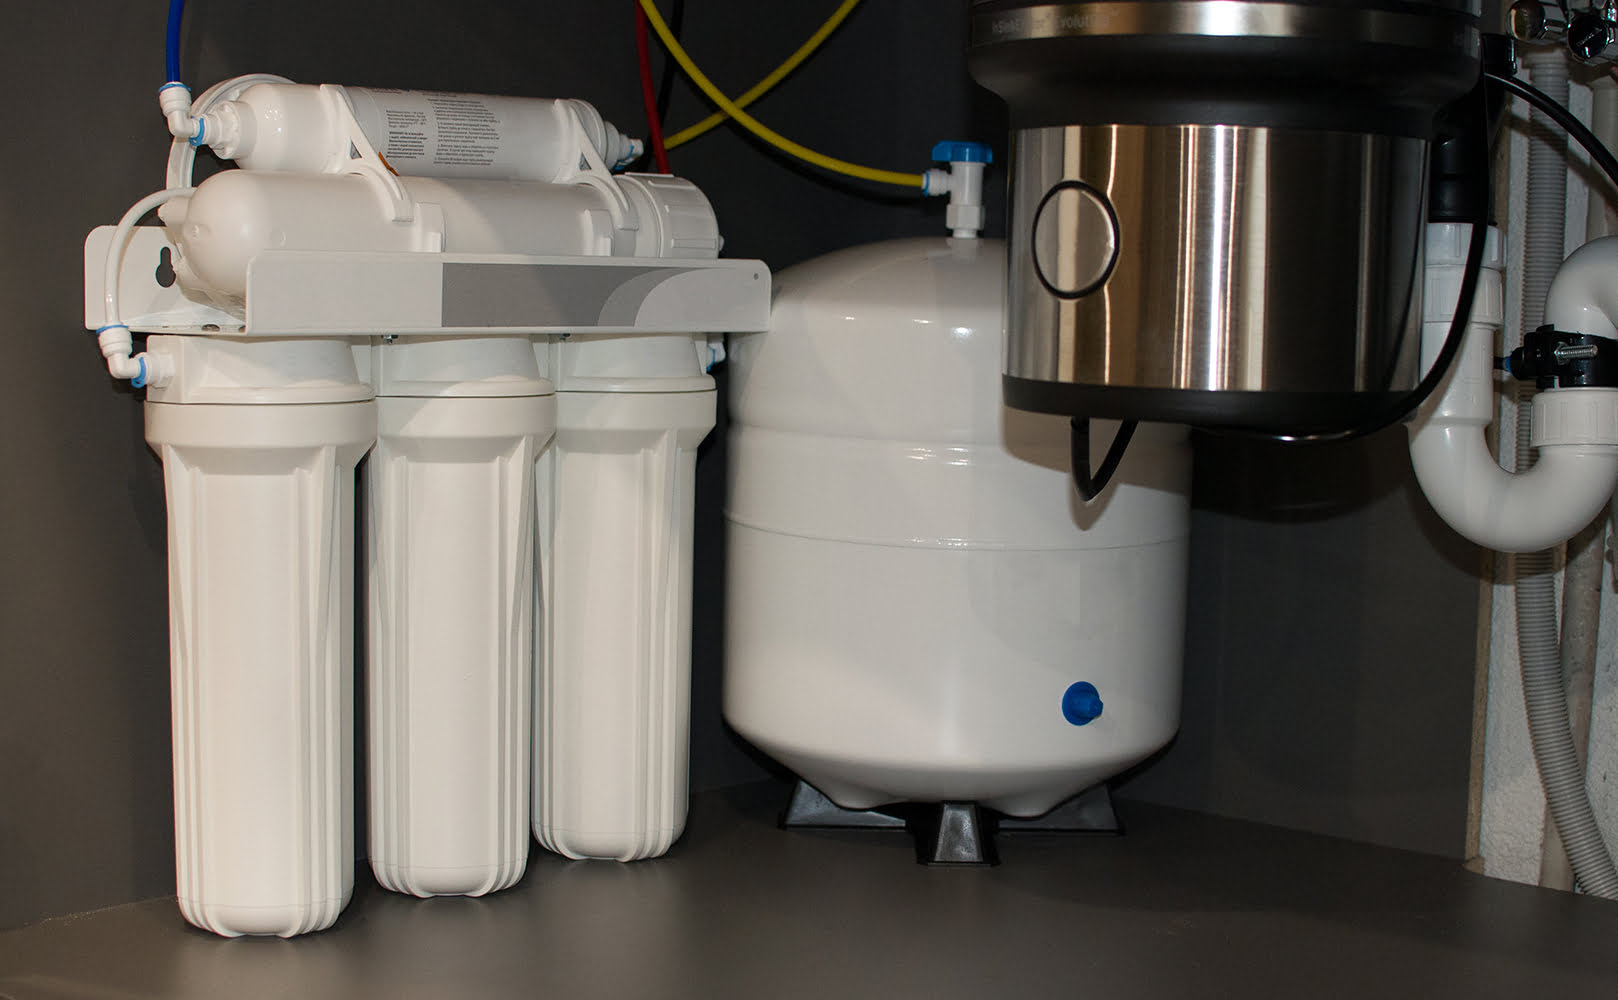
Step 6: Removing the Water Storage Tank (If Applicable)
Once everything has been disconnected, it’s safe to remove the water storage tank. This should be done before you remove the actual water filter itself. With some setups, it will actually be impossible to remove the filter before the tank has been taken out.
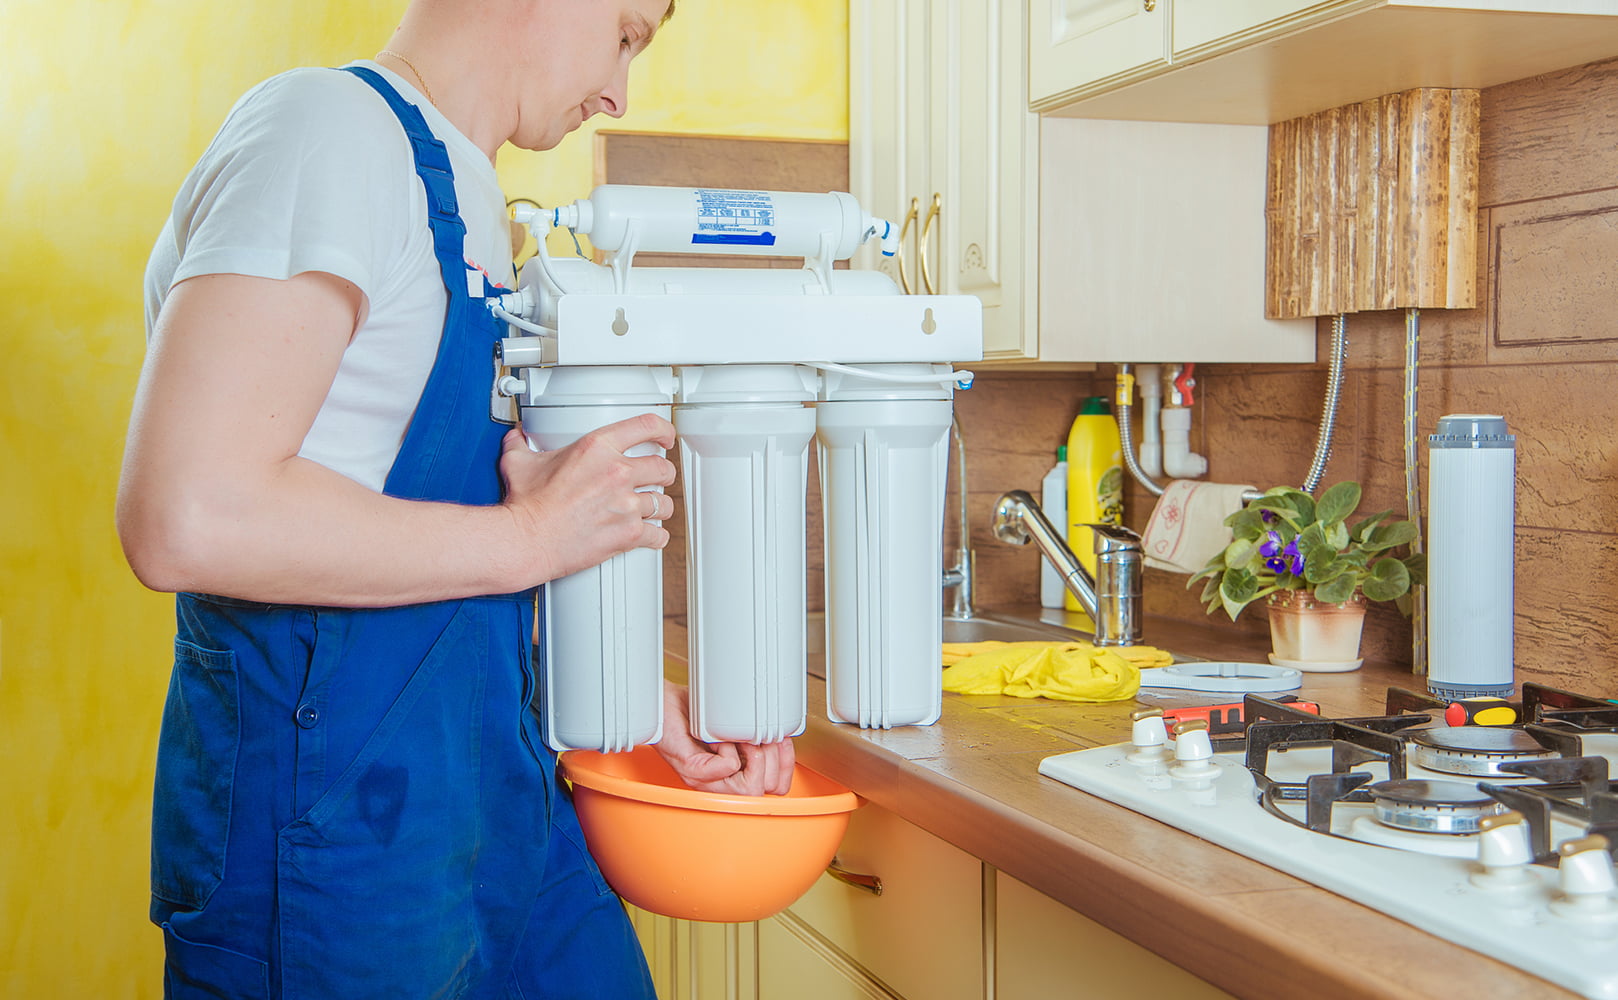
Step 7: Removing the Under Sink Filter
Now you’re ready to remove the under sink water filter module itself. Double-check that everything has been properly disconnected, and carefully take out the system. Put it away in a safe place, ideally the packaging it originally came from.
Step 8: Removing the Filtered Water Dispenser (If Applicable)
Some under sink water filters come with their own dedicated faucet. Once you’ve disconnected and removed the filter, you should take out the faucet as well. This might require some wiggling and additional force. Make sure that you’re not too rough on it though, because you risk damaging your countertop.
Once that’s done, you’ll be left with an unsightly hole. You should take the time to fill or plug it now while everything is disconnected, because it can get messier if you try to do that later when water is running again.
Step 9: Resetting the Plumbing
At this point, you’ll be looking at a bunch of disconnected pipes. Re-connect them and make sure that everything is tight and secure. You might need some extension pipes if you originally removed part of your plumbing to make room for the under sink water dispenser.
In this case, it’s probably a good idea to consult a professional if you want to avoid damaging your plumbing. Reconnecting pipes is generally not very difficult, but if you have to physically move them around or adjust their angles, this could get messy fast.
Step 10: Opening the Water Supply
After you’ve reconnected your plumbing and have confirmed that everything is properly hooked up, it’s time to reopen your water supply. Be ready to do emergency work if it turns out that you’ve forgotten something. It’s best to have a couple of buckets handy to deal with any sudden leaks. You don’t want those dripping into your cabinet or floor.
Step 11: Checking for Leaks
Take some time to verify that nothing is leaking. You should do this before you start putting everything back in its place in the cabinet, because you don’t want to have to repeat the whole process all over again. Keep your water running for a while to verify that nothing is leaking.
You should keep checking back for leaks during the first couple of days after you’ve removed the water filter. It’s possible that a smaller leak might not show up immediately, so you should be attentive and check under the sink every few hours to see if anything is dripping.
If you have any questions about how to remove an under sink water filter please don’t hesitate to leave a comment below!
About the Author Gene Fitzgerald
![]()
![]()
![]()
![]()
![]()
![]()
![]()

Information provided on BOS is for educational purposes only. The products and services we review may not be right for your individual circumstances.
We adhere to strict editorial guidelines. Rest assured, the opinions expressed have not been provided, reviewed, or otherwise endorsed by our partners – they are unbiased, independent, and the author’s alone. Our licensed experts fact-check all content for accuracy. It is accurate as of the date posted and to the best of our knowledge.