RO Membrane Cleaning with Hydrogen Peroxide | Guide
Written by: Alexandra Uta // Last Updated: Mar 23, 2023
This page may contain affiliate links. If you buy a product or service through such a link we earn a commission at no extra cost to you. Learn more.
Hydrogen peroxide is a versatile and effective product for cleaning and sanitizing around the home.
But is it safe to clean your reverse osmosis membrane with it? It sure is!
Let’s take you through the process of how to chemically clean your RO membrane using hydrogen peroxide.
Contents
show
Key Takeaways
Here is how to clean an RO membrane with hydrogen peroxide:
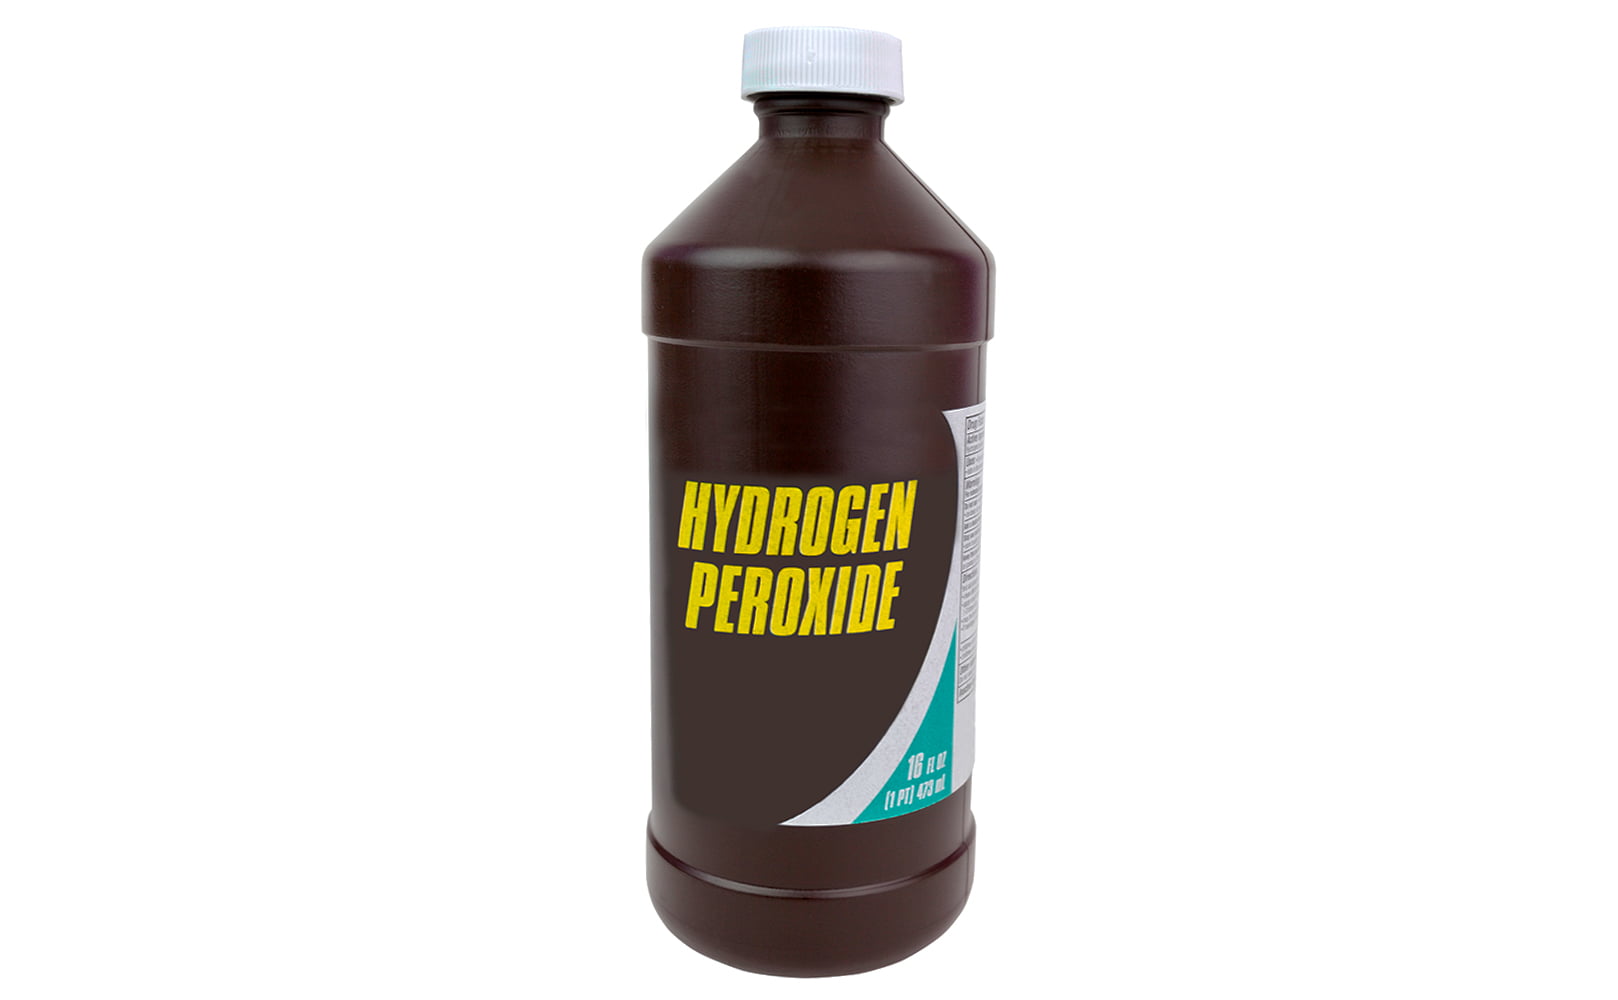
- Use a 2-3% hydrogen peroxide solution from your local drugstore.
- Shut off the RO system’s feed water supply and close the storage tank valve.
- Open the RO faucet to drain any water, then close it once it stops dripping.
- Disconnect the RO membrane housing from the rest of the system.
- Unscrew the housing cap and add the H2O2.
- Screw the housing cap back on, and reattach it to the system.
- Let it soak for several minutes.
- Flush the membrane before putting everything back to normal operation.
Chemical RO Membrane Cleaning with Hydrogen Peroxide
Hydrogen peroxide, or H2O2, can be utilized to kill bacteria and other pathogens that may accumulate on your RO membrane, though it is usually not a procedure done in the home if the reverse osmosis system is simply being used for drinking water, and the feed water is deemed biologically safe. It will also not break down and remove scaling and contaminant residue from the membrane.
Anyway, the process involves soaking the RO membrane in an H2O2 solution and then forward flushing the membrane to rinse it out. This works much better than bleach, as the carbon filter won’t absorb it, and after it is utilized, it breaks down into plain water (the extra oxygen molecule falls off, and H2O2 becomes H2O).
Step by Step Instructions
If you are planning to clean your RO membrane with hydrogen peroxide, you can use a 2-3% solution from your local drugstore and follow these steps:
- Shut off the water supply to the system and close the storage tank valve.
- Open the RO faucet to drain any water, then close it once it stops dripping.
- Disconnect RO membrane housing from the system.
- Unscrew the housing and add the H2O2.
- Screw the housing cap back on, and reattach it to the system.
- Let it soak for several minutes.
Then, you will need to flush the membrane, which you can do a couple of ways depending on what you have available. Some systems come with a flush kit, which makes it easier. If your RO system doesn’t have a flush kit, it can usually be purchased as an add-on for your system.
Flushing With a Flush Kit:
- Find the flush kit, which should be hooked to the waste line on the back of the reverse osmosis system.
- Align the ball valve to the waste line to activate flush mode!
- Run the system for 30 minutes to ensure the membrane is properly flushed of any remaining H2O2.
Flushing Without a Flush Kit:
- Disconnect the waste line of your RO system.
- Remove the flow restrictor from said line.
- Attach the waste line to the system again.
- Run the system for at least 30 minutes.
- When you are done, shut off the entire system and disconnect the waste line.
- Reinstall the flow restrictor.
- Hook everything back up, and you are ready to go!
Other Reverse Osmosis Membrane Cleaning Methods
Theoretically, a reverse osmosis membrane could be cleaned in a few other ways, including backwashing and air flushing. In commercial and industrial applications, sometimes, these cleaning methods are combined, for example, cleaning with hydrogen peroxide and then air flushing.
Here is a brief overview:
Forward Flushing
This is when water pressure is increased from the feed water side, which blasts the accumulated debris and fouling from the membrane. It may not work so well if the membrane is heavily clogged, but it’s effective for a regular maintenance clean.
Also, forward flushing is what we have described above, and it’s the only method really available for home users.
Backwashing
Backwashing or backflushing is the opposite; the water pressure comes from the other side of the RO membrane (the filtered water side) and blasts any dirt off the membrane. While this is more effective than forward flushing, it usually cannot be done in smaller home systems.
Air Flushing
Air flushing is the third option, which is also performed from the feed water side, like forward flushing. This uses air bubbles to create turbulence in the water that can shake contaminants off the membrane. It is a great, cost-effective cleaning solution as the wastewater is minimal, but again it is usually used in commercial and industrial settings only.
How to Clean and Sanitize an Entire RO System (Including the Tank) Using H2O2

Preparation: What You’ll Need
Wash your hands, and grab your materials!
- A bucket of warm and soapy dishwater.
- Scouring pad or brush.
- Hydrogen peroxide solution.
Further Reading:
Step by Step Instructions
- Turn off the feed water supply and disconnect any ice makers etc.
- Turn on your RO faucet to depressurize your system. Turn the faucet off once it stops running.
- Remove all the pre-filters plus the RO membrane from their housings.
- Scrub the inside of all the housings with the dishwater and rinse well after.
- Add the H2O2 solution to the housing of the first filtration stage.
- If you also want to sanitize your filter elements, put them back into their housings.
- Screw all the housings back on.
- Turn on the water supply and open the RO faucet until water comes out. Then close it.
- Let the storage tank fill, and allow the hydrogen peroxide to remain in the system for a minimum of 30 minutes up to a couple of hours.
- Flush the entire system.
- Let the tank refill again and flush again.
- If you haven’t yet re-installed your filter elements, do so now.
- Reconnect your ice maker, refrigerator, etc.
- Allow the storage tank to fill.
If you have any questions about RO membrane cleaning with hydrogen peroxide please don’t hesitate to leave a comment below!
About the Author Alexandra Uta
![]()
![]()
![]()

Information provided on BOS is for educational purposes only. The products and services we review may not be right for your individual circumstances.
We adhere to strict editorial guidelines. Rest assured, the opinions expressed have not been provided, reviewed, or otherwise endorsed by our partners – they are unbiased, independent, and the author’s alone. Our licensed experts fact-check all content for accuracy. It is accurate as of the date posted and to the best of our knowledge.