How to Make Your Own DIY Water Filter Pitcher
Written by: Alexandra Uta // Last Updated: Jan 4, 2023
This page may contain affiliate links. If you buy a product or service through such a link we earn a commission at no extra cost to you. Learn more.
With gallons of water being used in the average home on a daily basis, you’ll naturally want your supply to be as clean as possible. One way to achieve that is by using a high-quality water filter pitcher.
However, not all people can afford one or simply want to construct their own because they are passionate DIYers. Good news: Making your own DIY water filter pitcher can be done.
It should be stressed that this isn’t really a traditional filter pitcher, though. We like to think of it more as an experiment that may remove some impurities from your drinking supply. Read on if you’d like to know more!
Contents
show
Key Takeaways
Instructions for making a DIY water filter pitcher:
- Remove the bottom of a plastic bottle with a knife or pair of scissors.
- Turn the bottle upside down and place it into a large glass.
- Place a coffee filter, cotton wool, or a cloth at the bottom roughly 2 inches thick.
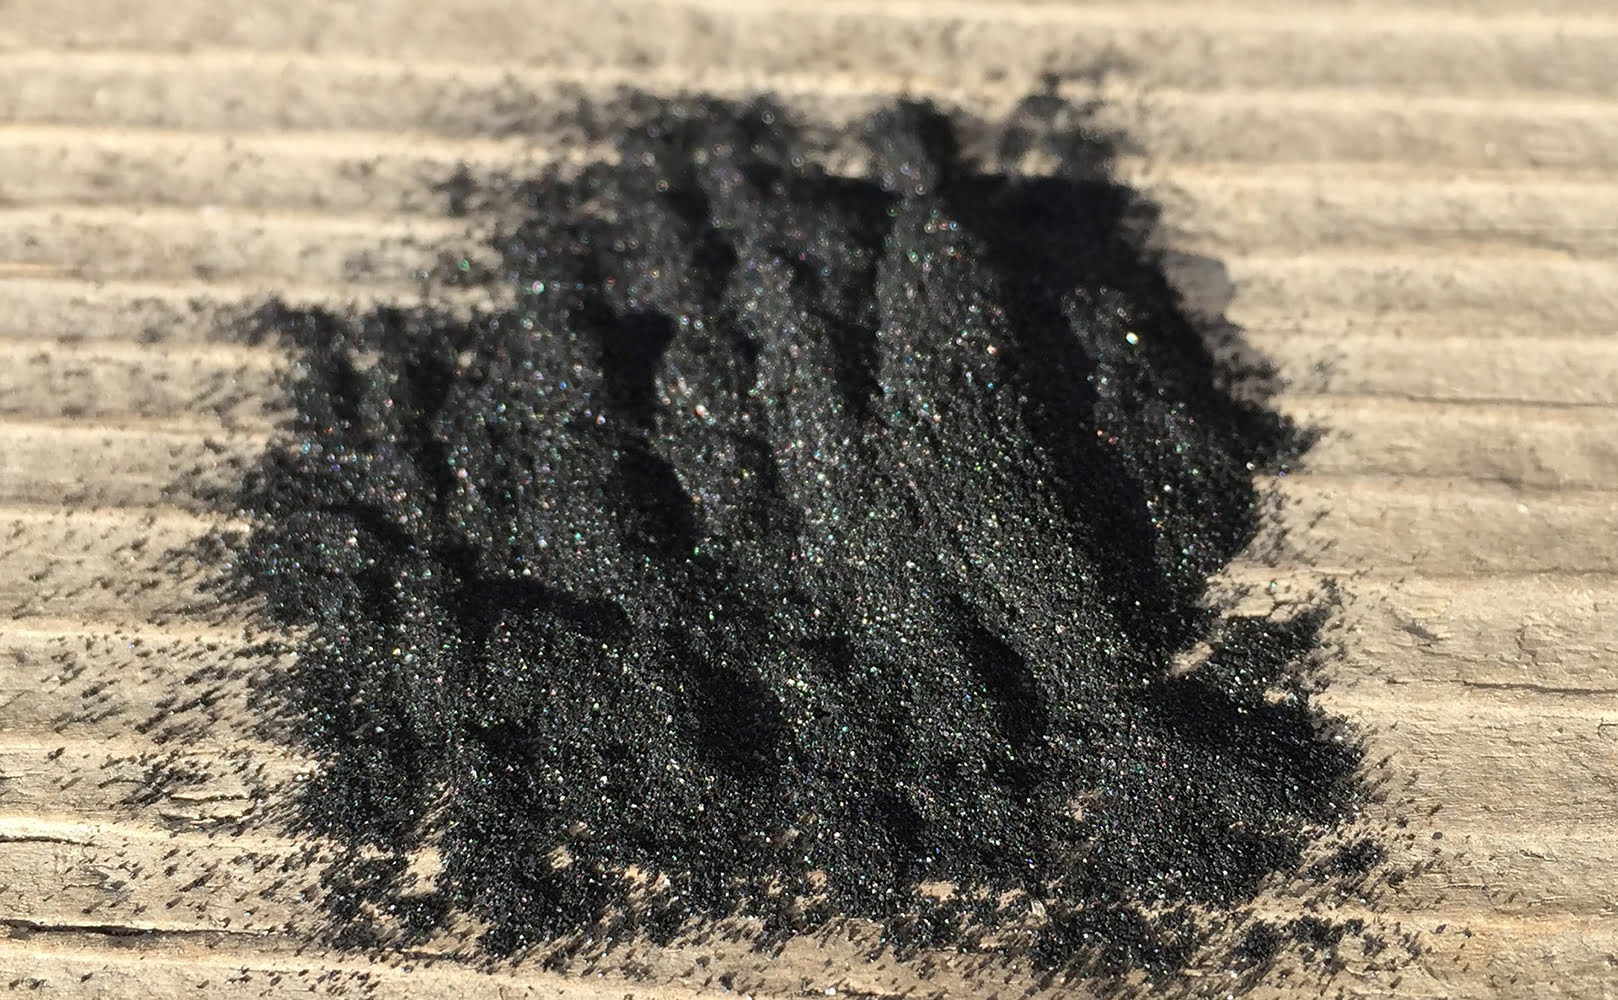
- Place about 1 inch of activated carbon on top of the first layer.
- Add a couple of inches of stones/gravel on top of the charcoal.
- Add 3-4 inches of sand.
- Add more gravel until there is about half an inch of free space left.
A Homemade Water Filter Pitcher?
Homemade water filters are actually a concept that many people are interested in. Many Americans are becoming more concerned with the quality of their water and wish to rid it of as many harmful contaminants as they can.
You may not want to spend your money on a professional branded water filter pitcher, which is understandable, as the overall cost of maintenance and replacing filters can pile up and really add to your monthly bills.
If this is the case, you may be wondering if there is another way to filter your water supply. Well, as it happens, there is. It’s just not a traditional water filter pitcher!
Besides, while a homemade pitcher filter is certainly possible to make, maintaining one in the long term may not be the most feasible option. A lot of homemade filtration pitchers will still need to have their materials replaced regularly, and may not provide you with a high standard of filtration compared to professional water pitchers.
If you’d still like to try it out, we’ve constructed a guide below on how to make one, what materials you’ll need, and how you can test its effectiveness!
Required Materials
- Empty plastic bottle
- A large empty glass
- Sand
- Activated charcoal
- Stones or gravel
- Soil
- Clean water
- A knife or pair of scissors
- A coffee filter/cloth/cotton wool balls
Instructions
- To start, remove the bottom of your plastic bottle with a knife or scissors.
- Then, turn the bottle upside down (so the nozzle is facing downwards) and place it into your large empty glass.
- It’s time to construct the first filtration layer. Whatever you chose as a filter (whether it was the coffee filter, cotton wool or cloth) should then be placed inside the bottle at the bottom, making a layer roughly two inches thick.
- Next comes your activated charcoal layer. Place about an inch of this on top of your first filter layer.
- Then comes your stones or gravel. Place a couple of inches of these on top of the charcoal.
- After this, add three to four inches of sand on top.
- The final filter layer will be gravel. Add just enough so that there is half an inch of free space left in the bottle.
- Get a glass of water and add some soil or dirt to make the water cloudy or dirty (though if your water quality is quite poor you may not even need to do this!).
- Pour this glass of dirty water into the top of your homemade filter, and let the clean water trickle down into your glass!
Further Reading:
Putting Your DIY Water Filter Pitcher to the Test
It’s a good idea to test the clean water that’s been filtered before you drink it as well. While your many filtration layers should keep the most harmful contaminants from seeping through, it’s important to remember that this is still a DIY water filter pitcher, and as such may not be up to the same standard as a professional filter from a trusted brand, such as Clearly Filtered.
Also, if it’s the first time you try this, it’s very natural to miss a step or perhaps make an error – so for peace of mind we recommend you buy a drinking water testing kit to test your water both before and after filtration. This will let you see what condition your water supply was in beforehand and what contaminants your DIY pitcher filter did remove!
How to Test
Testing if your DIY filtration system works is actually quite simple.
- Pour two glasses of water from your faucet. One will remain “dirty” and the other will be filtered.
- If you like, you can contaminate the designated dirty glass with even more dirt, oil, or even dust. Get creative!
- Pour the glass through your DIY filtering pitcher.
- Test the two glasses with a water testing kit. Try the unfiltered one first, and then the filtered water. If your water filter is up to scratch, it should have significantly removed many of the contaminants and pollutants from the water!
If you decided to dirty the water yourself, it’s worth repeating this test with water directly from your sink faucet just to see how many pollutants are naturally found within it.
If you’re wondering what exactly each filtration layer does to purify your water, here’s an explanation for each of the materials.
- Activated charcoal: Charcoal eliminates contaminants via chemical absorption.
- Stones/gravel: Large pieces of sediment (whether it’s branches or even insects) are trapped and removed from the water by the stones and gravel.
- Sand: Smaller impurities that make it past the stones and gravel are caught and removed by the sand layer.
In Conclusion
You may find that although it can be an enjoyable and educational experience constructing your own water pitcher filter, it may not be the most sustainable or practical option for filtering your water supply.
There are many types of DIY filter pitchers you can make, but the one we’ve listed in this article is generally the easiest and cheapest option, especially if you don’t have much experience in constructing your own filters or more complex types.
If you have any questions about how to make your own DIY water filter pitcher please don’t hesitate to leave a comment below!
About the Author Alexandra Uta
![]()
![]()
![]()

Information provided on BOS is for educational purposes only. The products and services we review may not be right for your individual circumstances.
We adhere to strict editorial guidelines. Rest assured, the opinions expressed have not been provided, reviewed, or otherwise endorsed by our partners – they are unbiased, independent, and the author’s alone. Our licensed experts fact-check all content for accuracy. It is accurate as of the date posted and to the best of our knowledge.