How Long to Flush an RO Membrane? Find Out Here!
Written by: Alexandra Uta // Last Updated: Mar 5, 2023
This page may contain affiliate links. If you buy a product or service through such a link we earn a commission at no extra cost to you. Learn more.
Flushing the membrane of an RO system is an easy way to keep it in good condition and increase its lifespan.
It can help prevent fouling by providing a rapid rinse which washes away deposits that may have accumulated on a membrane’s surface.
But for how long should RO membranes be flushed?
Contents
show
Key Takeaways
- You should flush an RO membrane for about 20 minutes in order to remove any dirt or scaling on the membrane’s surface.
- Flushing should be done roughly once per month, but sometimes more frequently.
How Long to Flush an RO Membrane
So, how long should you flush an RO membrane?
You should flush an RO membrane for about 20 minutes to effectively remove any accumulated deposits or scaling that may have developed on the membrane surface.
Longer or shorter is also possible and depends on when you’ve flushed your membrane the last time, meaning how dirty it is, your water quality and usage, and who you ask. Membrane type is another factor.
In addition, it is important to follow the manufacturer’s recommendations for flushing a reverse osmosis membrane, as over-flushing or under-flushing can result in poor system performance or even premature membrane failure.
How Long to Flush a New RO Membrane
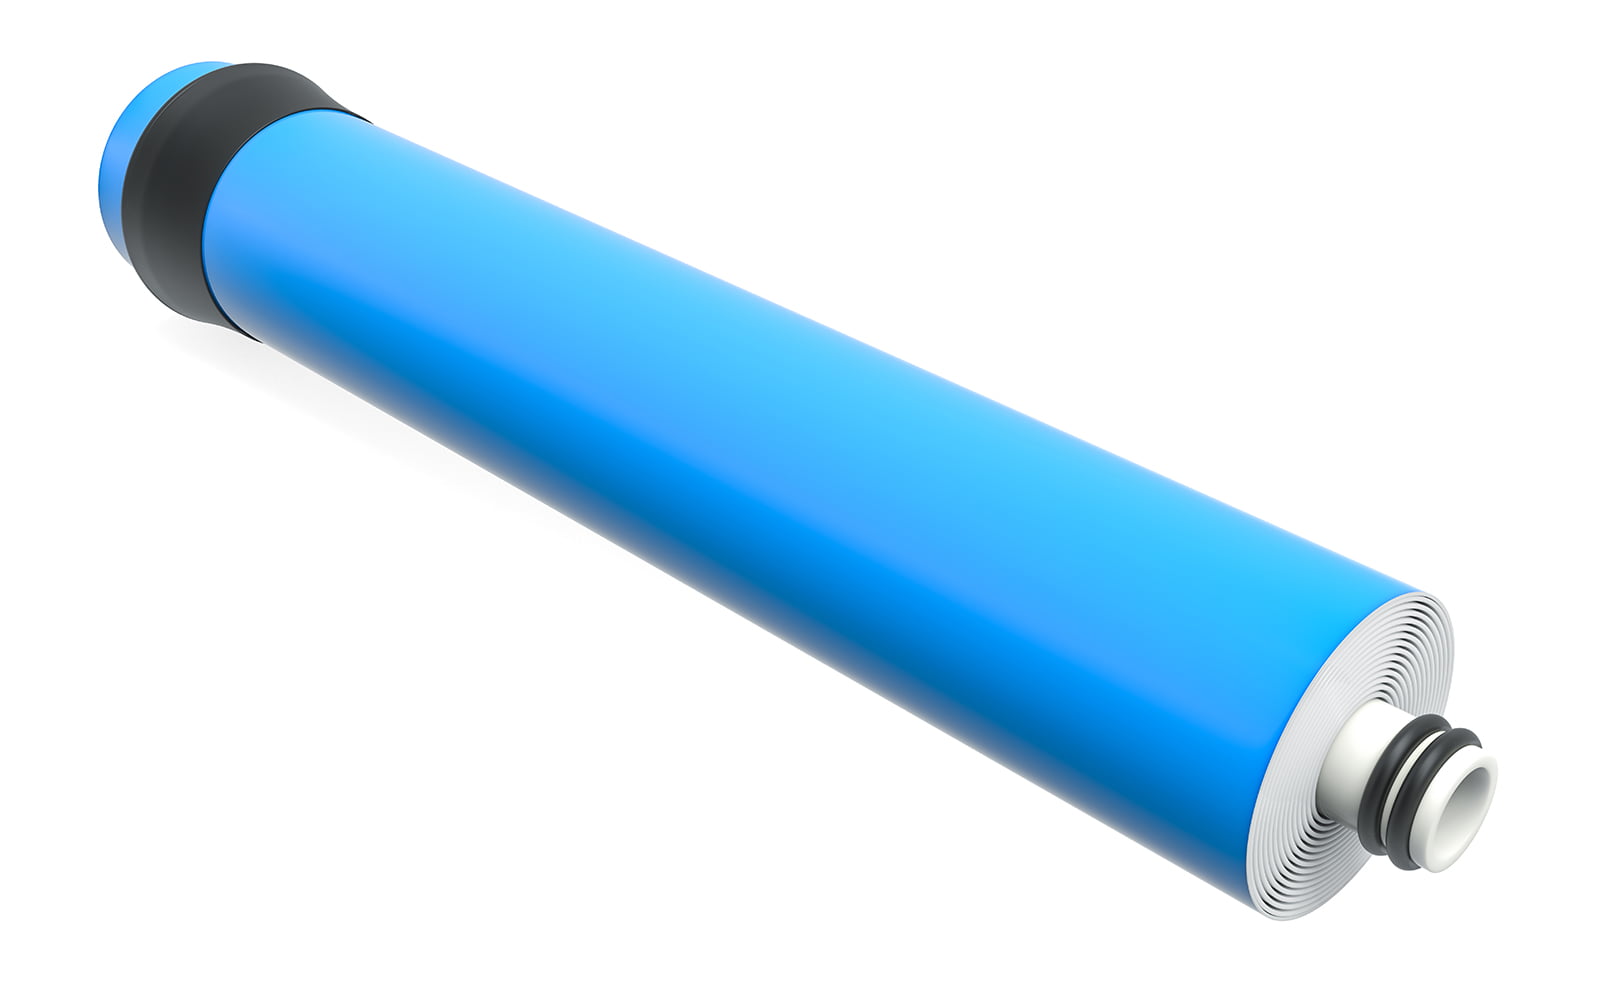
Flushing a new reverse osmosis membrane is a critical step in its installation process. The purpose of flushing is to remove any residual preservatives, manufacturing debris, or other impurities that may be present.
Again, the length of time required to flush a new RO membrane can vary depending on the specific membrane type. As such, you should follow the manufacturer’s recommendations. Some say that you should flush 1-3 full tanks of filtered RO water before using it (for under sink systems). Other manufacturers recommend flushing around 30 to 40 minutes and up to several hours.
Further Reading:
Instructions for How to Flush an RO Membrane
With that in mind, how do you actually flush an RO membrane? The process is not very complicated, whether you have a flush kit or not. Here’s a brief rundown of what you need to do.
Using a Flush Kit
If you have a flush kit for your reverse osmosis system, flushing the membrane will be a bit easier. All you have to do is follow these steps:
- Find the flush kit that’s hooked up to the waste line on the back of the RO system.
- Check the position of the ball valve – if it’s aligned with the waste line, your RO system is in flush mode.
- Run the system for at least 30 minutes to properly flush the membrane.
By the way, flush kits can be added to RO systems later on. All they do is bypass the flow restrictor on the drain line.
Without a Flush Kit
Don’t worry if you don’t have a flush kit – flushing your RO membrane is still not very complicated in this case, but it does involve a few extra steps.
- Disconnect the waste line.
- Take out the flow restrictor from the waste line.
- Hook the waste line to the RO system again.
- Keep the system running for at least 30 minutes.
- Once you’re done, shut off the entire system.
- Disconnect the waste line.
- Reinstall the flow restrictor and hook everything back up.
When and How Often to Flush a Reverse Osmosis Membrane
How often you should flush your RO membrane mostly depends on the quality of your water and your usage habits. Flushing it once per month is a good rule of thumb, but you may have to do it more often in certain situations, for example when dealing with a heavily contaminated water supply.
Monitoring Membrane Performance
You should pay attention to your RO membrane on a regular basis and keep track of its performance to ensure an optimal flushing schedule. There are some visual signs you can watch out for, or you can use a dedicated test kit to ensure that you’re seeing the full picture.
Signs Your RO Membrane Is Due for Flushing
There are certain signs that your RO membrane should be flushed – keep an eye out for those to ensure that you’re keeping your system in check.
- Check your salt permeability levels – if they increase by more than 20%, that’s a sign that it’s time for flushing
- Pressure drops of more than 20% are another common indicator
Calculating the Salt Rejection Rate
Using a TDS (Total Dissolved Solids) meter is a great way to figure out how well your membrane is currently holding up.
To do this, you simply need to test two water samples – one from regular, untreated tap water, and one from water that’s passed through the RO filter. Once you’ve tested both samples, simply use the following formula to figure out your TDS rejection rate:
(untreated water TDS – treated water TDS) / untreated water TDS x 100 = Rejection rate
If the number is below 80%, you need to flush (or replace) your reverse osmosis membrane.
How to Clean Your RO Membrane
You might also want to learn how to clean your RO membrane…
Chemical cleaning
You’ll need some specialized cleaning solutions. Before you start, make sure you’re wearing protective eyewear and gloves!
- Get the cleaning solutions ready. Make sure to use non-reactive plastic buckets to prepare them.
- Shut off the water supply and the tank valve, and depressurize your system.
- Remove the RO membrane from its housing.
- Soak the membrane in each cleaning agent, following the time guidelines of the manufacturer.
- Reassemble the system.
- Flush the system for at least 30 minutes.
Physical cleaning
Vibrations, turbulence, and ultrasonic wave treatment are some of the methods used to clean RO membranes physically. However, they can damage a membrane if used excessively. Besides, they are not available for home use anyway.
How to Remove an Old Membrane and Replace It with a New One
Replacing your RO membrane is another good option if you don’t want to deal with flushing all the time. This doesn’t have to be done too often – once every 2-5 years is more than enough.
- Shut off the water supply and close the storage tank’s valve.
- Depressurize the system and close the faucet once that’s done.
- Remove the old membrane from the housing – you might have to perform some additional steps to free the housing cap before that.
- Clean the interior of the housing.
- Insert the new membrane into the housing and push it as far as it can go.
- Reassemble.
- Turn on the water supply and open the tank valve.
If you have any questions about how long to flush an RO membrane please don’t hesitate to leave a comment below!
About the Author Alexandra Uta
![]()
![]()
![]()

Information provided on BOS is for educational purposes only. The products and services we review may not be right for your individual circumstances.
We adhere to strict editorial guidelines. Rest assured, the opinions expressed have not been provided, reviewed, or otherwise endorsed by our partners – they are unbiased, independent, and the author’s alone. Our licensed experts fact-check all content for accuracy. It is accurate as of the date posted and to the best of our knowledge.