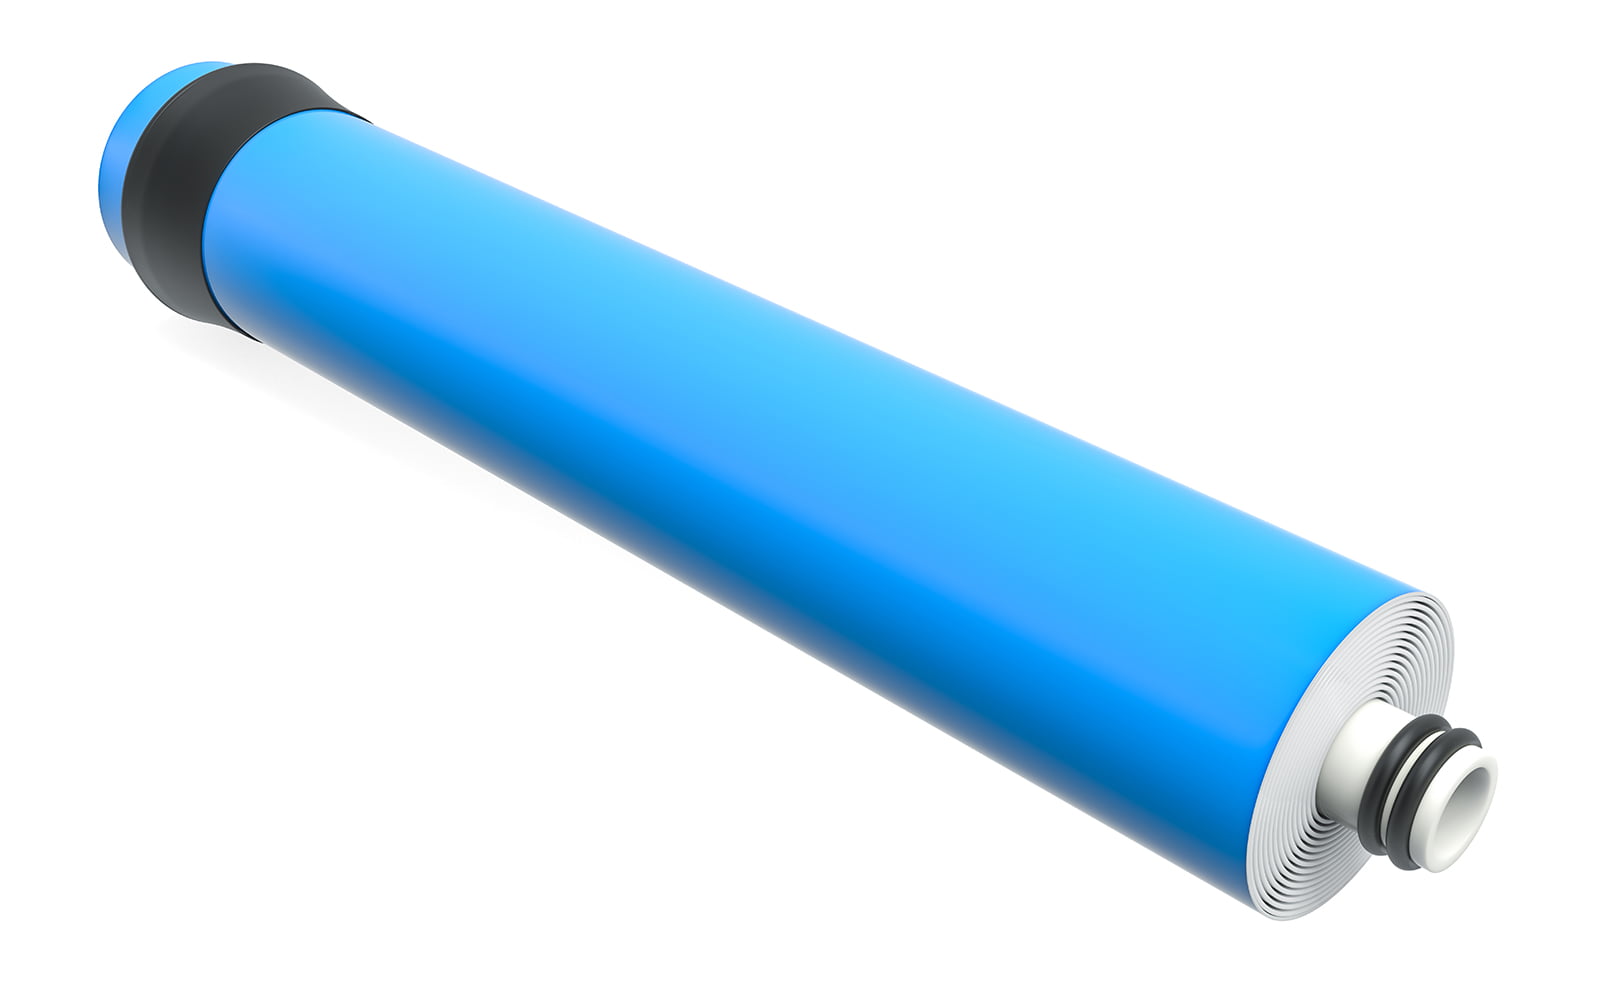
How to Clean an RO Membrane at Home | Complete Guide
Written by: Alexandra Uta // Last Updated: Mar 7, 2023
This page may contain affiliate links. If you buy a product or service through such a link we earn a commission at no extra cost to you. Learn more.
Cleaning a reverse osmosis membrane is not something you would typically do at home. Most people prefer to simply swap out their RO membrane entirely once it gets too clogged. Still, if you prefer to clean and reuse your current membrane, that’s always an option.
It’s important to verify the type and level of water contamination you’re dealing with before starting this process. You can use a home testing kit to check your current situation. This will allow you to choose the most suitable chemicals for the job.
Want to learn more about cleaning RO membranes? Continue reading!
Key Takeaways
Here is how to clean an RO membrane:
- Determine what type of cleaning chemical(s) you need based on your water conditions.
- Put on gloves and protective eyewear.
- Prepare the cleaning solution(s).
- Remove your RO membrane from its housing.
- Soak the membrane in each chemical solution for the specified time.
- Rinse.
- Reassemble and rinse again.
How to Clean an RO Membrane at Home
To clean an RO membrane at home, you’ll need some basic supplies and about an hour of time. Here’s a brief rundown of the process:
What You Will Need
- Protective goggles
- Gloves
- Mask (optional)
- Cleaning chemicals
Step by Step Membrane Cleaning Instructions
Once you’ve got your basic tools and supplies, you can move on to the actual cleaning process. Take your time with each step and ensure that you’re as thorough as possible, especially if using stronger chemicals!
1. Preparing the Chemical Cleaning Solution
First, you need to prepare the cleaning solution. Pay attention to the concentration indicated by the manufacturer and follow their guidelines as precisely as possible. You can mix the cleaning solution in a simple bucket.
It’s also possible that you need to prepare more than one chemical solution.
2. Removing the RO Membrane from Its Vessel
Next, take the RO membrane out of its housing. (You need to shut off the water supply, close the RO storage tank valve, depressurize the system, and remove the membrane housing cap first.)
3. Soaking the RO Membrane
You will need to soak the membrane long enough to allow the chemical solution to do its job. This is a crucial part of the process and you will need to wait as long as the manufacturer recommends – don’t rush it!
In case you’ve prepared more than one chemical bath, let the membrane soak in each for the required time, one after the other.
4. Rinsing
Once that’s done, you can rinse the RO membrane. Rinsing is also important as it removes additional pollutants which may not have gotten dissolved by the chemical solution in the previous step. Also, you don’t want any leftover chemicals in your drinking water, so take this step seriously.
5. Putting Everything Back Together
At this point, you’re ready to put the system back together. Simply follow the disassembly steps in reverse and allow your system to run for a while to ensure that any remaining chemicals are flushed out, there are no leaks, and that the membrane works properly.
Using the Right RO Membrane Cleaning Chemical
You should take the time to identify the right cleaning chemical for your situation. Otherwise you risk applying chemicals that are too harsh for no reason, or conversely using chemicals that are too weak to get the job done.
In certain cases more than one cleaning chemical may be required.
High pH RO Membrane Cleaning
You should use a high pH chemical cleaning solution if you’re dealing with organic foulants and biofouling. You will need to test your water to verify the presence of these foulants in the first place. If you’re only dealing with suspended solids, polymers, and other similar foulants, you will probably want to go with a low pH solution instead as described below.
Low pH RO Membrane Cleaning
A low pH cleaning solution is recommended when dealing with inorganic foulants. This includes sulfate scale, carbonate, metals, and various other types of inorganic compounds that may make their way into your water supply. Once again, testing is important if you want to be sure you’re using the right solution.
How Often to Clean an RO Membrane
Most people probably never clean their RO membranes in point-of-use applications and that’s perfectly fine. They still last between 2 and 5 years depending on water quality.
Whole house reverse osmosis systems can be different. Again, it depends on your water conditions on what kind of pre-treatment you have in place, but cleaning as often as 2-4 times a year may be recommended.
Additional Tips for How to Clean a Reverse Osmosis Membrane
- Always wear protective equipment when dealing with chemicals
- Work in an adequately ventilated area
- Don’t rush any step of the process
- Test your system once you’re done to ensure that you didn’t create any leaks or other issues
If you have any questions about cleaning RO membranes please don’t hesitate to leave a comment below!
Information provided on BOS is for educational purposes only. The products and services we review may not be right for your individual circumstances.
We adhere to strict editorial guidelines. Rest assured, the opinions expressed have not been provided, reviewed, or otherwise endorsed by our partners – they are unbiased, independent, and the author’s alone. Our licensed experts fact-check all content for accuracy. It is accurate as of the date posted and to the best of our knowledge.


