How to Flush an RO Membrane at Home | Full Guide
Written by: Alexandra Uta // Last Updated: Mar 5, 2023
This page may contain affiliate links. If you buy a product or service through such a link we earn a commission at no extra cost to you. Learn more.
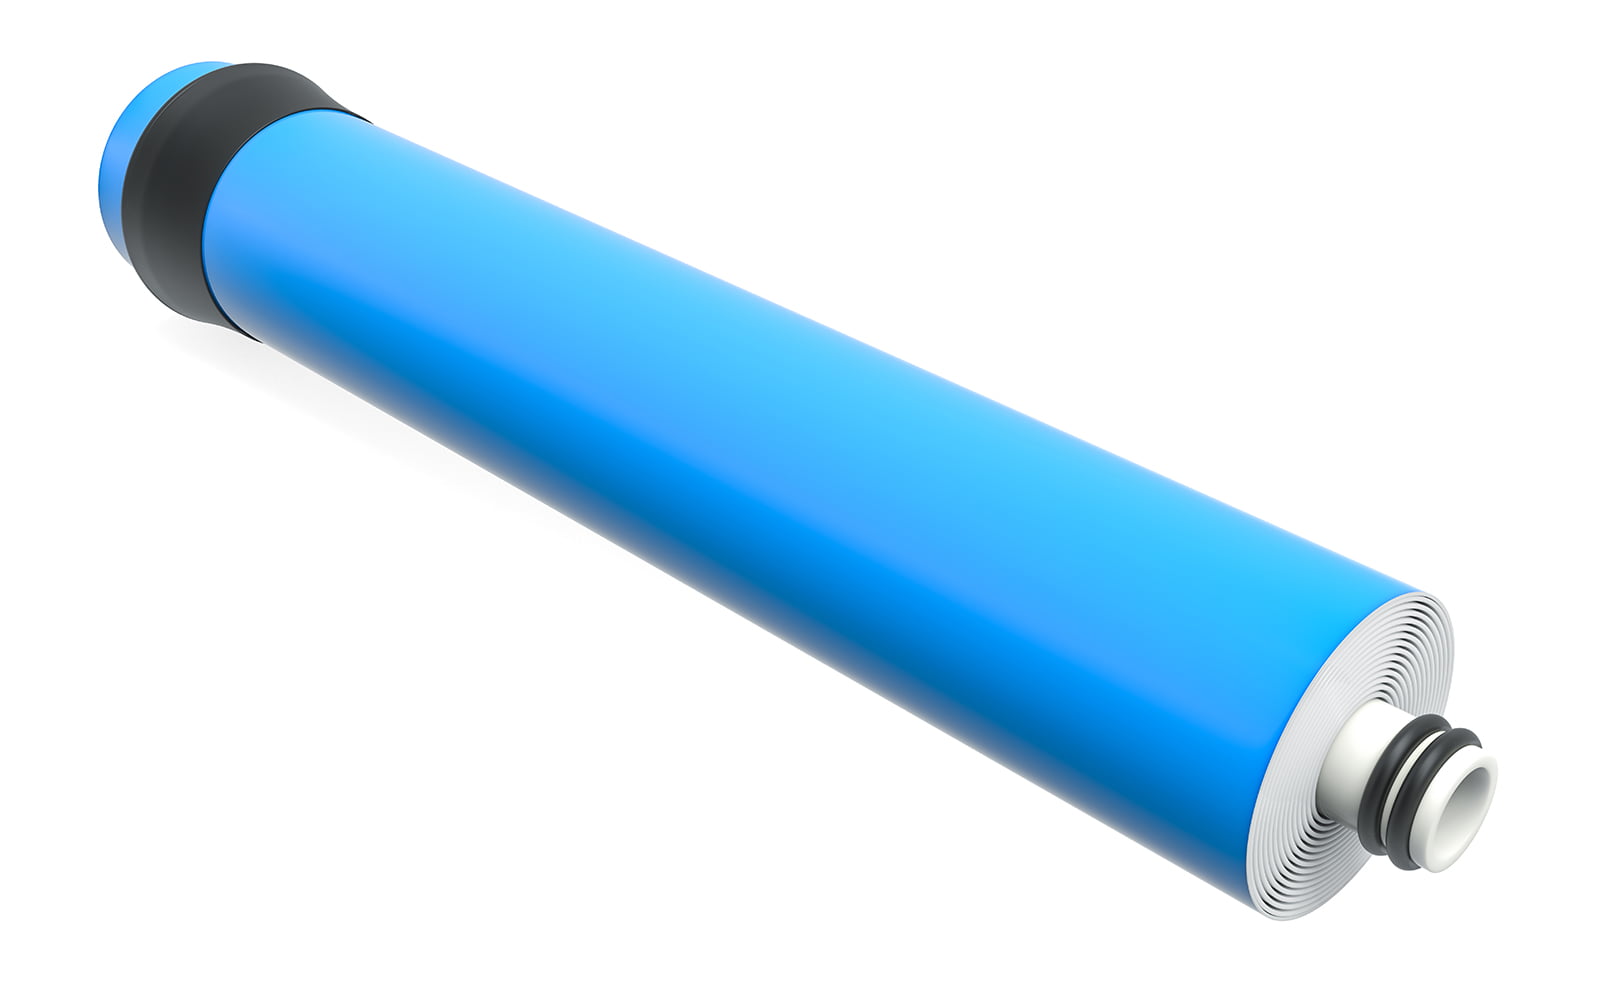
Flushing a reverse osmosis membrane can help extend its lifespan.
While this is often not a concern with small units like countertop and under sink reverse osmosis systems, flushing can make a lot more sense with a whole house RO system. But even in a point-of-use application RO membrane flushing is still possible to do – most people just don’t do it because simply replacing a membrane every couple of years doesn’t break the bank.
Still want to learn how to flush an RO membrane at home? Okay, let’s go!
Contents
show
Key Takeaways
- Flushing an RO membrane with a flush kit is as easy as opening the ball valve for about 20-30 minutes.
- If you don’t have a flush valve you can remove the flow restrictor from the drain line and wait the same amount of time.
How to Flush an RO Membrane at Home
If you want to flush your reverse osmosis membrane by yourself at home, there are two general approaches you can take: you can either use a flush kit, or do it manually without one.
1. Flushing with a Flush Kit
If your RO system was purchased more recently, there’s a slight chance that it has an integrated manual flush valve on the drain line. This simplifies the process significantly.
- You simply need to align the ball valve with the waste line to put the RO system in flushing mode.
- Leave the system running for about half an hour to flush it.
- Close the ball valve once you are done.
By the way, it’s also possible to hook up a flush kit with a ball valve to the back waste line of your RO system later on.
2. Flushing without a Flush Kit
If you don’t have a flush kit, you have a little more work ahead of you:
- Disconnect the waste line from your reverse osmosis system.
- Look for the flow restrictor on the waste line and take it out.
- Hook up the waste line to the RO system again.
- Leave the system running for half an hour to flush it.
- At the end of the flush, shut off the system.
- Disconnect the waste line.
- Reinstall the flow restrictor and hook up the waste line as it was in the beginning.
Common Reverse Osmosis Membrane Flushing Methods
There are several methods for flushing reverse osmosis membranes. What you would normally use at home is forward flushing…
Forward Flushing
With forward flushing, the feed side is used to sanitize the RO membrane. This method simply relies on the flow of water over the membrane to clean it thoroughly. However, if the membrane is heavily clogged, this method might be insufficient and you may have to use back flushing instead.
Back Flushing
Back flushing is similar, but it uses the water on the permeate side of the membrane for flushing instead. Water is forced to run back through the system at a higher pressure than normal, which allows it to “scrub off” particles attached to the membrane.
Air Water Flushing
Air water flushing relies on air trapped in the water on the feed side. Once the water starts bubbling due to that air, this creates strong turbulence which can easily take down contaminants from the membrane.
This is the most cost-effective method for flushing an RO membrane as it doesn’t waste that much water. However, air flushing is usually only found in commercial and industrial applications.
Further Reading:
How Often to Flush an RO Membrane
How often you should flush your RO membrane depends on your usage habits and the amount of contaminants in your water supply. You should experiment with a few different schedules to see what works best for you. Start with monthly flushing.
Also, as explained above, most people never flush their RO membranes and they’re still fine.
Signs That Your RO Membrane Needs Flushing
You can also watch for specific telltale signs that your RO membrane would do good with a flush. These include:
- Increased salt permeability – usually in the range of 10% – 15%
- Drop in permeate flow pressure within a similar range as above
- The pressure difference between the two sides of the membrane increasing significantly
How to Deep-Clean an RO Membrane with Chemicals
You can also deep-clean your RO membrane with the use of specialized chemicals. This should only be done as a last resort if standard flushing methods were unsuccessful. To do that, follow these steps:
- Put on gloves and goggles.
- Prepare the cleaning solution(s) as specified on the label.
- Remove the RO membrane from its housing.
- Soak the membrane in each chemical solution for the specified time.
- Once you’re done, rinse the membrane thoroughly before putting it back into its housing.
- Flush again.
If you have any questions about flushing RO membranes please don’t hesitate to leave a comment below!
About the Author Alexandra Uta
![]()
![]()
![]()

Information provided on BOS is for educational purposes only. The products and services we review may not be right for your individual circumstances.
We adhere to strict editorial guidelines. Rest assured, the opinions expressed have not been provided, reviewed, or otherwise endorsed by our partners – they are unbiased, independent, and the author’s alone. Our licensed experts fact-check all content for accuracy. It is accurate as of the date posted and to the best of our knowledge.