How to Do Reverse Osmosis at Home
Written by: Gene Fitzgerald // Last Updated: Aug 25, 2023
This page may contain affiliate links. If you buy a product or service through such a link we earn a commission at no extra cost to you. Learn more.
Reverse osmosis is hands down the best approach for purifying water on a household scale.
It’s efficient, not very expensive, and nothing comes close to it in terms of filtered water quality.
If you’ve been wondering how to do reverse osmosis at home and get access to RO water, this article is for you.
Contents
show
Key Takeaways
- You cannot produce reverse osmosis water at home without buying an off-the-shelf system or buying the necessary components, like an RO membrane, and putting them together yourself.
How to Do Reverse Osmosis at Home
So, how to do reverse osmosis at home?
Keep in mind that reverse osmosis, while a very simple process in mechanical terms, requires some advanced equipment for proper operation. At the heart of the system is the reverse osmosis membrane – a specially manufactured element lined with very tiny pores, which only allow water molecules to pass through. This is not something you can produce on your own.
You can, however, purchase a reverse osmosis system and install it yourself. Alternatively, if you still insist on throwing some DIY into the mix, you can purchase the different components of a reverse osmosis system separately, and put them together on your own. Most of those components are interchangeable so nothing is stopping you from mixing and matching, as long as you keep an eye on their ratings.
Components Required to Get RO Water at Home
Here is a basic list of components you’re going to need to get RO water at home, as well as a brief explanation of what each one does.
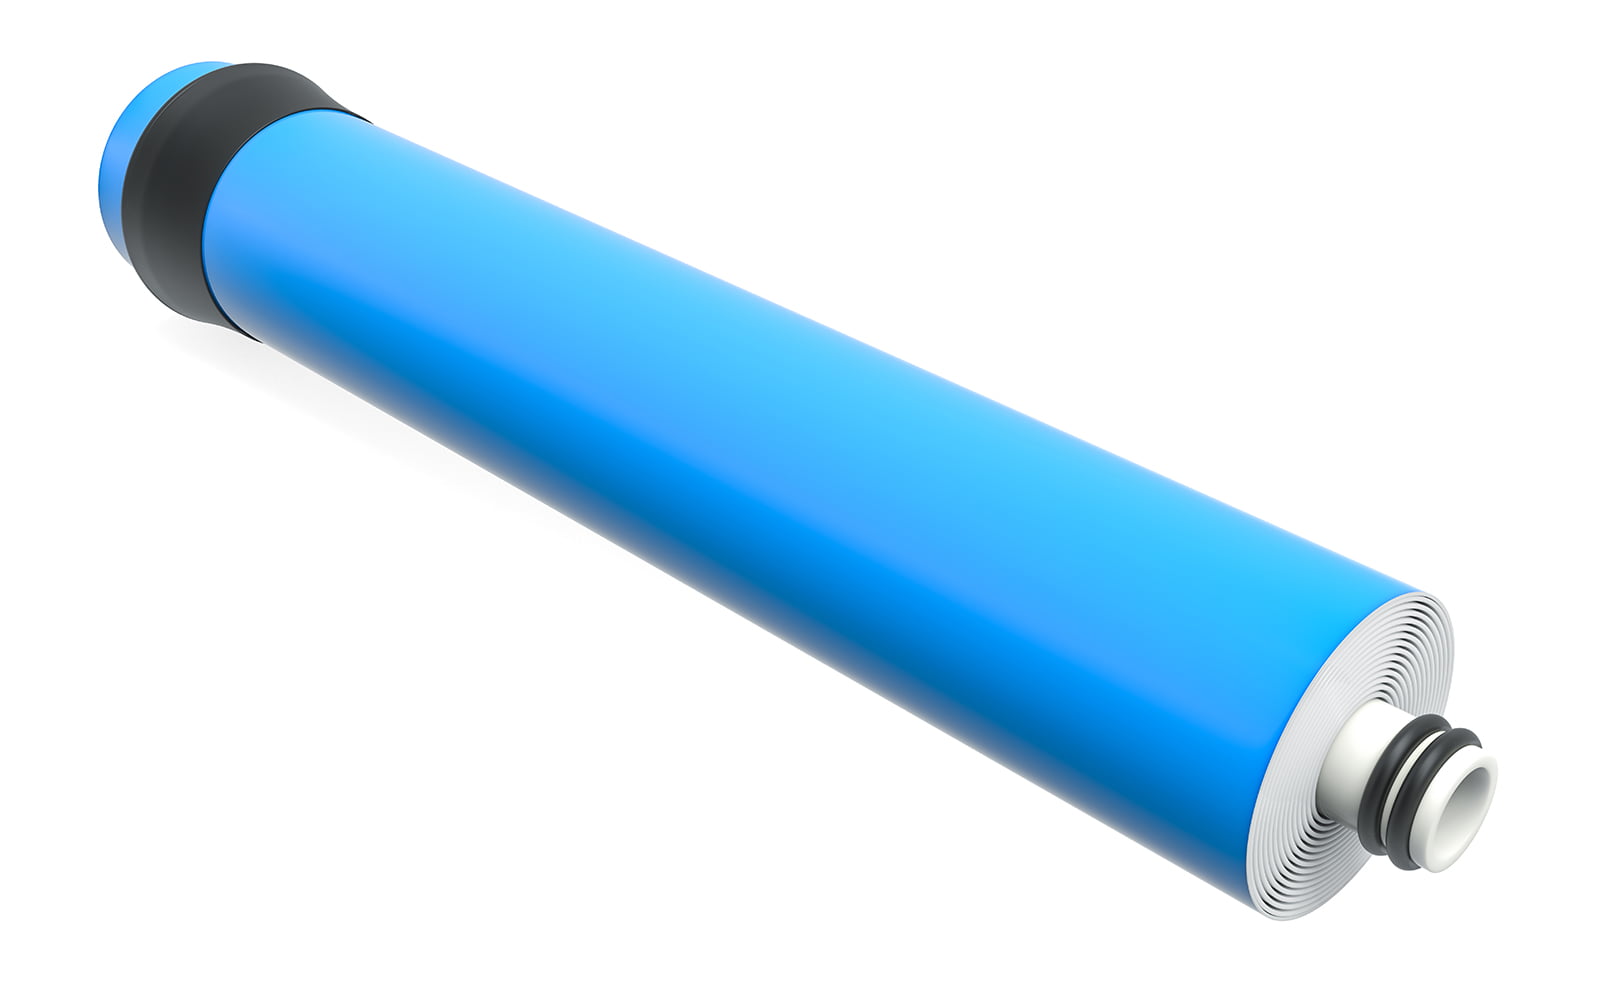
Reverse Osmosis Membrane
This is the main element of any reverse osmosis setup. The membrane is where the crucial filtration actually happens. Water is pushed against this membrane at a high level of pressure, resulting in water molecules passing through while everything else gets left behind and mixed with the reject stream.
Pre-Filters
Most reverse osmosis systems utilize one or more pre-filters to improve the quality of water before it reaches the membrane. This is important when dealing with certain types of contaminants which can negatively affect the operation of the membrane and eventually clog it up, such as chlorine and sediments.
Post-Filters
Likewise, the system may include one or more post-filters, designed to remove any remaining contaminants after water has passed through the reverse osmosis membrane. At the least, you should have a carbon filter at this stage to address any unusual tastes or smells.
Filter Housings
Any filter elements that don’t have a modular design require filter housings.
Storage Tank
A storage tank is necessary due to the slow operation of reverse osmosis filtration. Without one, you’d have to wait a long time to fill up just one glass of water. Keep in mind that you should avoid making the tank too large though – this can result in water developing a stale taste after sitting in it for too long.
Automatic Shut-Off (ASO) Valve
The ASO valve ensures that your reverse osmosis system doesn’t work excessively when it doesn’t have to. As the name implies, it causes the system to shut off once the storage tank is full. This will significantly improve the efficiency of a reverse osmosis system.
Check Valve
With the use of a check valve, you ensure that water won’t flow back from the storage tank into the RO membrane. Without one, you risk damaging your membrane irreversibly. Also, an ASO valve won’t work if there’s not check valve.
Flow Restrictor
A flow restrictor keeps up the pressure inside the RO membrane. This avoids excessive wastewater production.
RO Faucet
Reverse osmosis is incredibly slow. You’re going to need a dedicated faucet.
Tubing and Connectors
Finally, you’ll need a bunch of different-sized tubing pieces as well as various connectors to hook everything up. The exact sizes will depend on the components you’ve purchased, so check to make sure that they are compatible. You’ll need:
- Feed water valve
- Tees
- Elbows
- Drain saddle
- Mounting clips (not in all cases)
- Tubing
Installation
Now that you have your components in place, it’s time to get to work. Before that though, you’re going to need some tools and additional supplies to get the job done.
Tools
- All of the above components
- Screwdriver
- Power drill
- Drill bits – align the size with your faucet
- Tubing cutter
- Utility knife
- Wrench
- Towel
- Bucket

Step-by-Step Instructions
- Connect the check valve to the permeate outlet on the RO membrane housing.
- Connect an elbow fitting to the other outlet port.
- Also connect an elbow fitting to the inlet port.
- Insert the RO membrane into its housing.
- Set up any pre-filters (usually sediment and carbon).
- Connect the first and second pre-filter using the right-sized tubing.
- For the second pre-filter, connect a short section of tubing followed by the ASO valve (inlet port).
- Attach the outlet port to a section of tubing connected to the RO membrane inlet.
- More tubing connects to the check valve that sits on the RO membrane housing outlet. The other end of the tubing connects to the ASO.
- The remaining port on the ASO needs to connect to a Tee fitting (put tubing in between).
- The others ends of the Tee connect to the post-filter (if there is one) and the RO storage tank – use more tubing obviously.
- You can secure the entire system using mounting clips.
- Another length of tubing connects to the remaining free port on the RO membrane housing. This is for your system’s drain connection. The other end will connect to your sink drain pipe using the drain saddle.
- Connects the post-filter to your RO faucet (installed on your sink or countertop).
- Finally, connect the inlet of the first pre-filter to the cold water supply under your kitchen sink using the feed water valve.
Further Reading:
What Is Reverse Osmosis Water Filtration and How Does It Work?
Reverse osmosis is highly advanced and capable of eliminating many different types of impurities and contaminants from water. In fact, reverse osmosis is so powerful that it provides almost pure water.
The principle behind the technology is that unfiltered water is pushed against a semipermeable membrane under relatively high pressure. The membrane has tiny pores that reject anything but H2O (with a few exemptions). The clean water moves onwards, while some proportion of the unfiltered water gets sent down the drain carrying all the rejected contamination.
The size of pores on the surface of an RO membrane is around 0.0001 microns which is incredibly small. This allows an RO membrane to remove metals, salts, minerals, and other dissolved ions, floating particles, pesticides, microorganisms – you name it!
And that’s not all; a reverse osmosis system uses additional pre and post-filters for even broader contaminant removal. This ensures that an RO membrane works properly for years and that your water tastes as pure as possible.
If you have any questions about how to perform reverse osmosis at home please don’t hesitate to leave a comment below!
About the Author Gene Fitzgerald
![]()
![]()
![]()
![]()
![]()
![]()
![]()

Information provided on BOS is for educational purposes only. The products and services we review may not be right for your individual circumstances.
We adhere to strict editorial guidelines. Rest assured, the opinions expressed have not been provided, reviewed, or otherwise endorsed by our partners – they are unbiased, independent, and the author’s alone. Our licensed experts fact-check all content for accuracy. It is accurate as of the date posted and to the best of our knowledge.