How to Make Your Own Reverse Osmosis Water at Home
Written by: Gene Fitzgerald // Last Updated: Aug 7, 2023
This page may contain affiliate links. If you buy a product or service through such a link we earn a commission at no extra cost to you. Learn more.
Reverse osmosis systems are increasingly popular for home water filtration – and for good reason.
Reverse osmosis is highly effective at broad-based contaminant removal, and RO systems are generally affordable and low-maintenance.
That said, there are several options when it comes to making your own RO water at home. Let’s take a closer look at them.
Contents
show
Key Takeaways
- RO water can be made at home by installing and using a reverse osmosis system.
- There are several options and price points when it comes to RO systems including countertop, under sink, and whole house units.
- If you are a DIYer, you can also order separate components from a water filtration supplier and assemble and install an RO system on your own.
- Making RO water is essentially effortless once you have the system installed. Most systems feature a storage tank that will automatically refill itself after you dispense water from the faucet.
How to Make RO Water at Home
So, how to make RO water at home?
To make RO water at home you’ll need to use some type of reverse osmosis system. There are several types of RO systems – some require complex installation and others do not.
The easiest way to make RO water at home would be to set up a countertop RO unit. These systems sit on the kitchen countertop and either require manual filling or a simple kitchen faucet hookup.
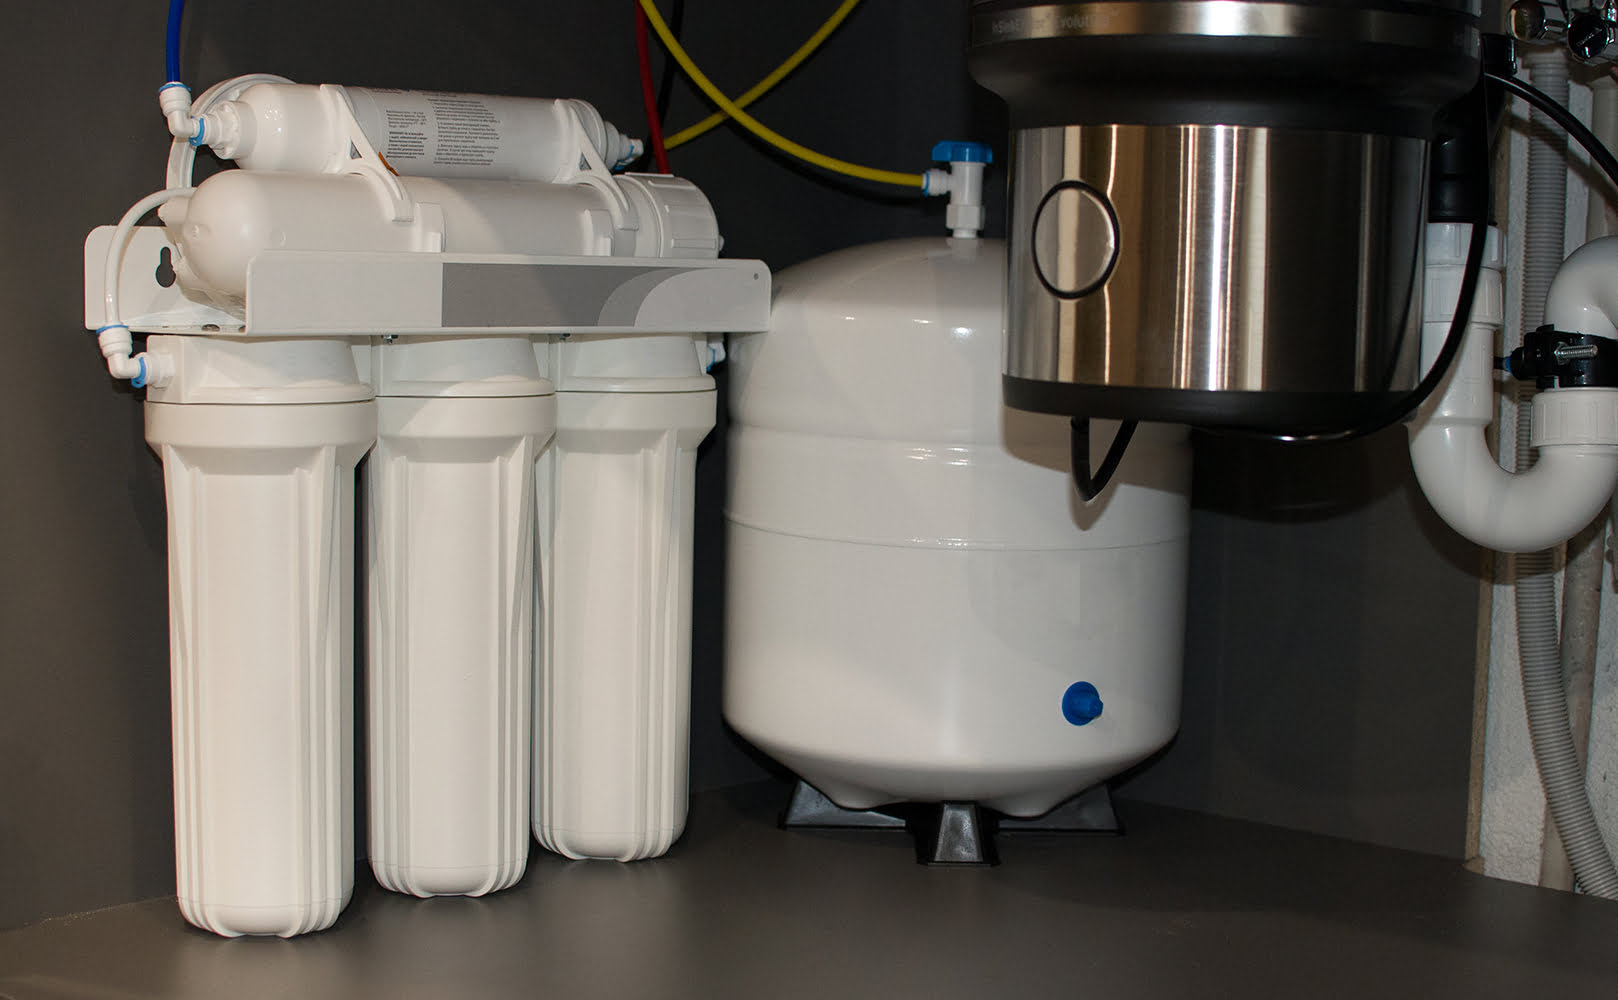
A slightly more complex system would be an under sink reverse osmosis water filter. These systems are typically installed underneath a kitchen sink and require a cold-water hookup, a drain pipe hookup, as well as installing a separate RO faucet on the countertop.
Lastly, whole house reverse osmosis systems will filter all of the water flowing into your home and are installed at the main water line. These systems are more complex to install, cost significantly more than the other types, and tend to be “over the top” for most people.
If you are more of a DIYer, then you can also put together your RO system from components sourced from a water filtration supplier. This won’t necessarily save you that much over purchasing a pre-assembled system, but it will allow you to tailor-make the system to meet your needs.
Is Making Your Own Reverse Osmosis Water Hard?
Making reverse osmosis water is simple once you have your reverse osmosis system installed at home. These systems are essentially automated and will filter water automatically every time you pour water out of the RO faucet.
Typically, home RO systems will use a storage tank to keep a reserve of filtered water on tap.
These tanks use internal pressure to regulate the filtration process – when water is dispensed from the RO faucet, the tank pressure drops which triggers the auto shutoff valve to tell the system to start filtering water. Once the storage tank is full, its internal pressure increases – once again triggering the automatic shutoff valve to stop filtering.
The only major maintenance tasks required for reverse osmosis filtration systems are changing the filter elements on time and cleaning/sanitizing the system + tank periodically.
DIY RO System Components
Building a diy RO system from scratch isn’t really possible, however, assembling one from parts from a reputable supplier is doable. This option will give you the ability to make a system to suit your precise specifications.
The other option is purchasing a pre-assembled system and doing a DIY installation. This will save you on the cost of hiring a plumber or contractor and will be easier than assembling one from separate parts.
Components Needed for a DIY RO System
- Feed Water Valve: The feed water valve is the valve that connects the RO system to the cold-water supply under your sink.
- Tees: Tees are T-shaped fittings with 3 tubing connections on them. They are used after the RO membrane and before the storage tank/post-filter. The three-way design allows water pressure to dictate the water flow.
- Elbows: Elbows are small 90-degree connectors that allow for perpendicular connections to filter outlets.
- Pre-Filters: Pre-filters are used to protect the RO membrane from fouling or clogging. Most RO systems will feature a sediment pre-filter to remove large particles and an activated carbon pre-filter to remove chlorine and other chemicals.
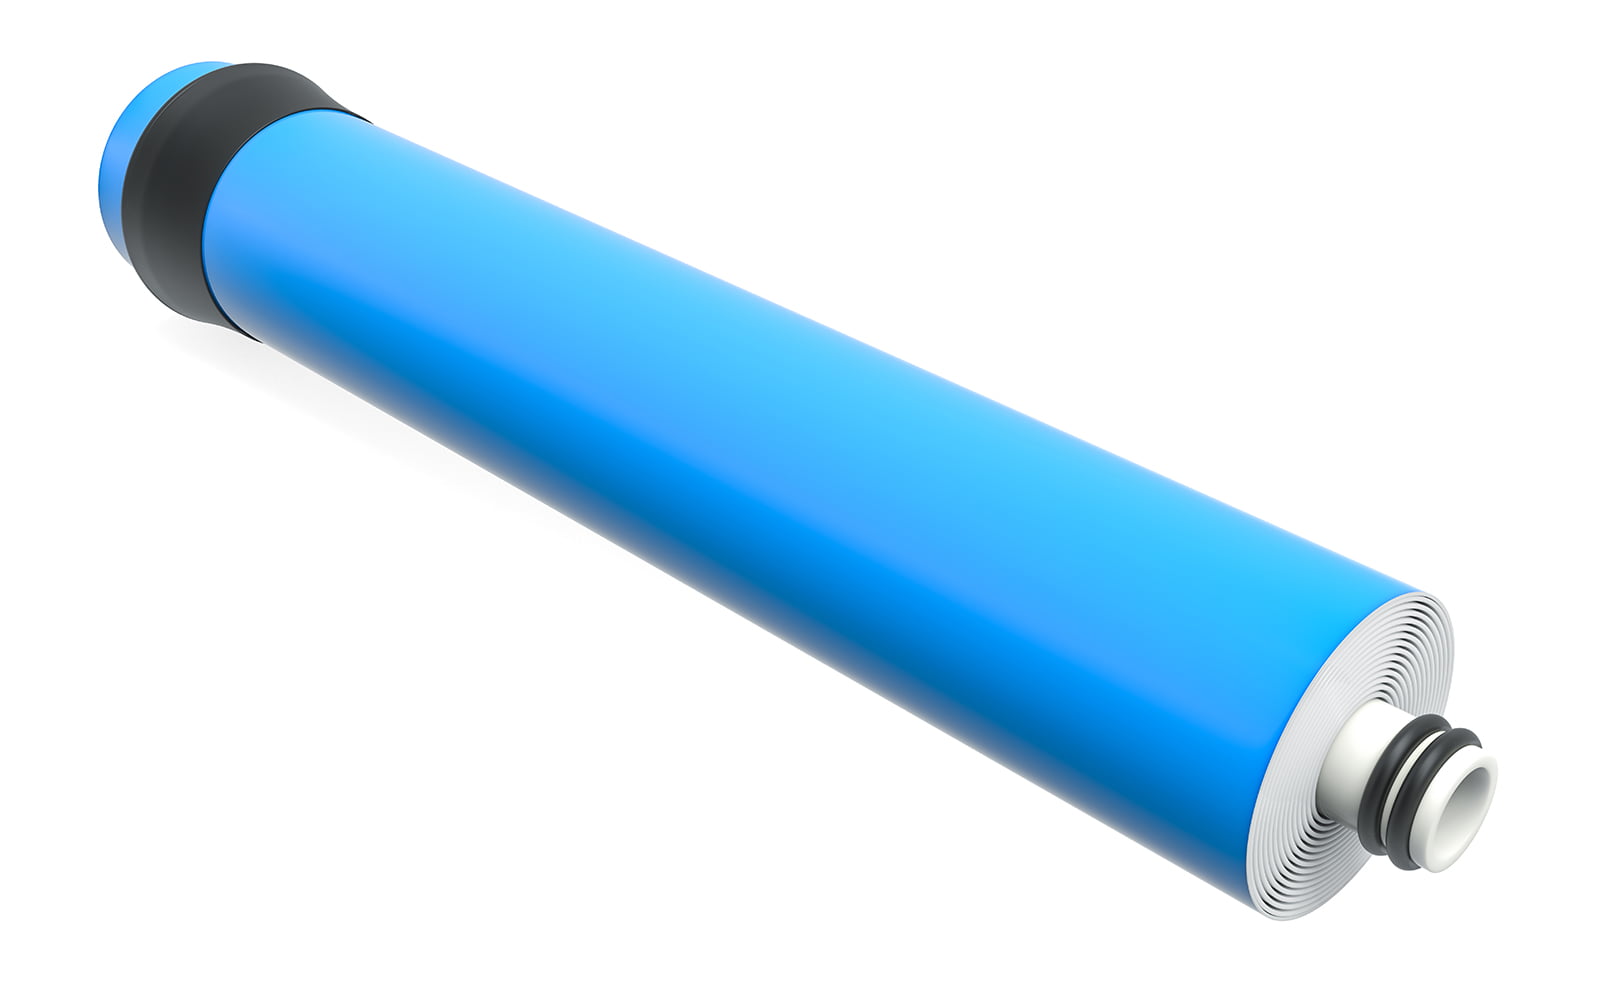
- RO Membrane + Housing: The RO membrane is the heart of any reverse osmosis system. It uses an ultra-fine mesh to separate a wide array of contaminants from your water. It sits inside a membrane housing to keep it protected.
- Check Valve: The check valve stops the flow of water backward into the membrane from the storage tank. It’s important for preventing damage to the sensitive membrane.
- Flow Restrictor: The flow restrictor – like the name suggests – restricts the flow of waste water out of the system. This keeps the pressure level high enough for the membrane to work properly.
- RO Storage Tank: RO systems filter water slowly, so a storage tank is needed to keep enough water on hand for immediate use. The tank is pressurized to avoid the need for a pump.
- Tubing: Food-grade tubing – typically ¼” – is used for transporting water throughout the system. This tubing is designed to work with quick-connect fittings.
- Drain Saddle: The drain saddle is where the drain line running from the membrane housing connects to the drain pipe under your sink.
- RO Faucet: The RO faucet dispenses filtered water at the kitchen sink. It’s a separate faucet from your main kitchen faucet, so you’ll need to install it on your countertop.
How to Install a Reverse Osmosis System
The process of installing a reverse osmosis system will vary depending on the system type and model, but for most under sink units, the process will be similar to the process outlined below.
Required Tools
- Power drill with drill bits (1/4”, 3/8”, or 1/2″)
- Screwdriver
- Tube cutter or utility knife
- Adjustable wrench
- Plumber’s tape
- Rags
1. Mount the Faucet
Depending on your setup, you may need to drill a hole through either the sink or the countertop to mount the reverse osmosis water faucet. Some sinks have an existing hole for a soap dispenser or a sprayer that can be repurposed for mounting the faucet.
2. Install the Drain Saddle
The drain saddle is where the drain line running from the RO system connects to the drain pipe under your sink. It should be installed as far away from the dishwasher and garbage disposal discharge as possible. You will need to drill a ¼” hole in the drain pipe to mount the drain saddle.
3. Install Feed Water Valve
This valve connects the RO system to the cold water supply line under your sink. You will need to shut off the water supply line and release the water pressure before you can install the feed water valve.
4. Install Storage Tank
The storage tank should be installed underneath the sink if possible, or at least within 10 feet of the faucet to maintain water pressure. Ensure that the cabinet beneath the sink can hold the weight of a full tank.
5. Mount the RO Module
Mounting the RO module will give you enough space to maneuver and replace filters more easily. When mounting the module make sure it’s high enough to open the filter housings easily.
6. Connect Tubing
Tubing is often color-coded to make the installation process easier. You may need to use tube cutters or a sharp utility knife to shorten some of the tubing to remove excess slack. Push the tubing into the fittings and pull gently to ensure they are properly connected.
7. Install Filters and Membrane
You’ll need to insert the pre and post-filters as well as the membrane into their respective housings. Remove the filters and membrane from their packaging and insert them into the housings, check to make sure the O-rings are in place, and then install the housings onto the system module.
How Does RO Water Purification Work and What Are the Benefits?
The basic premise behind RO water purification is using water pressure to push feed water through an ultra-fine membrane capable of removing even the tiniest contaminants.
However, unlike other cartridge-based filters, RO systems don’t trap any contaminants, but rather separate feed water into two streams: one is clean filtered water sent on to the next stage and the other is contaminant-filled waste water which is sent down the drain.
As reverse osmosis requires pressure to push water through its membrane, water pressure must fall within a specific range for the process to work. If your feed water pressure is too low, you can install a booster pump to increase your feed water pressure.
RO systems rely heavily on the RO membrane for filtration but also feature pre-filter stages to remove contaminants that can damage said membrane – namely sediment and chlorine. They also frequently feature an additional carbon post-filter to polish the water’s taste and odor.
Further Reading:
Benefits of RO Water Purification
- Contaminant removal: Reverse osmosis is one of the best filtration methods for broad-based contaminant removal. RO systems remove a wide range of both organic and non-organic contaminants including heavy metals, pesticides, chlorine/chloramine, VOCs, and most microbial contaminants.
- Better tasting water: RO water is incredibly clean and neutral tasting as it removes nearly everything from water except pure H2 This includes sodium and other minerals that can give water an off taste.
- Healthy drinking water: As nearly all contaminants are removed during the RO filtration process, any health concerns you might have should be alleviated.
- Affordable: While RO systems aren’t cheap, once they are installed, the ongoing maintenance costs are minimal.
- Cuts out bottled water: If you’re currently purchasing bottled water, then you will save a significant amount of money when you install an RO system. Not only will you save money, but you’ll cut down on plastic waste, which is a serious environmental concern.
If you have any questions about how to make reverse osmosis water at home please don’t hesitate to leave a comment below!
About the Author Gene Fitzgerald
![]()
![]()
![]()
![]()
![]()
![]()
![]()

Information provided on BOS is for educational purposes only. The products and services we review may not be right for your individual circumstances.
We adhere to strict editorial guidelines. Rest assured, the opinions expressed have not been provided, reviewed, or otherwise endorsed by our partners – they are unbiased, independent, and the author’s alone. Our licensed experts fact-check all content for accuracy. It is accurate as of the date posted and to the best of our knowledge.