How to Hook Up a Reverse Osmosis System to the Ice Maker
Written by: Alexandra Uta // Last Updated: Sep 15, 2023
This page may contain affiliate links. If you buy a product or service through such a link we earn a commission at no extra cost to you. Learn more.
Looking for a quick guide for connecting a reverse osmosis system to your ice maker?
You’ve come to the right place! This is a relatively uncomplicated process, which we’ve covered in detail below.
Key Takeaways
Here is how to hook up a reverse osmosis system to the ice maker:
- Shut off the water supply and storage tank valve.
- Cut the tubing connecting your RO system module and faucet.
- Install a tee fitting and a new water line directing water to the ice maker.
- Install a shutoff valve in between.
- Make sure there’s adequate water pressure before turning the water supply back on.
How to Hook Up a Reverse Osmosis System to the Ice Maker Step by Step
So, how to hook up a reverse osmosis system to an ice maker?
You should set aside 30-60 minutes for this. You probably won’t need that long, but it’s a good idea to have some extra buffer in case something goes wrong or you need to go back a few steps.
Step 1: Prepare Supplies and Materials
First, gather the necessary supplies and materials. You will need:
- Flexible tubing
- Union tee and union connector
- Inline ball valve
- Bucket
- Plumber’s tape
- Cutting tool
Step 2: Shut Off Water Supply
Start by shutting off your water at the cold water valve. Also remember to close the reverse osmosis storage tank valve.
Step 3: Cut the Tubing of Your Reverse Osmosis System
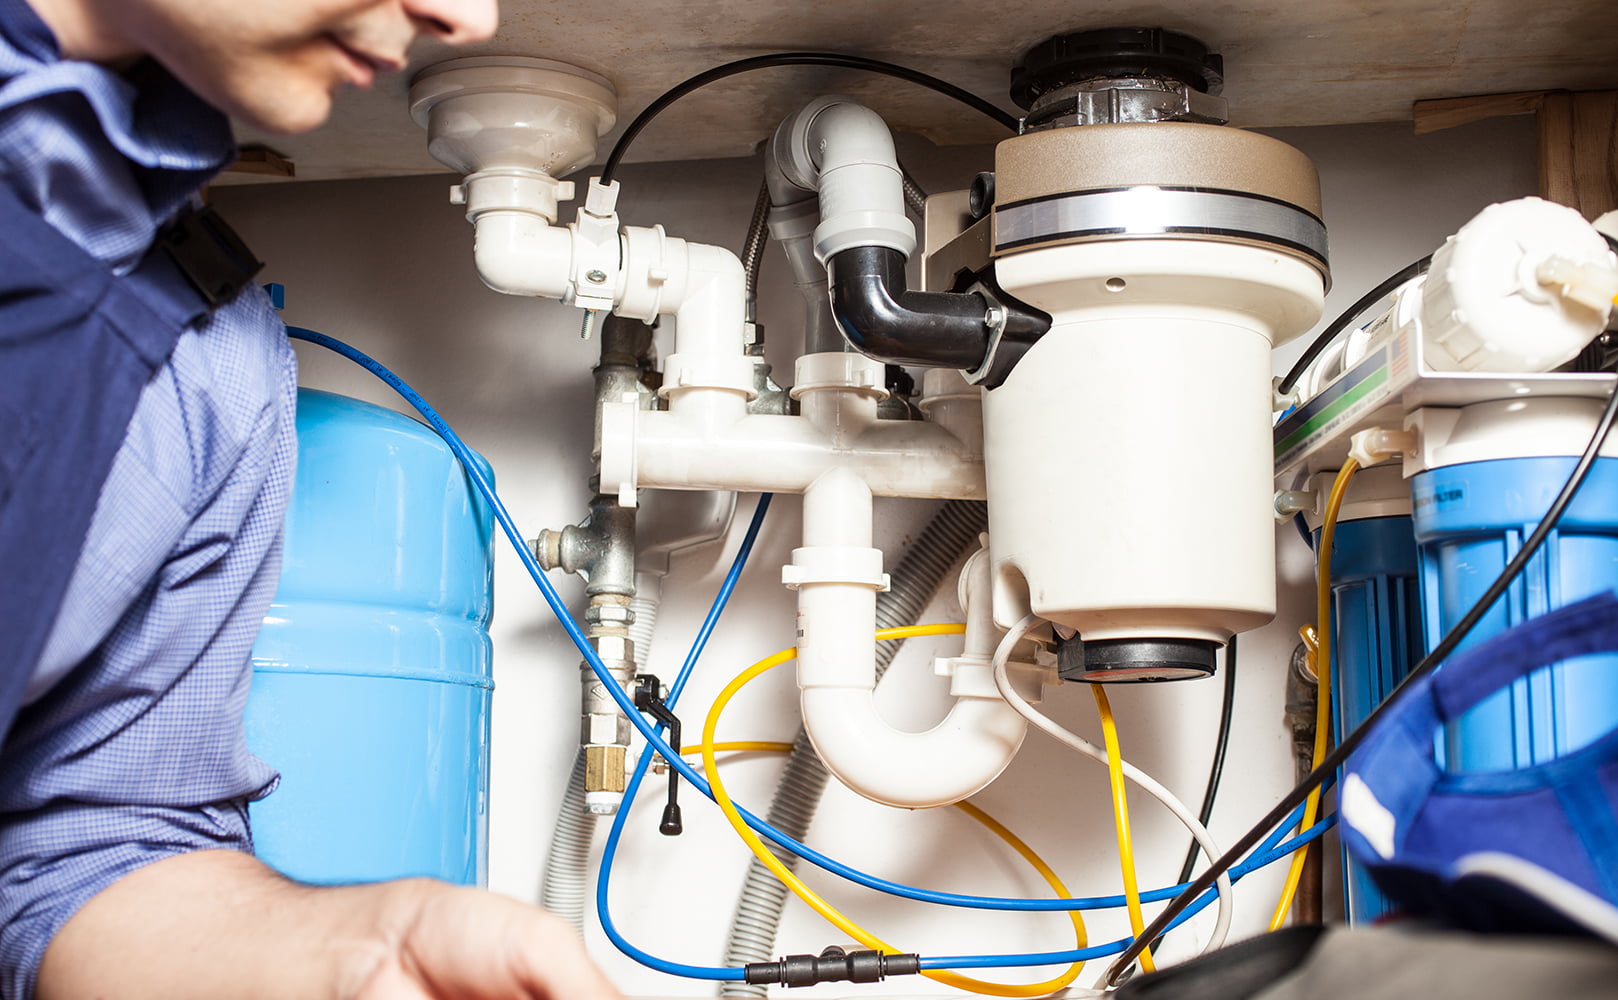
Next, find the tubing that connects your reverse osmosis system to its faucet. Place the bucket underneath it, and cut it. The cut should be around 10 inches away from the connector port.
Step 4: Install Tee Fitting
Now you’re ready to install the tee fitting. Simply take one of the ends and push it into the tubing coming out of your reverse osmosis system. Push until it won’t go in any further, then tug on it a little to verify that it’s securely connected
The other end of the tee fitting goes into the other end of the tubing that you cut earlier. After that, take a new piece of tubing, about 10” long, and insert it into the third tee line.
Step 5: Connect Shutoff Valve
Hook up the inline shutoff ball valve to the other side of the tubing you prepared in the last step. Then, take the remaining tubing, and connect it to the other side of the shutoff valve. Don’t turn on the valve until you’ve filled your storage tank all the way!
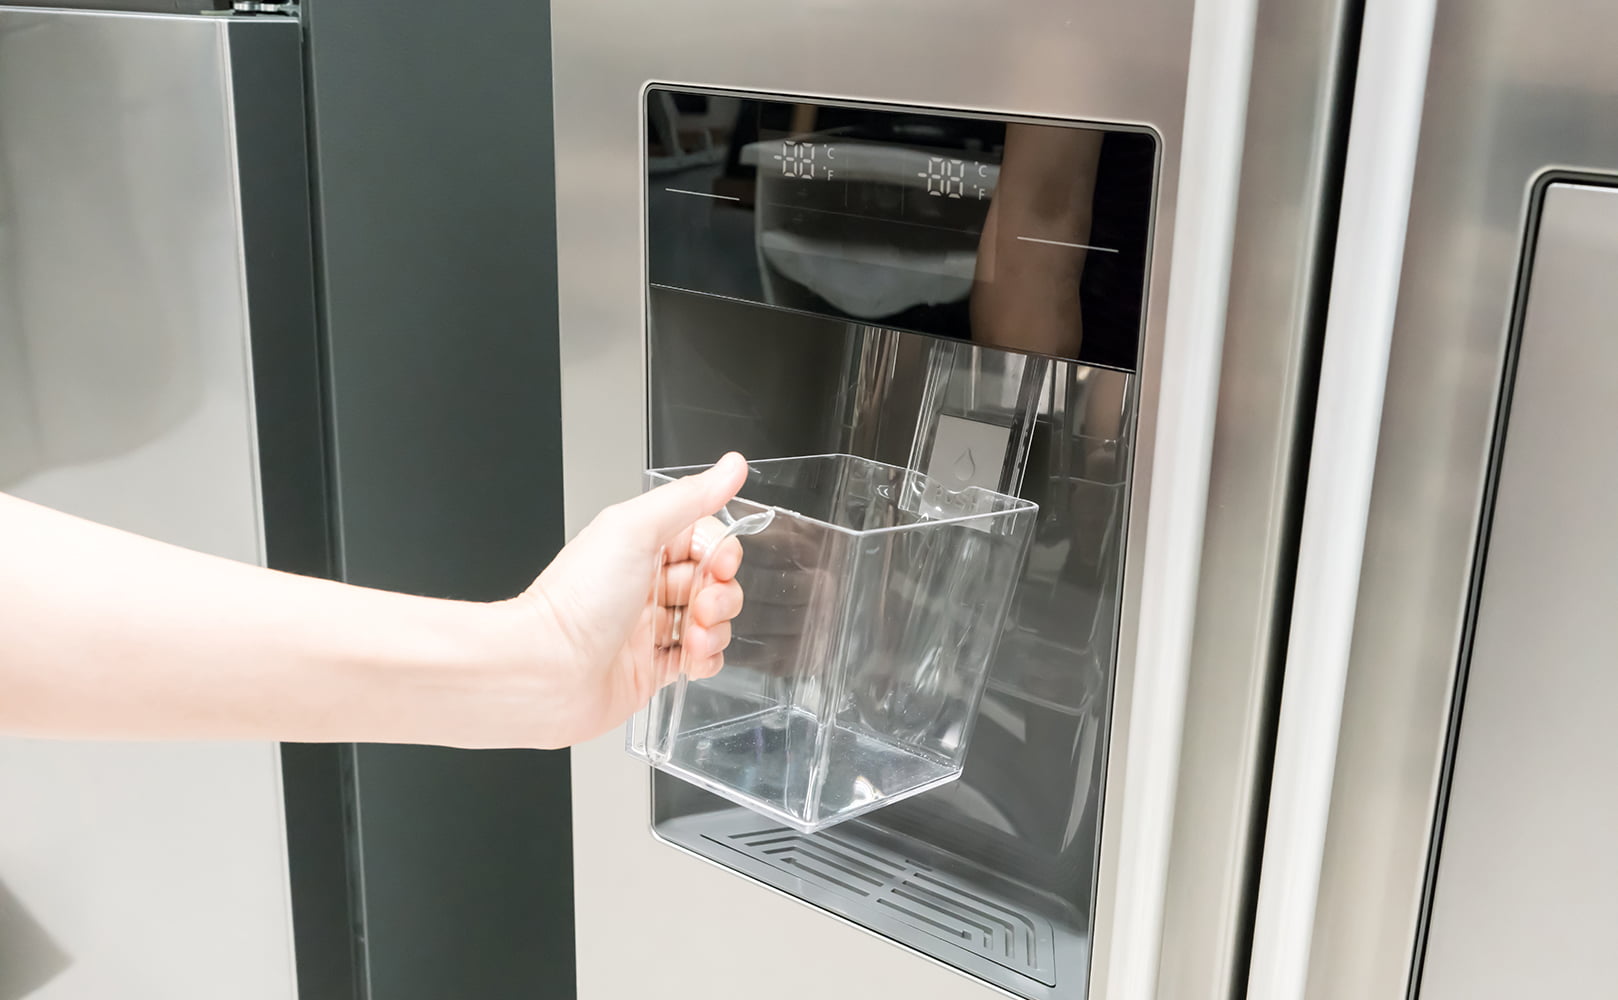
Step 6: Connect Reverse Osmosis System to Refrigerator
You will need some more tubing to connect the reverse osmosis system to your refrigerator. Don’t be afraid to make this connection a bit longer – you can safely push it up to 30 ft, although we don’t recommend using more than 20 for convenience purposes.
If you need to make the connection longer, you will have to use wider tubing and appropriate fittings.
Step 7: Check Water Pressure
Now that everything is hooked up, check the water pressure – both in your fridge’s plumbing, as well as the reverse osmosis system. One of the most common problems when hooking up a reverse osmosis system to an ice maker is that it can lead to pressure differences.
You should verify that this isn’t the case before turning the water back on. Otherwise, you might have to make adjustments or even start from scratch.
Step 8: Turn On Water Supply
Finally, once you’ve verified that everything is properly connected, you can turn the water supply back on. Pay close attention to the system until the tank has filled completely, watching out for any potential leaks.
What to Consider When Hooking Up an Ice Maker to an RO System
There are several points that are important to consider before hooking up reverse osmosis to an ice maker. Here are the most important ones:
- Never use a reverse osmosis system with a fridge or ice maker with copper piping. The copper pipes will corrode and cause leakage.
- Ensure there’s adequate pressure for your fridge to operate correctly once the system has been hooked up. A reverse osmosis system can cause a pressure drop which can lead to improper functioning of your refrigerator.
- Prepare a second storage tank. This is not strictly mandatory, but it will help ensure the proper operation of the system once everything has been connected.
- Your ice cubes might occasionally come out smaller than expected. This could be caused by temporary pressure issues between the reverse osmosis filter and the refrigerator.
- Check the length of the water line connecting the reverse osmosis system to the ice maker. If it’s longer, this can lead to issues with your water pressure that might compromise the functionality of the reverse osmosis filter or the ice maker.
- If you’re planning to switch to drinking reverse osmosis water completely – not just using it for your ice cubes – you might have to make adjustments to your diet, mainly to compensate for the reduced consumption of minerals in your daily diet.
- Using an ice maker installation kit can make the whole process significantly simpler. These kits usually include everything you will need in the process, along with some basic instructions to get you started.
If you have any questions about how to hook up an ice maker to your reverse osmosis system please don’t hesitate to leave a comment below!
Information provided on BOS is for educational purposes only. The products and services we review may not be right for your individual circumstances.
We adhere to strict editorial guidelines. Rest assured, the opinions expressed have not been provided, reviewed, or otherwise endorsed by our partners – they are unbiased, independent, and the author’s alone. Our licensed experts fact-check all content for accuracy. It is accurate as of the date posted and to the best of our knowledge.


