How to Install a Reverse Osmosis Membrane | Full Guide
Written by: Gene Fitzgerald // Last Updated: Feb 22, 2023
This page may contain affiliate links. If you buy a product or service through such a link we earn a commission at no extra cost to you. Learn more.
Installing a reverse osmosis membrane can be a quick and easy process with the right materials and knowledge.
In this guide, we will walk you through each step of installing a reverse osmosis membrane, from gathering the necessary supplies to properly connecting the system to your plumbing.
Let’s go!
Contents
show
Key Takeaways
Here is how to install a reverse osmosis membrane:
- Shut off your water supply and RO storage tank valve, and drain the remaining water from the RO faucet.
- Remove the tubing from the membrane housing.
- Unscrew the cap of the membrane housing.
- Remove the old membrane if you are replacing it. Clean the inside of the membrane housing.
- Insert the new RO membrane into the housing.
- Check any O-rings before screwing the housing cap back on.
- Reconnect the quick connect tubing back onto the housing cap.
- Turn the system on, check for leaks, and then flush.
How to Install a Reverse Osmosis Membrane
Required Tools & Equipment
Before attempting to install your reverse osmosis membrane, ensure you have all the necessary installation supplies.
This includes the membrane itself, towels and bowls to catch drips, needle nose pliers to remove an old membrane if it gets stuck, new O-rings, one or two membrane housing wrenches, and any other parts that may be specific to your RO membrane model.
Oh, and wash your hands so you don’t contaminate your new membrane!

Step 1: Shut Off the Water Supply and Drain All Water
Find and close the water shut-off valve near your RO system/sink. Also close the RO storage tank valve. Then open the RO faucet and drain the remaining water that is in there, all the way until the dripping stops; then close the faucet.
While this is happening, you can lay out your materials and new membrane ready to install.
Step 2: Remove the Membrane Housing Tubing
Detach the water line from the housing cap of the membrane. This can be done by pushing and holding the collet against the quick-connect fitting and pulling out the tubing. There may be a plastic clip on some models that also needs to be removed. Put the tubing in a safe place.
Step 3: Unscrew the Membrane Housing Cap
Have your towel laid out to catch any dripping water. Remove the membrane housing cap by turning it clockwise. This is where your filter wrench or strap wrench may come in handy if it is hard to shift. Pull the end seal out and put it aside with the housing cap.
Further Reading:
(Step 3b: Remove the Old Membrane)
This can be a little difficult if your old membrane has decided to really wedge itself into its housing as it has gotten older and expanded. If it doesn’t move, then you can use your needle nose pliers to get it out.
Clean the inside of the membrane housing with a suitable cleaning agent, such as unscented bleach or warm dish soap. Rinse well afterward.
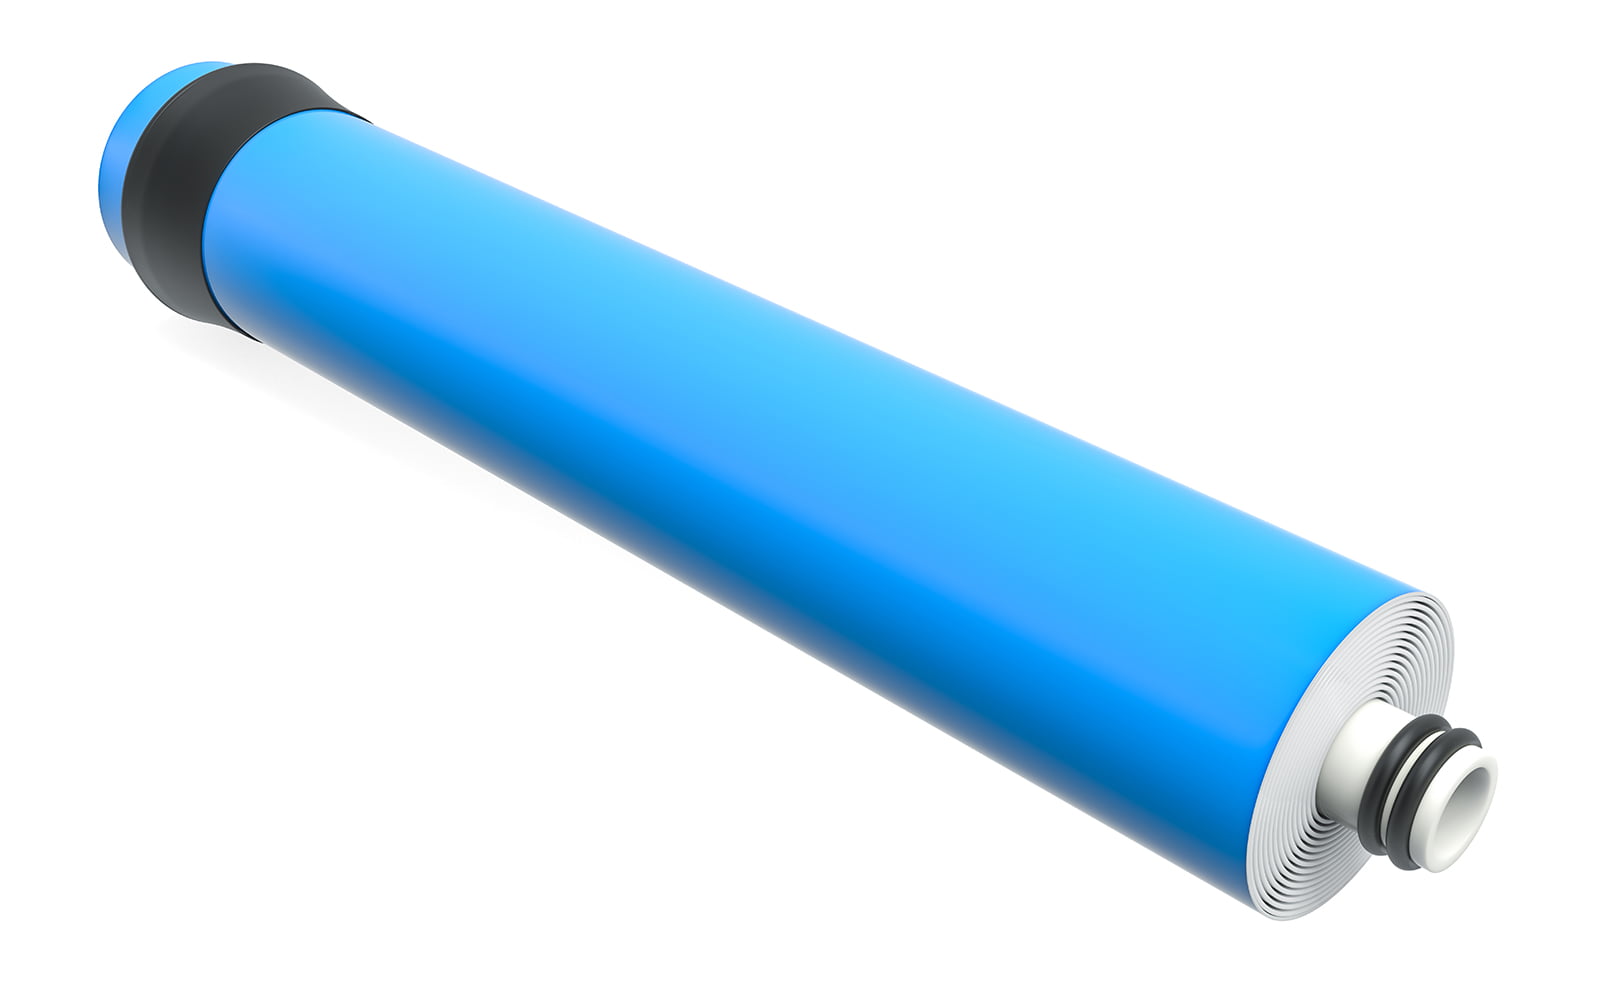
Step 4: Install the New RO Membrane
Push the new reverse osmosis membrane into its housing with the two O-rings going in first, until you feel it is sealed. Some lubricant can be used on the o-rings to help this installation process. Make sure it is in far enough that the housing cap can be installed.
Step 5: Reinstall the Housing Cap
Check the O-rings and seals on the housing cap and lubricate or replace if necessary. Screw the housing cap back on and tighten it with your wrench if you need to, but be careful not to overtighten.
Secure the clocking ring if your system has one. You may need to rotate the housing cap a little to align it properly.
Step 6: Reconnect the Tubing
Push the quick-connect tubing into the membrane cap fitting. Pull back on it to make sure the connection is secure. Turn the water supply back on, open the valves, and flush the system for a few minutes, checking for any leaks.
How to Rinse a New Reverse Osmosis Membrane
New RO membranes often are packed with some kind of preservative, so they must be flushed/rinsed before you can use the filtered water they produce.
Depending on what your manufacturer’s instructions are, letting the tank fill and completely flushing it 1-3 time may be necessary.
Additional Tips
Monitoring Membrane Performance (Salt Rejection Rate)
Measuring the salt rejection rate of your RO system is the most reliable indicator of your RO membrane working properly. To do so, follow these steps:
- Test the TDS of the untreated water.
- Test the purified RO water.
- Calculate the TDS rejection rate: Rejection rate in % = (TDS of raw water – TDS of purified RO water) / TDS of raw water x 100
- If the rejection rate is below 80 percent, it is time to replace the membrane.
If you have any questions about installing an RO membrane please don’t hesitate to leave a comment below!
About the Author Gene Fitzgerald
![]()
![]()
![]()
![]()
![]()
![]()
![]()

Information provided on BOS is for educational purposes only. The products and services we review may not be right for your individual circumstances.
We adhere to strict editorial guidelines. Rest assured, the opinions expressed have not been provided, reviewed, or otherwise endorsed by our partners – they are unbiased, independent, and the author’s alone. Our licensed experts fact-check all content for accuracy. It is accurate as of the date posted and to the best of our knowledge.