How to Install a Whole House Water Filter and Softener Combo
Written by: Alexandra Uta // Last Updated: Jul 10, 2023
This page may contain affiliate links. If you buy a product or service through such a link we earn a commission at no extra cost to you. Learn more.
Whole house water filters and water softeners are typically not offered as a single system. If you want to use both in your house, you’re going to have to purchase them separately, install them, and hook them up to each other.
This is not as difficult as it seems, as long as you take the time to prepare with the right materials and figure out a suitable installation spot.
No idea how to do that? Enter our guide on how to install a whole house water filter and softener combo!
Contents
show
Key Takeaways
These are the steps on how to install a whole house water filter and softener combo:
- Turn off the main water supply.
- Open nearest faucets to drain pipes and release pressure.
- Remove a section from your main water line.
- Optional: Install shut-off valves, bypass valves, pressure gauges, etc.
- Ensure filter’s and softener’s input/output ports are correctly oriented and connect to plumbing. Tip: Use push fittings to avoid having to solder.
- Turn on the main water supply; keep all bypass valves closed. Check for leaks.
- Open bypass valves little by little.
- Keep water running for a few minutes to flush everything.
- Program water softener.
Additional steps for salt-based water softeners:
- Establish drain connection.
- Connect brine tank.
- Fill brine tank with salt and water (check manual for right salt type and amount)
Be Warned
When choosing a whole house water filter and softener combo, make sure that the warranty allows you to perform the installation yourself. With some products on the market, you may be required to use the services of a professional, otherwise you risk voiding the warranty.
Location – Where to Install
You should install your filter-softener combo in a place where it can process the entire water supply of the home. This means placing it as close as possible to the entry point. If you also want to cover external faucets, this can get a bit trickier and you might have to set up the filter further back along the line.
Another important consideration is to make sure that you have easy access to the location of your choice. Installing a whole house filter and softener is not the end of your related work – you’ll have to eventually come back to it to replace filter cartridges and refill salt, and you don’t want to make that process unnecessarily messy.
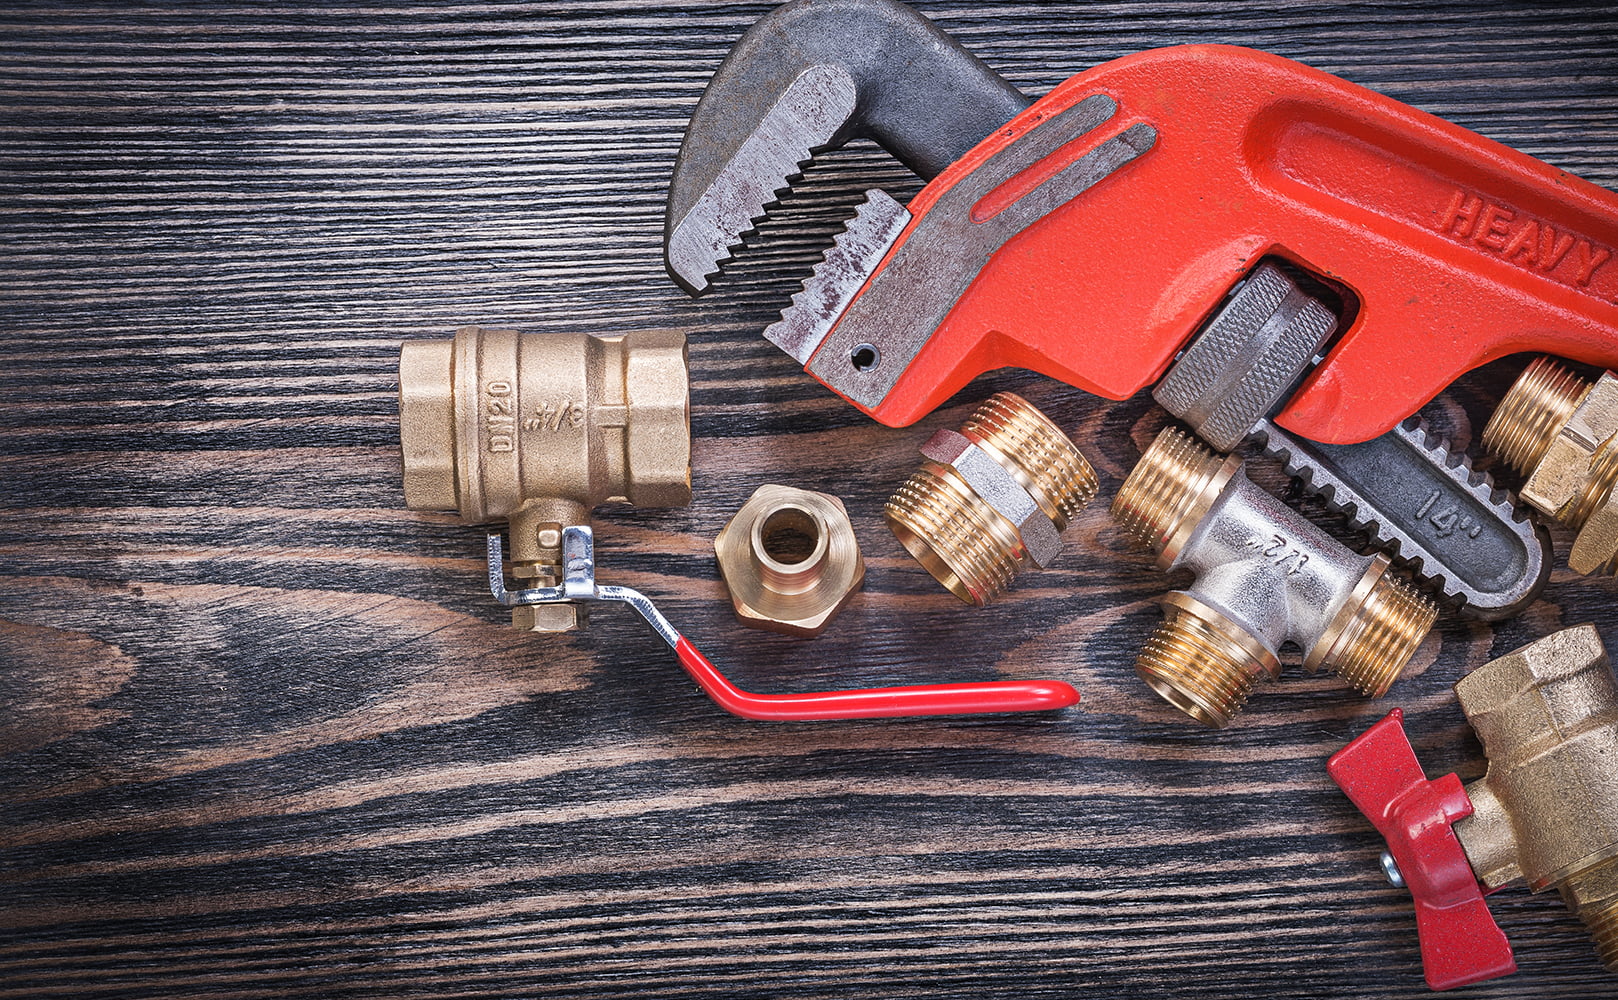
Required Parts & Tools
Here’s a list of parts and tools that should cover the installation of most whole house water filters and softeners on the market.
Parts
- Mounting brackets, if required for the whole house filter
- Tubing/piping
- Fittings
- Shut-off valves
- Adapters, if needed
- Optional: bypass valves
- Optional: pressure gauges
Tools
- Drill & drill bits
- Adjustable wrench
- Hacksaw or pipe cutter
- Teflon tape
- Screwdriver
- Tape measure
- Pliers
Further Reading:
How to Install a Whole House Water Filter and Softener Combo Step by Step
Before beginning, make sure you’re familiar with the product’s manual. The following guide should cover the installation of most models on the market, but there may be individual differences that should not be ignored.
So, how do you install a whole house water filter and softener combo?
- Turn off your main water supply.
- Drain the water from your pipes and release any remaining pressure.
- Measure a piece of piping that will fit both systems, accounting for the connecting section between them, and cut it out. Use the bucket to collect any water that may be left in the pipes.
- Smoothen the edges of the cut pipe.
- To simplify future maintenance, install a shut-off valve at both ends of the pipe you just cut. You may optionally add a bypass. This will help you avoid situations where you’re left without water due to a malfunction in your filter/softener.
- If you want to use pressure gauges, now is the time to install them – they should connect directly to the shut-off valve at each end.
- Prepare the whole house water filter. Take note of the location of the input and output ports and set the system aside in a way that it will be correctly oriented when you pick it up later.
- Measure the diameter of the ports and compare it to your home’s piping. If there are any differences, use adapters for a proper fit.
- Push fittings will help you avoid having to solder anything. If you do decide to go with soldering, make sure to keep any heat away from plastic parts of the filter or your pipes.
- This covers the whole house water filter. Now you’re ready to install the water softener. Again, pay attention to the input/output ports and ensure the device is correctly aligned.
- Follow steps 8 & 9 to connect the water softener. Use a piece of piping to connect the two devices in the middle.
- Salt-based water softeners require a drain connection, so hook up the drain hose to the drain valve. Use clamps to help keep it in place until you’re ready to connect it permanently.
- Take the other end of the drain hose and drag it to your drain. You should always leave a gap between the hose and the drain, otherwise you might face issues with back-siphoning.
- Likewise, attach a drain hose to the brine tank overflow valve and route that one to a drain as well. Using an air gap is required here too in most cases.
- Lastly, put the brine tank in place and connect it.
Once you’re done with the basic installation, you’re almost ready to turn everything on. Before doing that, you must fill the water softener with salt and check for leaks.
- Fill up the brine tank with salt. You may need to add some water as well. Check your manual to ensure you’re adding the correct type and amount of salt.
- Sanitize your whole house water filtration and softening system completely, if your manual calls for it.
- Turn on your main water supply.
- Keep all bypass valves closed, and open the other valves. Wait a while and check if there are any leaks.
- Use a piece of copper wire to connect one side of the installation to the other if your house uses its plumbing system for grounding.
- Open the bypass valves little by little. Opening them completely too fast may cause a failure in your plumbing due to pressure problems.
- Keep water running for a few minutes to flush the system, removing any air, old water, and debris left over from the installation.
- Activate the water filter as per the manufacturer’s guidelines and regenerate the water softener.
- Configure the water softener according to the manual.
Filter or Softener, Which Goes First?
One important decision you should make before starting the installation process is the order of hooking up your whole house water filter and water softener.
There is no one-size-fits-all solution here as this will depend on your water supply.
City or Well Water
Your source of household water will be a major factor in determining the appropriate installation order. If you’re using well water, you will likely have more dirt and other particles in your supply, requiring a filter before softening.
Sediment, Chlorine, Iron

Dirt, chlorine, and iron can negatively affect the operation of a water softener, too. Depending on your specific model, they might render it entirely useless in a short time.
Thus, if your water supply contains large amounts of sediment, chlorine, or iron, you should install your whole house water filter first or add a pre-filter before the water softener.
Hardness Level
High amounts of limescale can hurt a filter’s performance. If this is something that concerns you, consider installing your water softener before the water filter.
Backwashing Flow Rates
Also check the water flow rate supported by your whole house water filter. In order for your water softener to function correctly, it’s going to need a minimum level of flow rate. Otherwise, the softening medium will not be activated properly and the device will function below its capacity.
With that in mind, you should connect your water softener before the whole house water filter if the filter is going to be a bottleneck in terms of flow.
The opposite may also be true. Your whole house water filter might require a minimum flow rate to do its job properly. In that case, verify that the water softener supports that rate at its output.
This means that you should always purchase these devices together. Remember: You need to account for the output flow rate of each one and the input requirements of the other. Some pairs of whole house filters and softeners will be incompatible no matter what you do.
By the way, this also applies to backwashing flow rates!
If you have any questions about installing a water softener and whole house filter please don’t hesitate to leave a comment below!
About the Author Alexandra Uta
![]()
![]()
![]()

Information provided on BOS is for educational purposes only. The products and services we review may not be right for your individual circumstances.
We adhere to strict editorial guidelines. Rest assured, the opinions expressed have not been provided, reviewed, or otherwise endorsed by our partners – they are unbiased, independent, and the author’s alone. Our licensed experts fact-check all content for accuracy. It is accurate as of the date posted and to the best of our knowledge.