How to Replace Under Sink Reverse Osmosis Filters?
Written by: Gene Fitzgerald // Last Updated: Jan 28, 2023
This page may contain affiliate links. If you buy a product or service through such a link we earn a commission at no extra cost to you. Learn more.
Feeling worried about maintaining an under sink reverse osmosis system is common for those that don’t consider themselves very ‘handy’.
Luckily, basic maintenance like filter and membrane replacements is not at all difficult.
With your system’s user manual and this handy step-by-step guide, you should be good to go without hiring a costly specialist.
Contents
show
Key Takeaways
Replacing the filters of your under sink reverse osmosis system is a straightforward task that can be done by yourself. Here’s how:
- Wash your hands to prevent contaminating the new filter elements.
- Turn off the water supply, close the storage tank valve, and drain any remaining water.
- Unscrew the filter housings and clean them with warm water and dish soap. Sanitize with an appropriate disinfectant if need be and rinse thoroughly.
- Install the new filters.
- Open the RO membrane housing and remove the old membrane. Clean and sanitize the housing, and install the new RO membrane. Close the cap.
- Turn the water supply back on, flush the system, and check for leaks. Discard one or two tanks of water before use.
How to Replace an Under Sink Reverse Osmosis Filter?
So, how to replace an under sink reverse osmosis filter?
It really is a matter of taking the old filters out and popping the new ones in, with a few extra bits here and there to keep the unit in tip-top condition.
Preparations: Getting Ready
- Check the product manual. There may be slight variations to your system, and the manual will have a detailed outline for the filter replacement procedure.
- Wash your hands so that you don’t contaminate the new filter when you touch it.
- Turn off the water supply and close the storage tank valve.
- Turn the RO faucet on and drain any remaining water. Leave it on until the dripping completely stops.
- Place a bowl underneath the RO system, and have a towel ready to clean up spills. You can also use a bucket to put the old filters in.
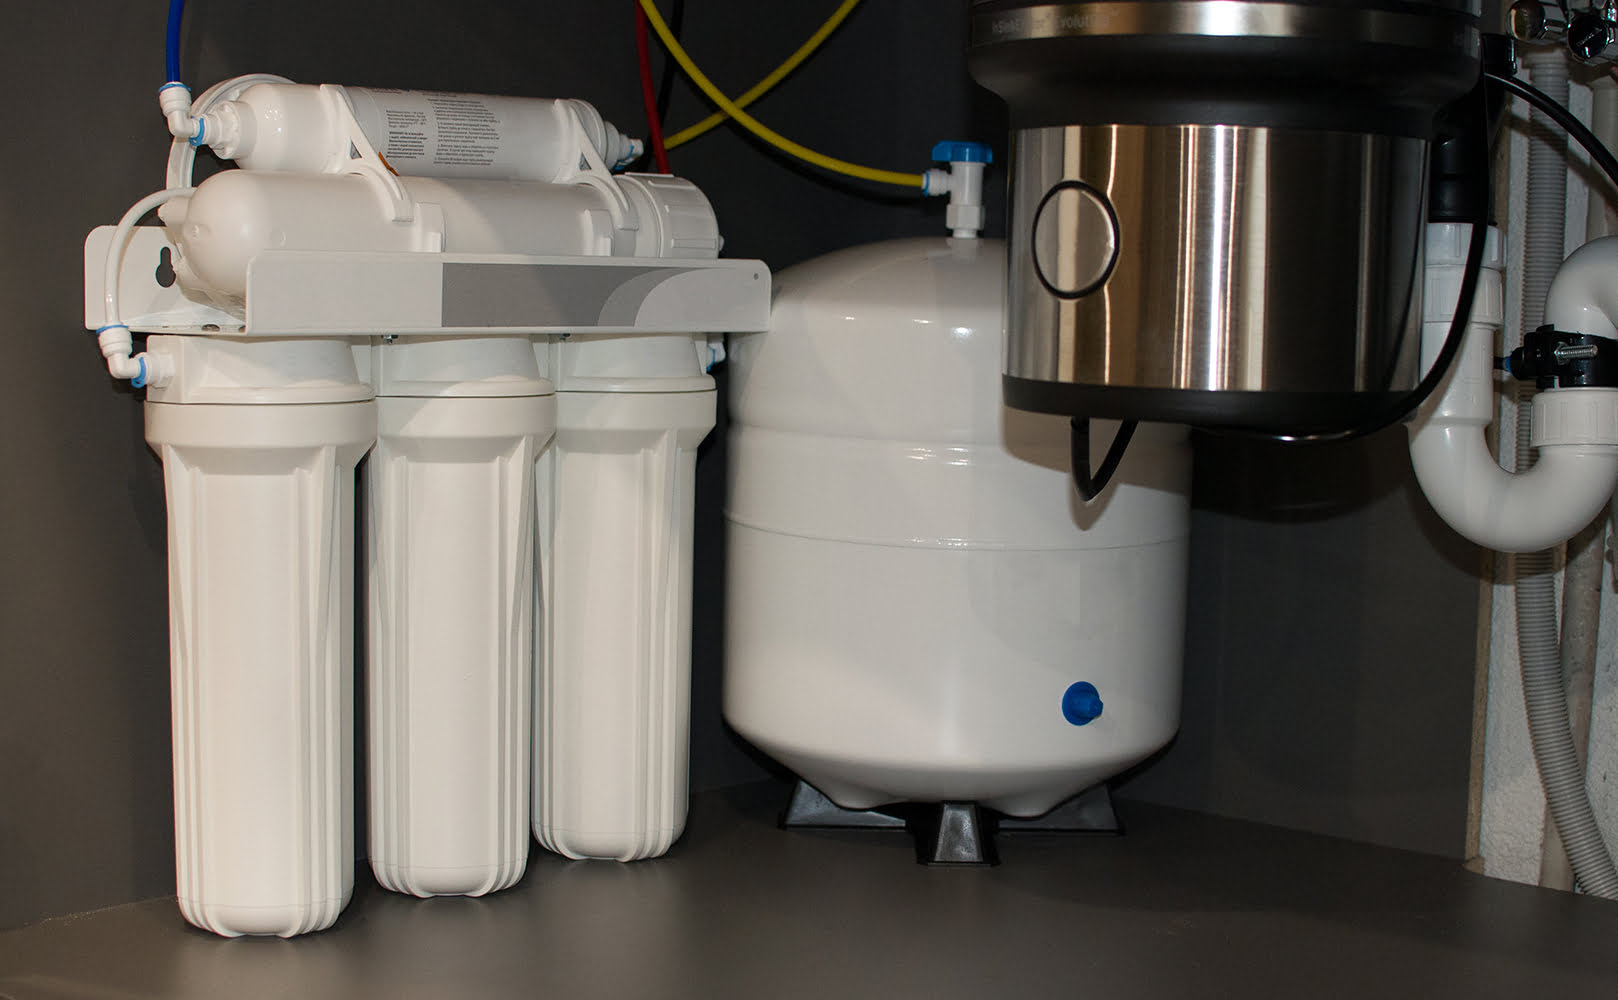
Under Sink RO Pre-Filter Replacement Instructions
- Turn the housing of the pre-filters clockwise, using a filter or strap wrench if needed.
- Clean the inside of the housings with warm water and dish soap. Consider sanitizing the system with a suitable sanitizer or unscented bleach. Rinse completely afterward.
- Install the new pre-filters.
- Check all the black rubber O-rings to make sure they are in place and in good condition, and replace them if not.
- Screw the housings back on, tighten with a wrench if you need to (but do not overtighten)
Carbon Post-Filter (Inline) Replacement Instructions
- Push and hold the collet against the quick-connect fitting and pull out the tubing.
- Repeat on the other end.
- Remove the cartridge and install the replacement filter; check the arrow for the flow direction.
- Reconnect by pushing the tubing into the fitting and pulling back on the tubing to secure the connection.
- Turn the water supply back on.
- Open the RO tank valve.
- Open the filtered water dispenser and let the system flush for a few minutes.
- Check for leaks.
- Close the faucet and let the tank fill.
- Discard one or two full water tanks. Any discolored water should clear after the first flush.
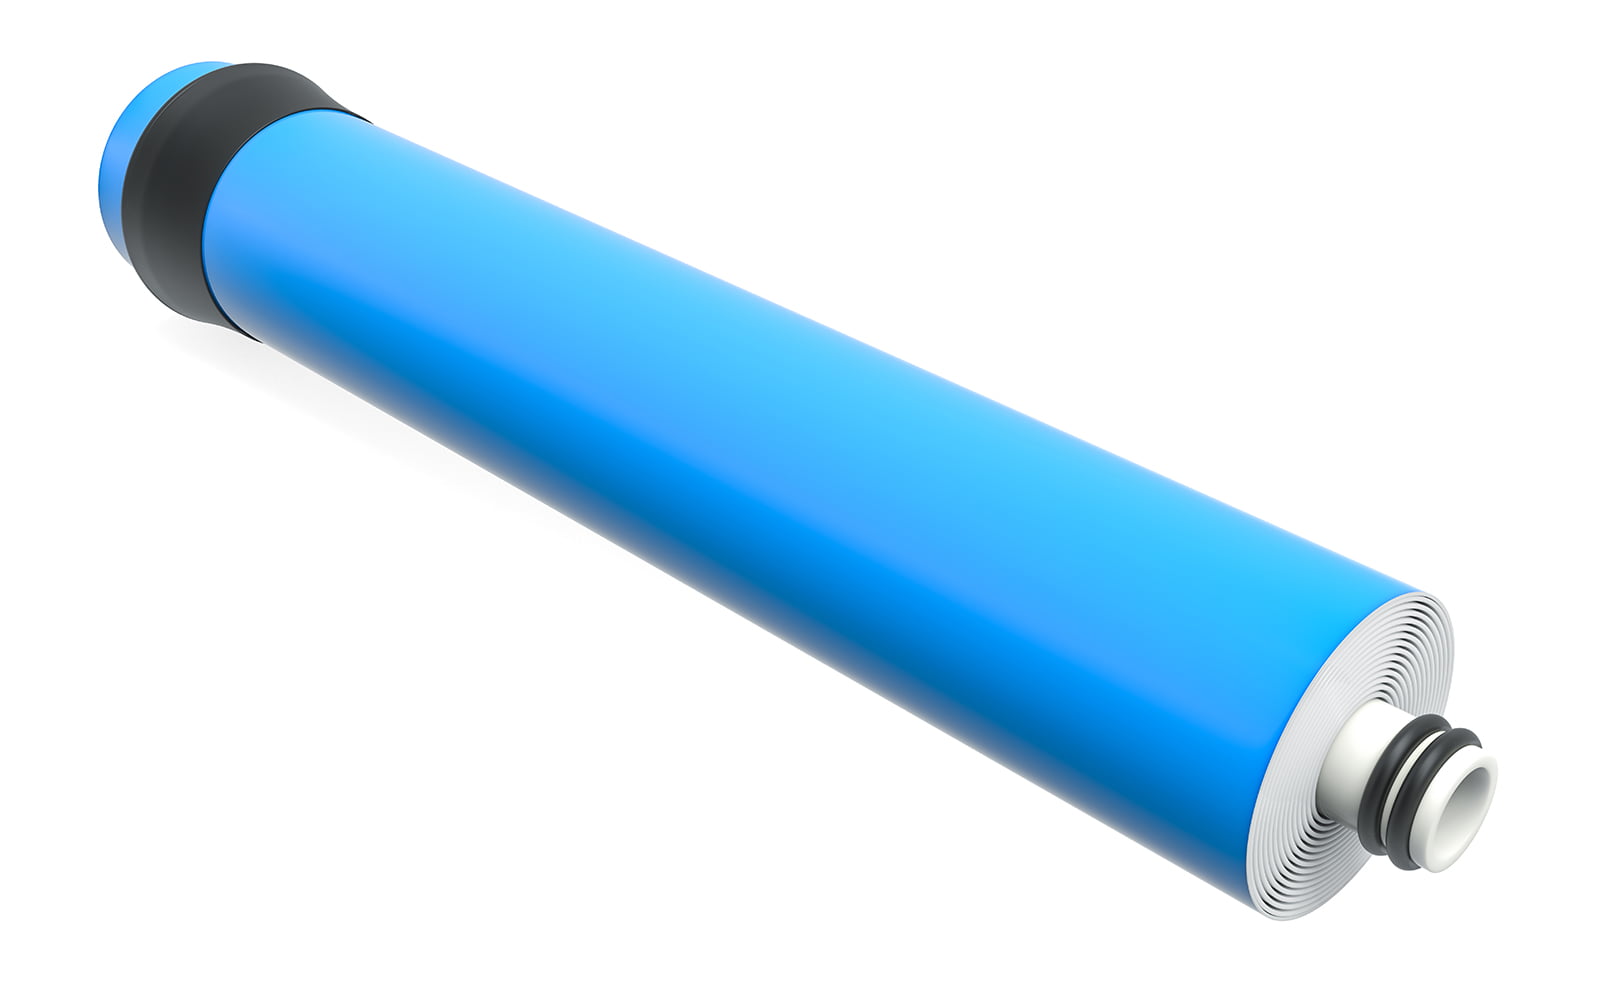
How to Replace the RO Membrane
- Check the manual for how to replace the membrane for your specific under sink reverse osmosis system.
- Wash your hands.
- Turn off the water supply and close the storage tank valve.
- Turn on the RO faucet and let it drain until all the drips stop, then close it.
- Remove the water line from the cap of the membrane housing. Push and hold the collet against the quick-connect fitting and remove the tubing. Some systems may have a plastic clip to remove too.
- Turn the membrane housing cap clockwise to remove it, using a filter wrench or strap if needed.
- Remove the old membrane. Use needle-nose pliers if needed.
- Clean inside the membrane housing with warm water and dish soap, and sanitize with a suitable disinfectant or unscented bleach.
- Rinse well.
- Push the new RO membrane into the housing, with the end with the two black O-rings to go in first. Avoid touching the membrane with your bare hands.
- Double-check that the O-rings are in good condition and replace them if needed.
- Screw the housing cap back on, being careful not to overtighten it.
- Push the tubing into the cap fitting to reconnect the membrane. Pull back on the tubing to secure the connection.
- Turn the water supply back on and open the RO tank valve.
- Flush the system for a few minutes, and check for leaks.
- Turn off the faucet and let the storage tank fill.
- Discard one or two tanks of water before use to eliminate any preservatives in the membrane, which may cause a strange taste or smell.
When to Change the Filters of Your Under Sink RO system
Under sink RO filters need to be changed on a regular basis, or you run the risk of drinking contaminated water. Factors such as the condition of your feed water and how much water you use will affect how often the filters need changing.
As a general rule, sediment and carbon pre-filters should last 6-12 months, and a carbon post-filter can last 12 months to 2 years.
Cheap filters or low-quality filters may need to be replaced more frequently.
Signs that your filters may need replacing include:
- Decrease of the purity of your water (unpleasant tastes, smells, or colors)
- A drop in water pressure and decreased water flow.
Further Reading:
Filter Change Schedule
- Sediment pre-filter – 6-12 months. More frequently if the feed water has high turbidity levels.
- Carbon pre-filter – 6-12 months.
- Reverse osmosis membrane – 2+ years.
- Carbon post-filter – 12 months. Do not wait until the taste of the water changes.
If you have any questions about under sink reverse osmosis filter replacement please don’t hesitate to leave a comment below!
About the Author Gene Fitzgerald
![]()
![]()
![]()
![]()
![]()
![]()
![]()

Information provided on BOS is for educational purposes only. The products and services we review may not be right for your individual circumstances.
We adhere to strict editorial guidelines. Rest assured, the opinions expressed have not been provided, reviewed, or otherwise endorsed by our partners – they are unbiased, independent, and the author’s alone. Our licensed experts fact-check all content for accuracy. It is accurate as of the date posted and to the best of our knowledge.