How to Change an Under Sink Water Filter Cartridge – Tutorial
Written by: Gene Fitzgerald // Last Updated: Sep 11, 2023
This page may contain affiliate links. If you buy a product or service through such a link we earn a commission at no extra cost to you. Learn more.
Most people using an under sink water filter system dread replacing cartridges. Are you one of them? After reading this short guide, we assure you that you won’t need to hire a service technician and pay hundreds of dollars every few months for this job.
Replacing an under sink water filter may seem like a herculean task; however, it’s easily doable once you get the hang of it.
Learn the most simple and quick way to change your filters and common mistakes to avoid.
Contents
show
Key Takeaways
These are the simple steps on how to change an under sink water filter cartridge:
- Close the water supply valve.
- Release pressure by opening the sink faucet.
- Remove filter housing(s).
- Inspect (and replace) O-rings.
- Clean and sanitize filter housing(s).
- Install new filter cartridge(s).
- Reinstall filter housing(s).
- Open the water supply and check for leaks.
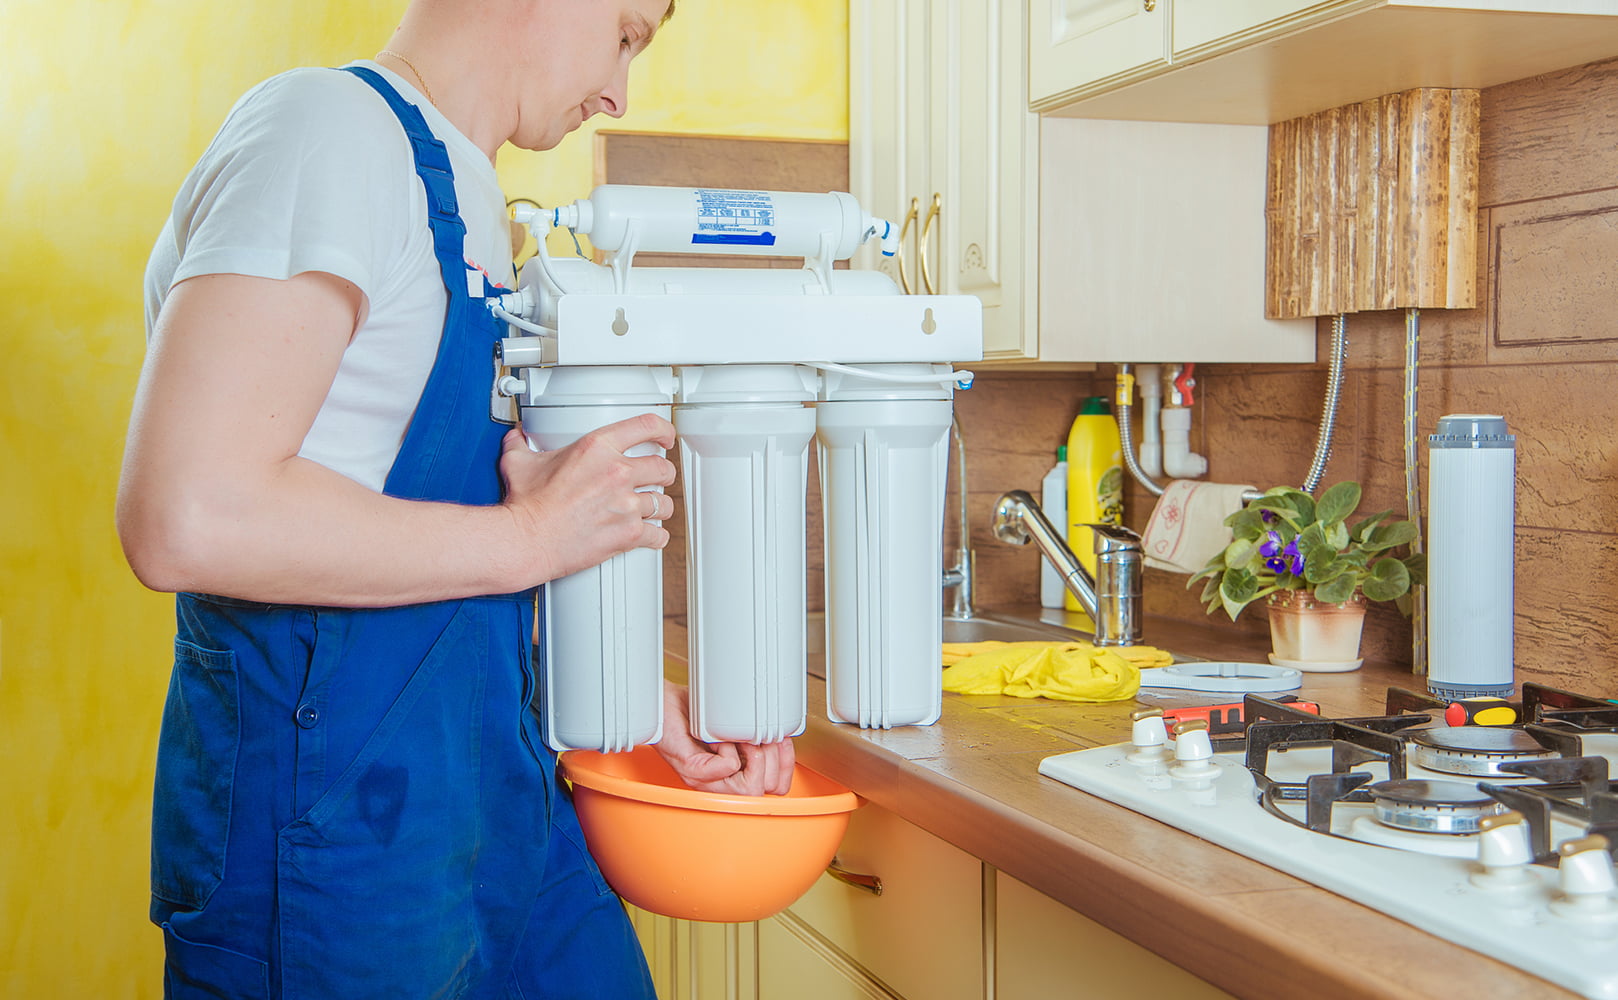
How to Change an Under Sink Water Filter Step By Step
Most under sink water filters need replacement every 3 to 6 months. When was the last time you changed yours? Don’t wait for water pressure to go too slow – always ensure timely replacements.
We suggest keeping a log of the details, so you never forget. The process is relatively uncomplicated and will require a maximum of half an hour of your time. Let’s get started.
Gathering Tools and Supplies
You probably don’t need to buy any tools or supplies. Most of the things should be readily available at your place.
Here is a list of what you need:
- Plastic or metal filter housing wrench
- Replacement filters
- Paper towels or small tub
- O-rings
- Confidence!
Closing the Water Supply Valve
To avoid flooding your kitchen and eventually your house, don’t attempt filter changes without turning off the water supply. Locate the feed water valve towards the back of the cabinet and rotate it horizontally to the supply line.
If your system does not have a feed water valve you can turn off or it’s faulty/stuck, close the main water supply. You will find it at the curb outside your house or shortly after where water first enters your home.
Moreover, turn off the valve on top of the filtered water storage tank (RO systems only).
Releasing Pressure
Next, you must bleed out the pressure from your under sink water filtration unit. To do this, turn on the faucet at the sink and let the water flow for a few seconds.
Releasing the water pressure will help you open the filter housings easily. On the other hand, overly pressurized housings will be tough to open and sweat you unnecessarily.
Removing the Filter Housing(s)
Use the filter housing wrench and slide it carefully underneath the housing. Slide it as far as it goes. The grooves on the wrench and the long handle give you enough leverage to twist easily.
Remember: righty tighty, lefty loosey. Give one push towards the left, and then use your hand to unscrew and remove the housing. Be sure to catch any drips in a small tub or keep a towel handy to clean up.
Next, if there is water inside the housing which is probably the case, drain it in the sink.
If your filtration system features more than one filter stage, don’t open all of them together. Instead, always replace one filter at a time to avoid confusion.
Further Reading:
Checking O-Rings
Once you take the housing apart, remove the old filter cartridge and examine the interior of the sump. Carefully inspect that the O-ring is seated correctly in the groove and not stuck to the filter head. Similarly, ensure it’s not broken, hard or full of nicks. Replace with a new one if necessary.
Most carbon filters feature two O-rings on either side of the filter cartridge. When removing it, always ensure that the bottom O-ring is not stuck inside the filter housing.
A common mistake most people make is that they put in a new cartridge without removing the old O-ring. With an additional ring at the bottom, the filter housing doesn’t seal properly and causes leakages.
Checking the Old Filter Cartridge(s)
Some people directly dispose of the old filter elements without even looking at them. Contrarily, it is always a good idea to check the cartridge for an excessive buildup of gunk.
Close examination will give you an idea if you need to replace your under sink filters sooner the next time. If you allow them to get over-clogged too often, not only will you see a decline in filtration performance, but you may have to deal with more significant damage.
Cleaning the Filter Housing(s)
It is always a good idea to clean filter housings when you open them for replacements.
Wet areas are the breeding ground for mold and mildew. Since most housings are made of plastic and literally stay submerged in water 24/7, there are even high chances of green algae finding its way inside.
Therefore, take the opportunity to clean your under sink water filter housings properly, ensuring mold, bacteria and other germs don’t get a chance to grow. First, use soapy water and a long bottle brush to clean thoroughly. Then, allow it to dry before replacing.
Optional: Sanitizing
If you see obvious signs of green or black growth in one housing or another component of your under sink filter system, you will need to sanitize the entire unit with household bleach or an NSF-approved sanitizing solution.
Prepare a solution of bleach diluted with water and pour it into the filter housings. Remember, you don’t need to install the cartridges at this point.
Next, screw the housings back to the filter head and turn on the water supply valve. Allow the system to fill with water. Finally, turn on the faucet so the bleach solution can reach all tubing and the dispenser simultaneously.
Wait for 30 minutes before turning the water supply back off. Next, carefully remove the housings and dump the bleach solution in the drain.
Rinse the housings with clean water multiple times.
Installing New Filter Cartridge(s)
Install new under sink water filtration cartridges making sure they sit correctly in the grooves at the bottom.

Putting Filter Sump(s) Back On
Twist back the housings on the filter head using your hand. Once it’s in place, use your housing wrench to tighten it.
Another common mistake people make is over-tightening the housings. Not only can this cause hairline cracks in the threads, but it will also mean you will have a hard time opening the filters the next time.
Opening the Water Supply
Turn on the water supply valve that you shut off earlier.
Never open a valve on full pressure directly, or it might damage the filter system. Instead, always open the water supply slowly from a quarter to halfway and then full, waiting in between intervals.
Checking for Leaks
Check the housings and all other connections for leaks. If you see any drips, fix them right away.
Further Tips & Warnings
Here are the little-known tips and tricks that only expert plumbers are aware of:
- After replacing your under sink water filter, a leak in the system is usually because an O-ring is out of its place. Fix the O-ring before moving on to more complex solutions.
- If the housing doesn’t screw back on properly, you might have installed the filter cartridge upside down. Remove it and slide it the other way round.
- If your housing is stuck, use a metal wrench or strap wrench to open it easily.
- If you have an under-the-sink reverse osmosis filter system repressurize the empty tank to about 8 psi after you replace the filters.
On average, the air pressure inside the storage tank falls 1-2 psi per year. Therefore, it’s always a good idea to repressurize. All you need is a standard bike pump, a pressure gauge, and a few minutes to fix the air pressure.
If you have any questions about how to replace an under sink water filter cartridge please don’t hesitate to leave a comment below!
About the Author Gene Fitzgerald
![]()
![]()
![]()
![]()
![]()
![]()
![]()

Information provided on BOS is for educational purposes only. The products and services we review may not be right for your individual circumstances.
We adhere to strict editorial guidelines. Rest assured, the opinions expressed have not been provided, reviewed, or otherwise endorsed by our partners – they are unbiased, independent, and the author’s alone. Our licensed experts fact-check all content for accuracy. It is accurate as of the date posted and to the best of our knowledge.