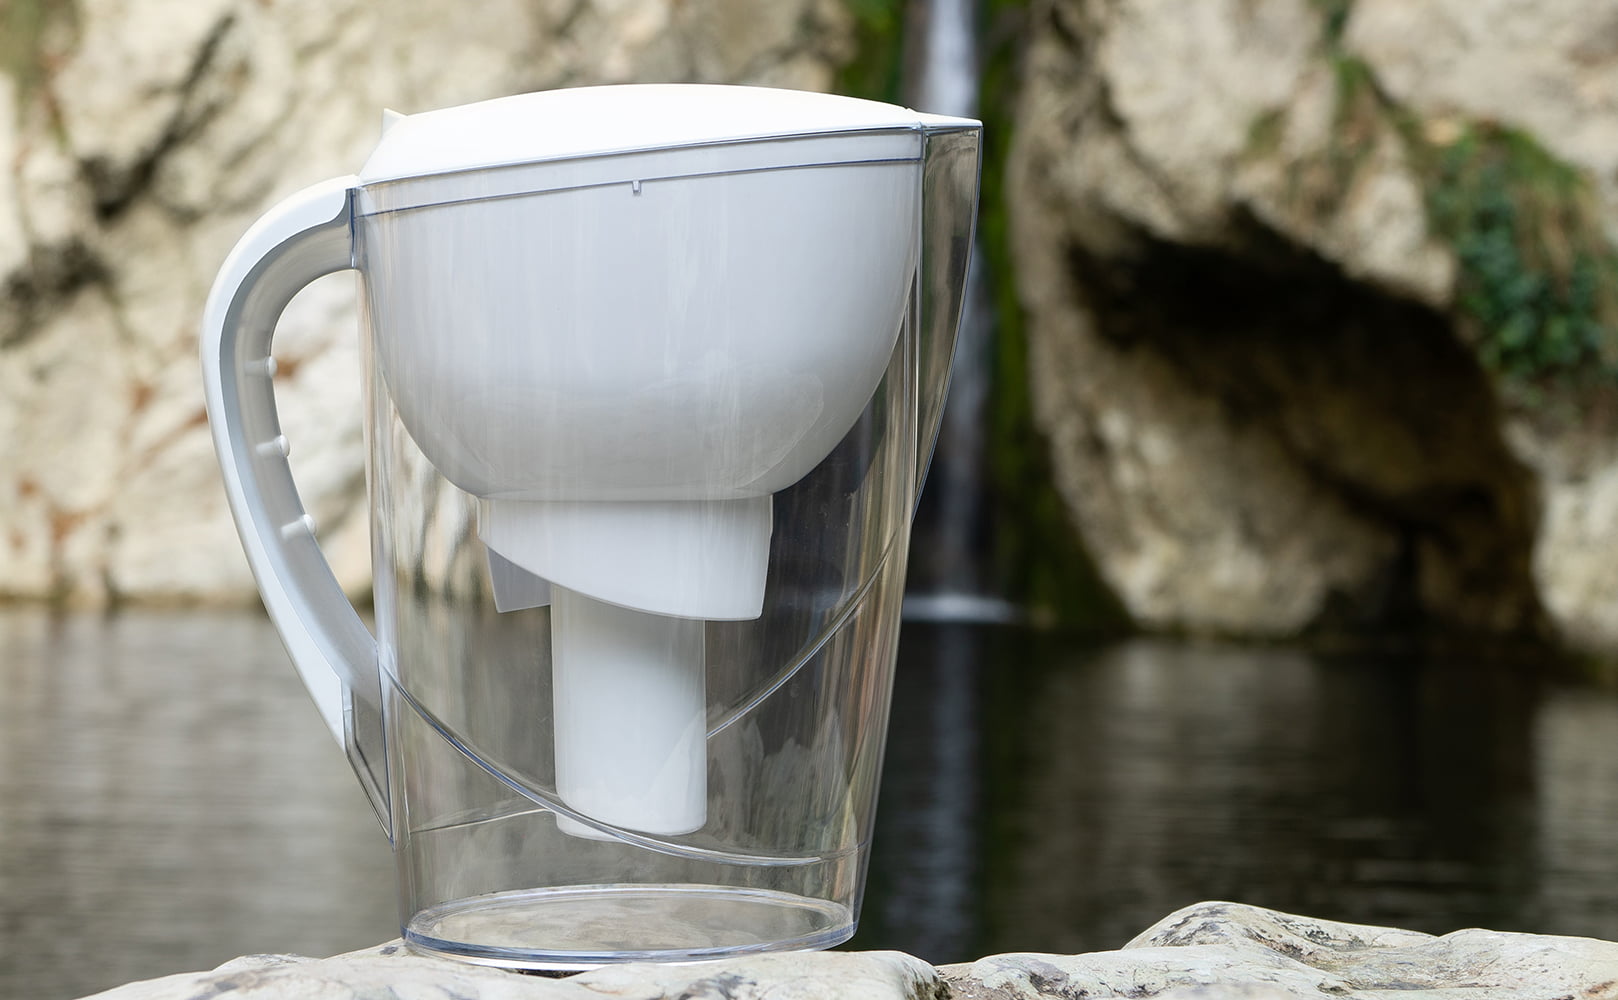
How to Use a Water Filter Pitcher
Written by: Rob Dodge // Last Updated: Dec 8, 2022
This page may contain affiliate links. If you buy a product or service through such a link we earn a commission at no extra cost to you. Learn more.
If you are thinking of filtering your home water but don’t have the money to buy a whole house system, why not try a water filter pitcher? These jug-sized solutions allow you to filter your drinking water at a fraction of the cost, with all the benefits.
Whether you are considering buying or already have one, you should know to use a water filter pitcher the right way.
With that in mind, this article will walk you through the steps to set up a new filter pitcher, use it on a daily basis, and replace old filters.
Contents
show
Key Takeaways
Here’s how to use a water filter pitcher:
- Unbox the unit, remove any plastic wrappers, remove all items inside the pitcher and set those aside.
- Clean the jug with a sponge and warm water. Clean all other pieces except the filter cartridge with a light dish detergent. Pat them all to dry with a clean hand towel.
- Prime the filter cartridge following your manual.
- Assemble the pitcher by removing the lid and putting the filter in place.
- With the lid still off, fill the reservoir with cold water.
- Wait for the water to trickle down to the bottom of the pitcher.
Getting Started with Your New Water Filter Pitcher
Setting up your new water filter pitcher is a very simple process, but you must follow it to the letter. You’ll need to unpack your water pitcher, clean it, prime the filter, install it, and fill the reservoir.
While these are meant as general instructions, some steps might be slightly different depending on your filter brand. If there’s a step you don’t recognize, refer to your user manual or manufacturer instructions.
Here are the steps you need to follow:
Step 1: Unboxing
After purchasing a new unit, you should unpack the pitcher from the packaging it came in. Once the pitcher is uncovered, remove the plastic wrap and discard it. Remove any items from inside your pitcher, such as the instructions and the filter element, and set them aside for later.
Step 2: Cleaning the Jug
Put the jug in a sink. With a sponge and warm water, clean all the pieces with a light dish detergent. Next, pat them dry with a clean hand towel.
Step 3: Priming the Filter Cartridge
Remove the pitcher’s filter from its package. Then to prime the filter, hold it under running cold water for at least 15 seconds. Now the filter is ready for use.

Step 4: Assembling the Pitcher
You will need to remove your pitcher’s lid and grab your filter by the top to install it. Line up the notch on the bottom of the reservoir with the groove in the filter. Then, place the filter into the hole.
Step 5: Filling the Reservoir for the First Time
While the lid is still off and the filter is in place, fill the reservoir with cold tap water. A gentle trickle of water will start to fill the bottom of the pitcher. At this point, you can drink the water. To fill the pitcher, however, you may need to refill the reservoir more than once.
How to Use Your Water Filter Pitcher on a Daily Basis
Using a water filter pitcher is extremely simple. It isn’t that different from using a normal water jug. The only difference is that you need to wait a bit for the filter to do its job before you can drink the water. Here are some tips regarding the daily use of your filter:
Refilling the Pitcher with Cold Water
When you are finished drinking the filtered water in the pitcher, bring it to the sink for refilling.
You will want to fill the reservoir with cold water to the top. Allow the water to filter into the bottom of the pitcher slowly. After half of the reservoir is full, refill the pitcher to the top. After two fills, the pitcher should now be filled with filtered water.
Placing the Jug on Countertop or Storing in Refrigerator for Cooling
While you could leave your filter jug on a countertop, keeping it in a refrigerator is much better, so the water stays chill and fresh for longer. Furthermore, the water from the pitcher is at its peak of freshness during the first two days, so make sure to drink it during that time period.
Further Reading:
Replacing the Filter Element
This moment could come faster if you use your pitcher water filter more often. Depending on your filter’s brand, you’ll have to replace it every 1-4 months. You should refer to your owner’s manual or manufacturer instructions for the specific life duration.
Once your filter needs to be replaced, you should follow these steps:
Step 1: Removing the Old Filter
You will need to remove the old filter before installing a new one. To do so, remove the pitcher lid and put it aside. Pull out the filter by its top handle by reaching inside the reservoir. Get rid of the old filter or recycle it.
Step 2: Priming the New Filter
Remove your new filter from the packaging it came in. Hold it for 15 seconds under flowing water. Don’t use hot water to prime your filter.
Step 3: Installing the Filter Cartridge
As you align the notch on the pitcher with the groove on the filter, slide the filter into place.
Step 4: Filling the Pitcher with Water
Once the new filter is properly installed, fill the reservoir with cold tap water, and it should be ready to use. Avoid using hot water when priming the filter or filling it.
Step 5: Resetting the Filter Timer
This step won’t apply to all filter pitchers, only those with a filter timer option.
When you’ve changed the filter, press the filter timer button for five to ten seconds and release it when you see it flashing.
Use a capped ballpoint pen if you have trouble holding the start button with your fingers.
Benefits of Using a Water Filter Pitcher
Many benefits come from using a water filter pitcher beyond getting filtered drinking water. Improved water taste, portability, affordability, and convenience are additional benefits you can expect. Here’s a look into each of them in more detail:
Filtered Drinking Water
Using a water filter pitcher to treat the water provided to your house by your neighborhood’s water source is a good idea. Using a water filter pitcher if you live in an area with a shared water source will allow you to remove a significant amount of toxins and make the water more palatable to drink.
While not always dangerous in small amounts, certain pollutants will definitely become problematic at high concentrations.
Improved Taste and Odor
Combining a water filter cartridge and a water jug will result in safe and clean drinking water. Not only that, but water filter pitchers can also often improve the smell and taste of water.
However, this depends on the individual’s preferences and the quality of the water filter cartridge used. Make sure you do your homework before shopping!
Portability
Water that is safe to drink is not only a necessity at home. Owners often bring their pitchers when they travel or purchase another one to use in a building they frequent but with low-quality mains water.
In this case, finding an alternative that offers the same level of convenience and practicality is impossible.
Affordable
Most households are attracted to pitcher water filtration because it is often cheaper than other types of water filtration systems.
For a good pitcher that will last you a lifetime, you can expect to pay anywhere from $50 to $90, depending on your chosen brand. Furthermore, you can take advantage of frequently available bundled offers, where two or three filters are included with the pitcher and should last for up to 1 year.
Fits in Most Refrigerators
One great aspect of water filter pitchers is that they fit most refrigerators. The jug isn’t much different from your standard water jug.
Saving on Bottled Water
Pre-filtering large amounts of water before they are needed gives you a reservoir you can use at any time.
On the market, some pitchers are large enough to hold up to 18 cups of water, meaning you don’t have to purchase bottled water all the time, as the jug will hold more than enough water for daily use.
Another idea: You can purchase reusable bottles and refill your own bottled water.
Knowing What’s in Your Water Supply
To ensure you know what toxins you’re dealing with, it’s a good idea to have your water tested at least once while using a water filter pitcher.
In addition to allowing you to choose the most appropriate pitcher model for the job, it indicates whether a water filter pitcher is just not able to handle the contamination.
If you have any questions about how to use a water filter pitcher please don’t hesitate to leave a comment below!
About the Author Rob Dodge
![]()
![]()

Information provided on BOS is for educational purposes only. The products and services we review may not be right for your individual circumstances.
We adhere to strict editorial guidelines. Rest assured, the opinions expressed have not been provided, reviewed, or otherwise endorsed by our partners – they are unbiased, independent, and the author’s alone. Our licensed experts fact-check all content for accuracy. It is accurate as of the date posted and to the best of our knowledge.