How to Change a Pitcher Water Filter
Written by: Gene Fitzgerald // Last Updated: Jan 4, 2023
This page may contain affiliate links. If you buy a product or service through such a link we earn a commission at no extra cost to you. Learn more.
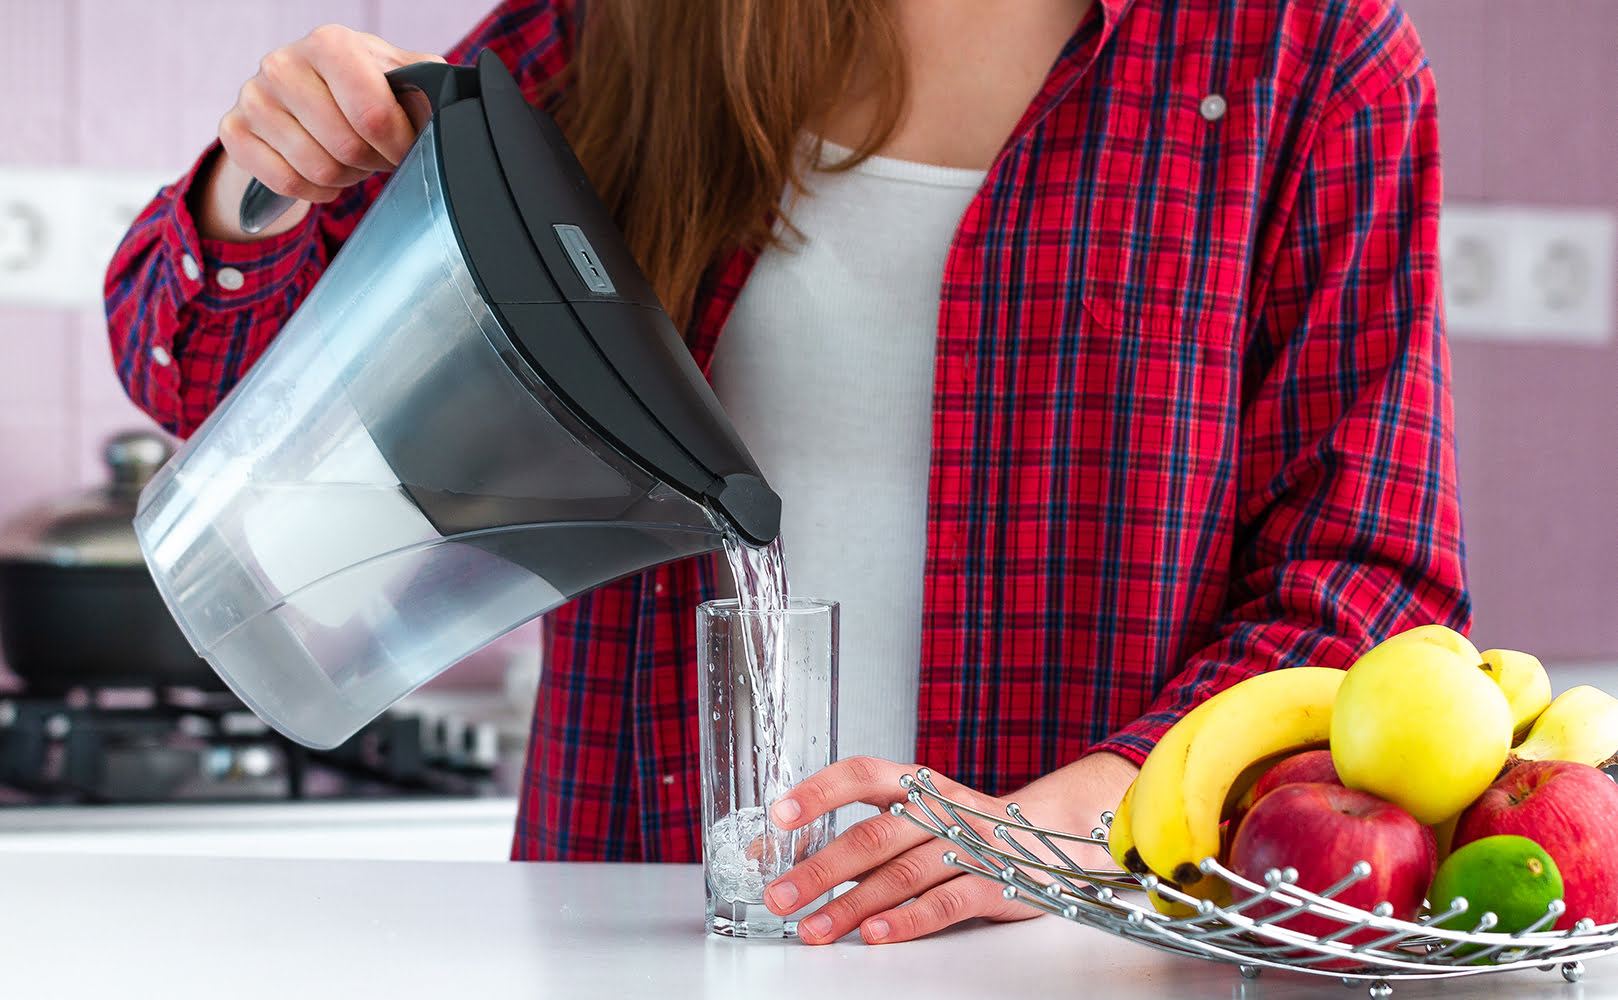
Water filter pitchers are a convenient solution to your filtering needs when you don’t have the budget for a whole house or single-faucet system. However, like any water filtration solution, you’ll need to change the filter element regularly to ensure consistent water quality.
If you aren’t sure how frequently your pitcher filters need to be replaced or how to replace them, you’ve come to the right place.
In this article, we’ll teach you how to change the filter in your water pitcher, inform you when you need to change your filter, and educate you on how to recycle your old filters.
Contents
show
Key Takeaways
Here are the simple steps on how to change a pitcher water filter:
- Take out the old filter cartridge.
- Clean the jug.
- Rinse (prime) the new filter cartridge.
- Install.
- Reset the filter life monitor.
How to Change the Filter in a Water Pitcher
Changing the filter in your water pitcher isn’t a particularly complex process, but you must do it right. Here are the steps you need to follow:
Step 1: Wash Your Hands
First and foremost, you should ensure your hands are clean before handling the filter or the pitcher. You don’t want the dirt, oils, or other contaminants to transfer from your hands and negatively affect your drinking water.
Step 2: Take Out the Old Filter Cartridge
You will start by removing the old filter to prepare the pitcher to install a new one. Take the pitcher lid off and set it aside. Then, reach inside the top reservoir and remove the filter cartridge. The old filter should be discarded or recycled.
Step 3: Clean the Jug
You’ll want to wash the jug, lid, and top reservoir by hand (most of these things aren’t dishwasher-safe). Use mild dish soap and rinse well afterwards.
Step 4: Rinse (Prime) the New Filter Cartridge
The exact process from priming a new pitcher filter cartridge varies from model to model.
In general, remove your new filter from the packaging it came in. Next, let water run through it for at least 15 seconds. Alternatively, let the filter soak overnight.
Remember that you shouldn’t use hot water when changing or priming a water filter.

Step 5: Install the New Filter
Install the new filter by aligning its groove with the notch on the pitcher. Slip the filter into place before putting your pitcher back together.
Step 6: Set Filter Life Monitor
This step only applies to filter pitchers that include a filter life monitor, and its specifics might depend on your water filter pitcher’s brand. The following example is based on Brita filter pitchers:
- Press and hold the start button for 5-10 seconds and release it when you see 4 flashing bars. (Use a capped ballpoint pen if you can’t hold down the start button.)
- A bar will disappear every 2 weeks.
- When only 1 bar is left on the screen, make sure you have a new filter ready.
Step 7: Fill with Water and Enjoy
Once the new filter has been installed, fill the reservoir with cold tap water. Now you can use your pitcher again.
You just have to let the filter do its job and enjoy your refreshing drinking water.
How Often to Change a Water Filter Pitcher?
Depending on your pitcher brand and model, you should change your filter frequently as per the manufacturer’s instructions, or they will not be effective. Filters are only certified to reduce pollutants when used as the manufacturer directs.
The instructions for your filter should specify how long it should last. Typically, it is measured in months or gallons of filtered water.
Besides, it’s probably time to replace the current filter if it is filtering slowly.
Further Reading:
How Long Does Your Pitcher Filter Last?
The longevity of your filter will vary depending on the brand of filter pitcher you’ve purchased. You should check your user manual or contact the manufacturer to determine how often your pitcher filter needs to be replaced.
Generally, you will need to replace the filter in your pitcher every one to four months. Having said that, if you fill the pitcher several times daily, the filter will need to be changed sooner.
Below are examples of how often you should change the filter in four popular types of water filtration pitchers.
- Clearly Filtered: Change the filter every 4 months or after every 100 gallons.
- ZeroWater 10-Cup: Replace the filter after about 20 gallons, depending on the quality of the feed water.
- Aquagear: Change the filter every 6 months or after 120 gallons.
- Brita Standard filter: Replace it every 2 months or after 40 gallons.
Recycling Old Filters
Once you are done with your old filters, you might be wondering what to do with them. While you could simply throw them out, it’s much better to recycle them if possible. Here’s how to go about it:
- Check with your filter manufacturer’s customer service to determine if they offer a recycling program.
- If the answer is “yes,” you should follow their instructions. Typically, the filter must first dry for a few days. Following that, it needs to be covered with plastic before being shipped. Many manufacturers will even provide you with a pre-stamped envelope to mail your filters for free.
- If the answer is “no”, learn what types of plastic your local recycler accepts (#1, #2, #3, #4, or #5). Then, examine the pitcher filter shell. A number will be printed surrounded by three arrows. Recycle if it’s a match. Otherwise, throw it away.
Some people believe cutting apart used cartridges to remove the filtering media before recycling the plastic is okay.
However, others advise against it because the media is likely to contain significant contaminants from your tap or well water. If you open a filter cartridge, you may be exposed to these toxins. You can wear gloves if you want to dispose of the filtering media, as long as you don’t dump anything in your garden, which will release all the toxins back into the ecosystem.
If you have any questions about how to change a pitcher water filter please don’t hesitate to leave a comment below!
About the Author Gene Fitzgerald
![]()
![]()
![]()
![]()
![]()
![]()
![]()

Information provided on BOS is for educational purposes only. The products and services we review may not be right for your individual circumstances.
We adhere to strict editorial guidelines. Rest assured, the opinions expressed have not been provided, reviewed, or otherwise endorsed by our partners – they are unbiased, independent, and the author’s alone. Our licensed experts fact-check all content for accuracy. It is accurate as of the date posted and to the best of our knowledge.