Why Is My Reverse Osmosis Constantly Draining and How to Fix It?
Written by: Alexandra Uta // Last Updated: May 3, 2023
This page may contain affiliate links. If you buy a product or service through such a link we earn a commission at no extra cost to you. Learn more.
A constantly draining reverse osmosis system is a major pain. Not only will it waste significant amounts of water, but it’s often noisy and can cause damage!
There are several potential causes for a constantly draining RO unit, so you’ll need to perform a little troubleshooting to narrow down the cause of the problem.
Let’s take a look at all of the issues that could be causing your system to constantly drain – plus how to fix them!
Contents
show
Key Takeaways
Here is why a reverse osmosis drain line keeps running and how to fix it:
- Low water pressure – increase (ideally using a pump).
- Clogged RO membrane – replace
- Low pressure in storage tank – repressurize
- Ruptured tank bladder – replace tank
- Broken ASO valve – replace
- Broken check valve – replace
- Broken flow restrictor – replace
- Reverse osmosis system improperly installed – reinstall
Why Is My Reverse Osmosis Constantly Draining?
First of all, why is your reverse osmosis constantly draining? Well, here’s a list of reasons and their potential fixes. We will go through each in detail below.
| Reasons for RO Systems to Keep Draining | Potential Fixes |
|---|---|
| Low feed water pressure | Increase pressure in plumbing system, install pump, or replace clogged pre-filters |
| Clogged RO membrane | Replace |
| Underpressurized storage tank | Repressurize tank |
| Broken ASO valve | Test and replace valve |
| Broken check valve | Test and replace valve |
| Broken flow restrictor | Test and replace |
| RO system improperly installed | Uninstall and reinstall system |
How to Fix a Reverse Osmosis Drain Line That Keeps Running
Let’s get into how to fix a reverse osmosis system that keeps running in more detail.
1. Low Feed Water Pressure
For one, reverse osmosis systems require a specific water pressure to function optimally. Generally, this is 40 psi minimum and 60 psi for ideal performance.
Low feed water pressure can be a simple issue of low water pressure coming into or flowing throughout your home
Another problem that may be causing low water pressure is clogged pre-filters. Clogged pre-filters will decrease the water pressure level flowing into the RO membrane.
How to Fix
If the issue is low water pressure in your home, you’ll need to install a pump to bump up the pressure to the ideal range. It’s the easiest solution to increase the feed water pressure to optimal levels. You could also try to increase the water pressure in your plumbing system directly.
If the issue is one or more clogged pre-filters, replacing the old filter cartridges with new ones will solve the problem.
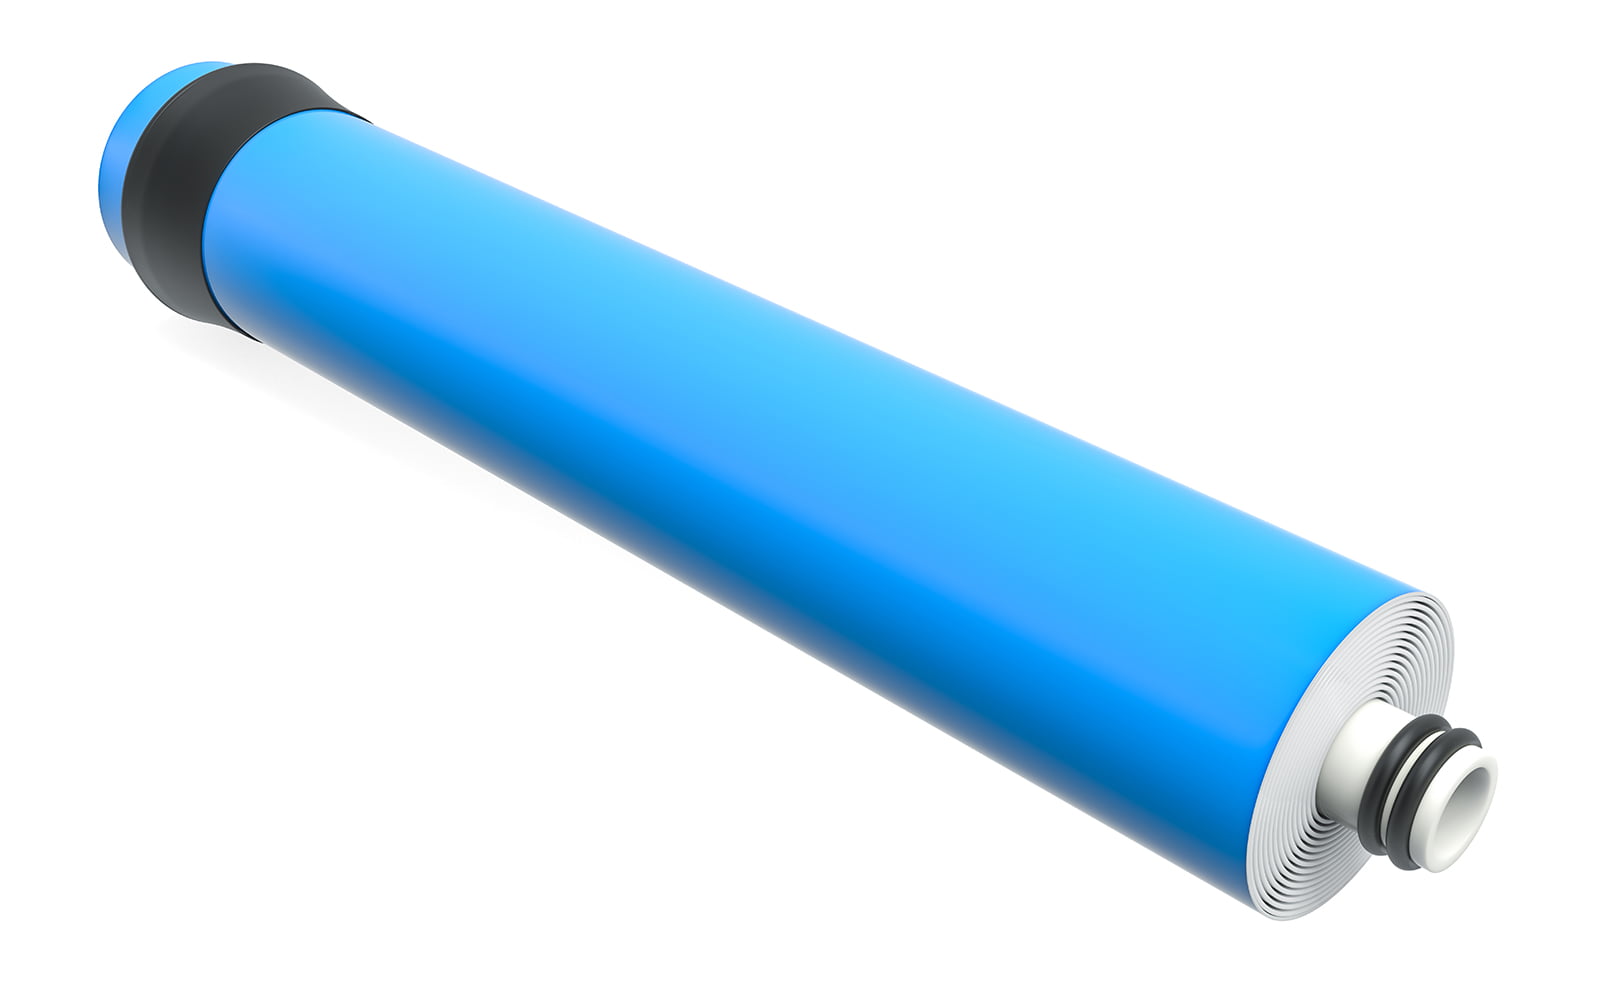
2. Clogged RO Membrane
If an RO membrane is past its expiration date, it can become clogged with contaminants and cause excessive flow down the drain line. As barely any water will be able to pass through the membrane and onto the rest of the system, it will continuously flow down the drain.
This can also occur if your feed water has a high level of total dissolved solids – which can lead to premature membrane clogging.
How to Fix
There is only one solution to this issue, which is replacing the clogged RO membrane with a new one.
3. Underpressurized RO Storage Tank
RO storage tanks are pressurized to avoid the need for a pump. However, they will lose pressure over time and require periodic repressurization to keep them functioning properly.
If your storage tank pressure drops too low, it won’t be able to trigger the automatic shutoff valve to stop more water from entering the RO filter system once the tank is full. The only way the new water can go is right down the drain pipe causing continuous draining.
Generally, RO storage tanks require pressure between 6 and 8 psi when empty. If the pressure drops too low, you will need to repressurize the tank.
How to Fix
To repressurize your reverse osmosis water storage tank you’ll need a bicycle pump or air compressor and a pressure gauge.
Step 1: The first step is shutting off the water supply to the RO system and turning off the tank valve. Then disconnect the tubing running to the tank and take it to somewhere where you can drain the tank like a bathtub or outdoors.
Step 2: Open the tank valve on top of the storage tank. Water should start flowing out of the tank quickly at first and then slow down to a trickle. At this point attach your pump or air compressor to the tank’s pressure valve and pump to remove the remaining water.
Step 3: Now, use your pressure gauge to check the tank’s pressure once empty. If it’s lower than 6 psi, you’ll need to repressurize the tank using your pump or air compressor. When the pressure has reached 6 to 8 psi, reconnect the tank to the RO system.
4. Ruptured RO Tank Bladder
RO storage tanks use a rubber bladder to maintain internal pressure. Unfortunately, these bladders can rupture over time, which can lead to a malfunctioning tank and the same drainage issues as with an underpressurized tank.
You’ll typically be able to tell if a tank is ruptured when you empty it and refill it, it will only allow one cup of water out of the faucet before slowing down to a trickle.
How to Fix
There is no way to fix a ruptured internal storage tank bladder. The only solution for this issue is ordering and installing a new storage tank.
5. Broken ASO (Automatic Shutoff) Valve
A broken or malfunctioning automatic shutoff valve will lead to constant draining of your reverse osmosis system. The ASO’s function is stopping more water from entering the system once the storage tank is full. If the ASO isn’t working, then the system will continuously dump water down the drain line.
To determine if your ASO is malfunctioning, simply fill the storage tank, and draw 2 to 3 glasses from the faucet to reduce the pressure inside the tank. This will cause the system to begin filtering more water. Now, close the tank valve to mimic a full tank and wait 5 minutes.
If water is still flowing down the drain, there is a good chance either the ASO or the check valve is malfunctioning. If you aren’t sure, you can also pull the drain line out of the drain saddle and see if water is flowing out of it.
To determine if it’s the check valve or the ASO valve that is malfunctioning conduct the following test: First, allow the tank to refill completely. Then, keep the tank valve open and turn off the feed water valve. Check to see if water is flowing down the drain line using the above methods. If it is, it means the check valve is broken, if not, you have a faulty ASO valve.
How to Fix
Once you’ve determined that the ASO is malfunctioning, you’ll need to replace the old valve with a new one.
To do this, you’ll need to gain access to the back of the RO system. This may involve dismounting the system if it’s mounted to the wall.
The ASO valve is a 4-way valve with tubing connections running to the inlet and outlet of the membrane as well as to the storage tank and the pre-filters. Make sure to note the tubing connections and configuration of the ASO valve before disconnecting it. These valves typically have directional arrows on them to indicate the flow of water – so note these down or snap a picture before disconnecting.
Then, remove all of the tubing connections, and replace the old valve with the new one. Test to see if your draining issue is solved, and remount the RO system.
6. Broken Check Valve
A broken check valve is a less common issue than a broken ASO valve, but it can cause issues with continuous draining. If a check valve is broken or malfunctioning, it will bleed pressure from the system and prevent it from reaching the required shut-off pressure.
To test if this is your issue, you’ll need to conduct the second test described above. Ensure your tank is full, and the tank valve is open. Then turn off the feed water valve supplying water to the reverse osmosis system. If water still flows down the drain, the check valve is bleeding pressure and will need replacement.
How to Fix
Check valves are inexpensive and easier to replace than the ASO valve described above. Make sure you replace the check valve with the right size and type for your system.
The valve is located on the outlet of the RO membrane housing. These are one-way valves, so it’s important to ensure that the valve is aligned in the correct direction.

7. Broken Flow Restrictor
The flow restrictor is a crucial component of any RO system as it maintains the pressure within the RO membrane. It restricts the flow of wastewater out of the RO membrane – ensuring the pressure inside stays in the correct range.
If the flow restrictor is worn out or broken, excessive amounts of wastewater will flow freely down the drain line and the system will operate very slowly. To determine if the flow restrictor is malfunctioning you can conduct a flow rate test. Additionally, you’ll notice that the system is making more noise than usual.
How to Fix
Fixing a broken flow restrictor will require removing the old restrictor and replacing it with a new one. The restrictor is located on the tubing waste outlet flowing towards the drain saddle.
To replace it, first, turn off the feed water and tank valve. Drain the unit. And then disconnect the tubing running from the RO membrane to the drain saddle. Remove the old restrictor and replace it with the new making sure the arrow on the restrictor is pointing towards the drain saddle.
8. Reverse Osmosis System Improperly Installed
This is more of a last resort if you don’t find any other cause for the constant draining of your reverse osmosis system.
Your RO system may be installed incorrectly, in which case taking it apart and reinstalling it may fix your problem.
How to Fix
To reinstall the system, simply turn off the feed valve, allow all of the water inside the storage tank to drain, and then disassemble the system making sure to note the configuration of the filters, tubing, and valves.
When the system is disassembled, carefully follow the manufacturer’s installation instructions step-by-step. Once the installation is done, test to see if your drain issue is resolved.
Further Reading:
Key Components of RO Systems Explained
- Feed Water Valve: The feed water valve is the connection between the RO system and your sink’s cold water supply line. Unfiltered water flows through here and enters the first pre-filter stage.
- Pre-Filter Stages: RO systems typically feature two pre-filter stages designed to remove specific contaminants that can harm the RO membrane. An activated carbon pre-filter removes chlorine while a sediment filter removes sand, silt, and other dirt.
- RO Membrane: The RO membrane is the primary filtration stage and removes a wide variety of contaminants from your water. Unlike other filtration methods, the membrane does not collect any particles, rather they are separated and flushed down a separate drain line.
- Storage Tank: As reverse osmosis is a slow filtration method, a storage tank is needed to keep enough water on hand to fulfill your immediate needs. The pressurized tank will fill itself when emptied and then shut off the process when filled thanks to the ASO.
- Post-Filters: Many RO systems feature a post-filter designed to remove any remaining contaminants and foul tastes/odors. This filtration stage takes place after water has accumulated in the storage tank.
- ASO (Automatic Shutoff Valve): The ASO prevents the system from continuously filtering water by shutting off the filtration process when the storage tank is full. When you pour water from the faucet, the storage tank empties and the ASO triggers the system to start filtering water again.
- Check Valve: The check valve prevents the flow of water backward from the storage tank towards the RO membrane. This is necessary as backward flow could damage or rupture the delicate membrane.
- Flow Restrictor: The flow restrictor is used to restrict the flow of wastewater out of the system through the drain line. This maintains the pressure within the RO membrane ensuring it works optimally.
- Drain Line: The drain line is the tubing running from the RO membrane wastewater outlet to the drain saddle attached to your sink’s drain pipe.
- RO Faucet: The RO faucet is the filtered water dispenser mounted to your sink top or countertop. It dispenses filtered water separately from your main kitchen faucet, so you can still use unfiltered water for washing dishes and cleaning.
If you have any thoughts about the question, why is my reverse osmosis constantly draining, please don’t hesitate to leave a comment below!
About the Author Alexandra Uta
![]()
![]()
![]()

Information provided on BOS is for educational purposes only. The products and services we review may not be right for your individual circumstances.
We adhere to strict editorial guidelines. Rest assured, the opinions expressed have not been provided, reviewed, or otherwise endorsed by our partners – they are unbiased, independent, and the author’s alone. Our licensed experts fact-check all content for accuracy. It is accurate as of the date posted and to the best of our knowledge.