Why Is My Reverse Osmosis Water Cloudy? (+ How to Fix)
Written by: Gene Fitzgerald // Last Updated: May 4, 2023
This page may contain affiliate links. If you buy a product or service through such a link we earn a commission at no extra cost to you. Learn more.
Have you ever turned on your reverse osmosis faucet, expecting crystal-clear water, only to get a cloudy liquid?
You’re not alone. Cloudy RO water is a common issue that can leave you wondering what went wrong.
But save your worries. In this blog post, we’ll explain why your RO water might be cloudy and provide you with effective solutions to fix it. So, grab a glass of water and let’s dive in!
Contents
show
Key Takeaways
Here are reasons why your reverse osmosis water may be cloudy and how to fix them:
- There are air bubbles in the water – release
- You have a new filter or RO system – flush
- The RO membrane has worn out – replace
- The feed water is overly hard – install water softener
- There’s biofilm in the RO system – sanitize
- The remineralizer adds too many minerals to the water – adjust
- You installed the RO system improperly – reinstall
Why Is My Reverse Osmosis Water Cloudy?
Why is my reverse osmosis water cloudy? The chart below lists all the possible reasons and their fixes.
| Reasons for Cloudy RO Water | Fixes |
|---|---|
| Air Bubbles in the Water | Release Air Bubbles by Opening the RO Faucet for Several Minutes (You Might Need to Tilt the System) |
| New Filters/RO System | Flush the System by Opening the RO Tap Until the Water Becomes Clear |
| Worn-Out RO Membrane | Replace |
| Very Hard Water | Install a Water Softener Before the RO System |
| Biofilm in the RO System | Clean and Sanitize |
| Remineralizer Adds Too Many Minerals | Replace or Prime the Remineralizer |
| Improperly Installed RO System | Reinstall |
How to Fix a Reverse Osmosis System That Provides Cloudy Water
We’ll take you through the most likely reasons why your reverse osmosis system provides cloudy water and what to do in each situation.
Air Bubbles in the Water
Air bubbles in an RO system can creep into the filtered water and give it a cloudy look.
How do air bubbles get inside an RO system? There might be air in your plumbing system. Or there’s an air pocket as a result of a recent filer replacement etc. Damaged pipes or storage tanks could also introduce air.
How to Release Air Bubbles Trapped in Your RO System
To fix cloudy water caused by air bubbles, you need to release all the air within your reverse osmosis system. Start by turning off the storage tank valve and turning on your RO faucet.
Leave the faucet open for several minutes. You may want to tilt the system module to about 45° while the water drains. Air bubbles will escape with the water, and cloudy water will no longer come from your RO faucet.
Newly Installed Filters/System Need to Be Flushed
Post-manufacturing residues on a new filter or RO system may cloud RO water.
New carbon filters, for example, may introduce carbon particles into the water, making it murky. Carbon filters are made with food-grade carbon, so drinking the water won’t hurt, but it’s always nice to enjoy the satisfaction of clear water. So, you’ll need to flush the filter.
How to Flush
Flush all filters by letting the RO faucet run until the water becomes clear. If a new filter or RO system is the reason for the cloudiness, the water will become clear after running for some time.
A Worn-Out RO Membrane
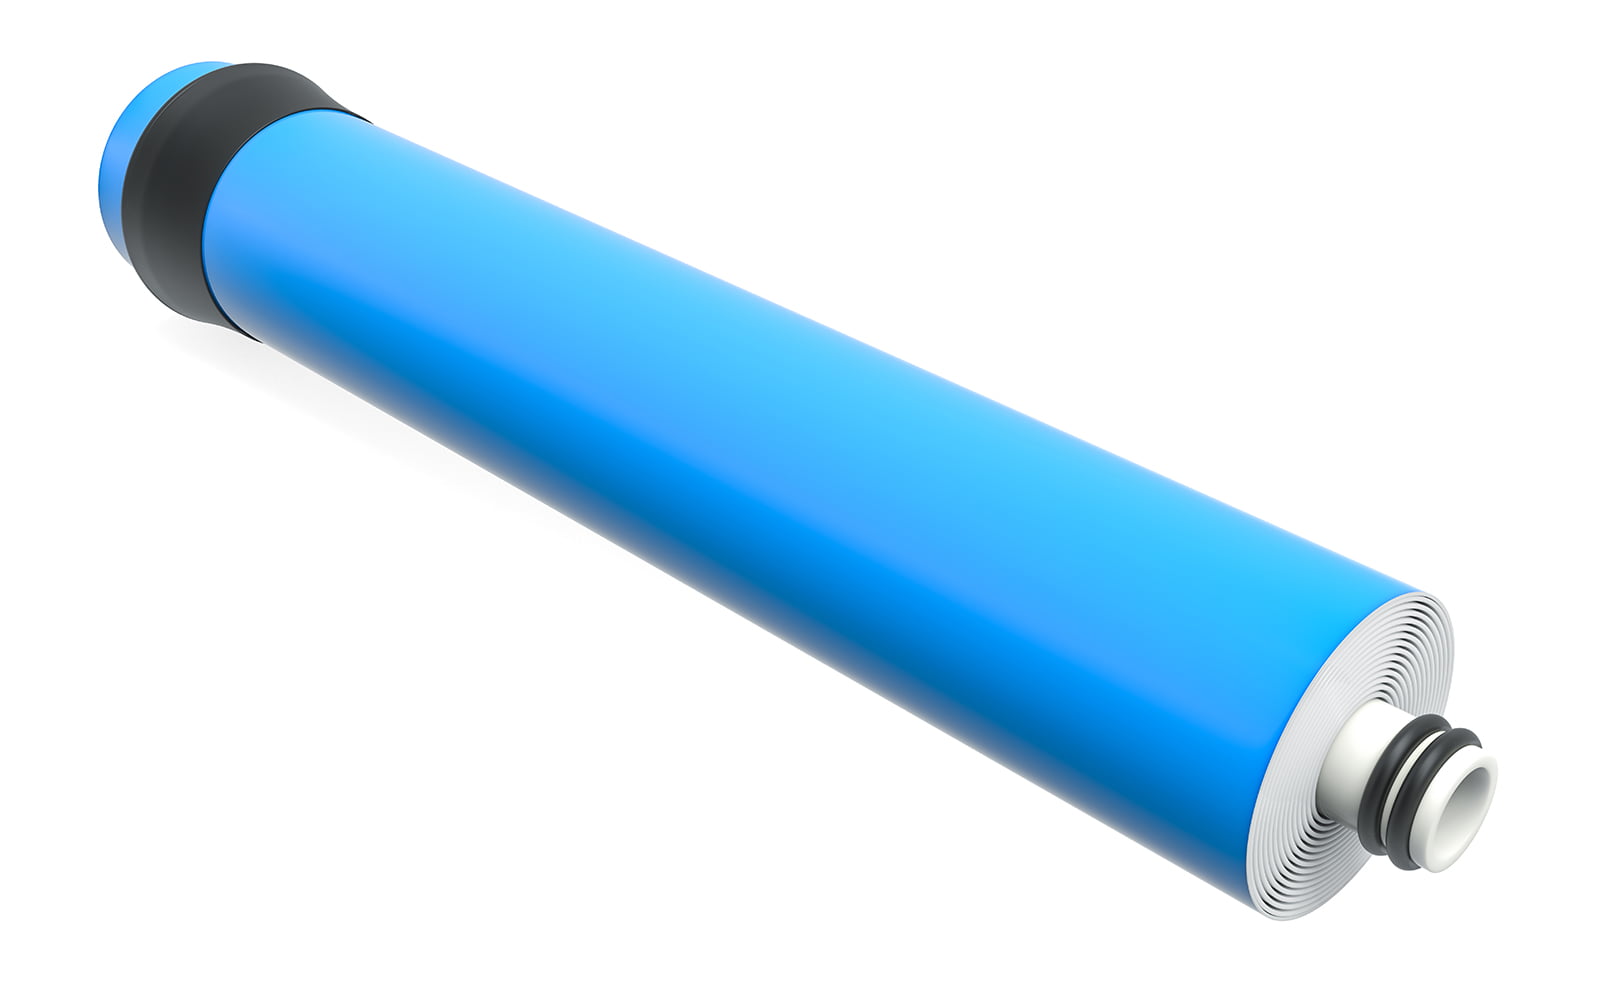
An old, worn-out reverse osmosis membrane can cause a lot of issues and making your reverse osmosis water cloudy is one of them.
Worn-out RO membranes have bigger pore sizes, allowing sediments and particles to enter the “filtered” water. That could make your water cloudy and possibly unhealthy.
How to Replace an Old Reverse Osmosis Membrane
The obvious solution here is to change the RO membrane. Need help to figure out how to start? Here you go!
- Clean your hands with soap and water; you don’t want to contaminate the new membrane.
- Close the cold water supply and storage tank valve.
- Drain out all water in the system by leaving the RO faucet open.
- Open the membrane housing and take out the old RO membrane.
- Wash and rinse the membrane housing to remove any debris.
- Fix the new RO membrane into the housing and make sure it seats tightly. Then, close the housing cap.
- Open the water supply and tank valve to resume the system’s work.
- When the tank is full, flush out the first two water batches by opening the RO tap. Then, continue using the system as usual.
Feed Water Is Overly Hard
Hard water contains lots of calcium, magnesium, and other “hardness minerals” that can make water appear cloudy. So if you have very hard water, it explains why your RO water is cloudy.
Not everyone with hard water knows about it; if you’re unsure about your water’s hardness, use a hard water test kit to confirm.
How to Reduce Feed Water Hardness
If you’ve confirmed that your water is indeed hard, installing a water softener to “soften” your water before it enters the RO unit is best. You’ll solve the hardness problem once and for all and enjoy your water a lot more.
Alternatively, you could replace the RO membrane more regularly. This option isn’t cost-effective because you’ll have to spend more than usual on maintaining the reverse osmosis system, and it doesn’t solve the actual problem.
Biofilm Has Accumulated in the Storage Tank/System
Biofilm, a thin layer of accumulated bacteria and other microbes, can also make your water cloudy. It usually forms in the RO tank or system over time, especially when you don’t clean and sanitize it.
How to Clean and Sanitize
The solution is to sanitize the entire RO unit and remove the biofilm. To do that, follow these steps:
- Do the usual — wash hands, close the water supply, and drain out water.
- Detach all the pre-filters from their respective housings, and clean said housings with dish soap and water.
- Add household bleach to the first-stage filter housing.
- Return all empty filter housings – so without the actual filter cartridges – and open the water supply. Then, open the RO faucet until it releases water.
- Wait for the RO tank to fill up, then leave the bleach in the system for another 30-60 minutes.
- Flush the RO system.
- Wait for the tank to fill up again and flush it out one more time. Keep filling and flushing until you no longer smell bleach in the system.
- Close the water supply and drain out all water.
- Install the filter elements, then open the water supply. Check for leaks as you open the RO tap.
- Fill up the tank and flush once or twice more before resuming using the system.

Remineralization Post-Filter Adds Too Many Minerals
Remineralizers add minerals to the RO water after filtration. It’s a great way to improve water taste and mineral content, but it becomes a problem if the remineralizer adds too many minerals — the water becomes cloudy.
How to Fix
You may can adjust the remineralizer to reduce the number of minerals it adds to water. If that doesn’t work, replace the remineralizer with a different one.
If you’re using a new or recently serviced remineralizer, you should “prime” the remineralizer to fix the problem.
Further Reading:
Improperly Installed Reverse Osmosis System
If you’ve installed the RO system wrongly, you’ll definitely have issues using it. Getting cloudy water is just one of those problems.
Reinstall
It usually takes a lot of work to confirm exactly where you went wrong with a wrongly installed reverse osmosis system. The fastest and best option is to remove the unit entirely and install it again, using a trusty guide or professional help this time.
If you have any questions about cloudy RO water please don’t hesitate to leave a comment below!
About the Author Gene Fitzgerald
![]()
![]()
![]()
![]()
![]()
![]()
![]()

Information provided on BOS is for educational purposes only. The products and services we review may not be right for your individual circumstances.
We adhere to strict editorial guidelines. Rest assured, the opinions expressed have not been provided, reviewed, or otherwise endorsed by our partners – they are unbiased, independent, and the author’s alone. Our licensed experts fact-check all content for accuracy. It is accurate as of the date posted and to the best of our knowledge.