Leave a Comment:
Tuan Nguyen says
May 6, 2024
Thank for your information. I hope can learn more about RO systems
ReplyWritten by: Gene Fitzgerald // Last Updated: Sep 1, 2023
This page may contain affiliate links. If you buy a product or service through such a link we earn a commission at no extra cost to you. Learn more.
If properly maintained, a reverse osmosis system provides you with clean, healthy and great tasting drinking water.
Furthermore, a unit that’s kept in great shape can last for many years, even more than a decade. Fail to do so, however, and you may end up with contaminated water.
The good news is that the required maintenance is low. Also, regular filter and membrane replacements and system cleaning/sterilizing can be done by the average homeowner without the need to be an expert plumber. Want to learn more? Read on!
Key Takeaways
How to maintain a reverse osmosis system:
This reverse osmosis system maintenance schedule will help you stay on time with the different tasks:
| Biannual Tasks | Annual Tasks | Every 3 to 5 Years |
|---|---|---|
| Replacing pre-filters | Replacing pre-filters | |
| Replacing post-filter(s) | ||
| Replacing RO membrane | ||
| System cleaning/sanitizing | ||
| Checking storage tank pressure |
The most important aspect of maintaining your reverse osmosis system is to change the pre and post-filters on a regular basis. How often?
This depends first and foremost on the condition of the feed water and your water consumption. For example: Hardness or high levels of sediment as often found in well water can lower the lifespan of the pre-filter elements significantly. And, of course, the more water you use for drinking and cooking, the sooner your filters will wear out.
As a rule of thumb, pre-filters should be replaced at least every 6 to 12 months. A carbon post-filter can last as long as 2 years.

What about the RO membrane? RO membranes last longer than the various filters, not seldom up to 3 or 5 years, provided that you replace pre-filters according to schedule. In some applications, a new RO membrane is required every 1 or 2 years.
In addition, cheap filter elements might require more frequent replacements as they tend to wear out quicker. For more information we recommend that you refer to the user manual.
And finally, It is essential that you get the correct filters for your unit. Almost all manufacturers sell replacement parts including filters, so visit their website first. If you are going to buy from another source double-check that the quality is up to standards.
One thing is for certain, failing to change filters or the membrane of your RO system in a timely manner will
Bottom line: Make sure that you stay on schedule and change filters and the membrane in due time. If you forgot, change all filter stages immediately and sanitize your system following the instructions below.
Cleaning and sanitizing a reverse osmosis system is not necessary in all cases. However, the whole process is neither overly complicated nor time consuming, which is why we recommend you follow through with it to be on the safe side.
How often to clean/sanitize? With each filter replacement – ideally once a year, maybe twice if need be.
Let’s get to how to maintain a reverse osmosis system.
Before you attempt to replace your system’s filters make sure to take a look in the product manual. It likely includes specific step-by-step instructions not only for filter/membrane replacements, but also for other maintenance works.
This will give you a good understanding of the process (keep in mind that every model is a bit different):
Stage 1 of the vast majority of reverse osmosis water filter systems makes use of a sediment pre-filter. The goal is to protect the delicate RO membrane at the heart of the system from clogging – clogging from dirt, rust, silt and other kinds of debris which get trapped in the filter.
You should replace the sediment pre-filter every 6 to 12 months.
Changing the filters of your old RO system doesn’t make much sense anymore? You might be better off with an entirely new unit – reviews here.
Usually at stage 2 & 3, carbon pre-filters come into play. Activated/catalytic carbon or charcoal is great for removing chemicals from water, first and foremost chlorine and other disinfectants, which would otherwise affect the performance of the reverse osmosis membrane. Thin film composite (TFC) membranes are particularly susceptible to free chlorine.
Block or granular – carbon pre-filters require changing every 6 to 12 months.
Did we mention that a carbon filter also greatly improves water aesthetics?
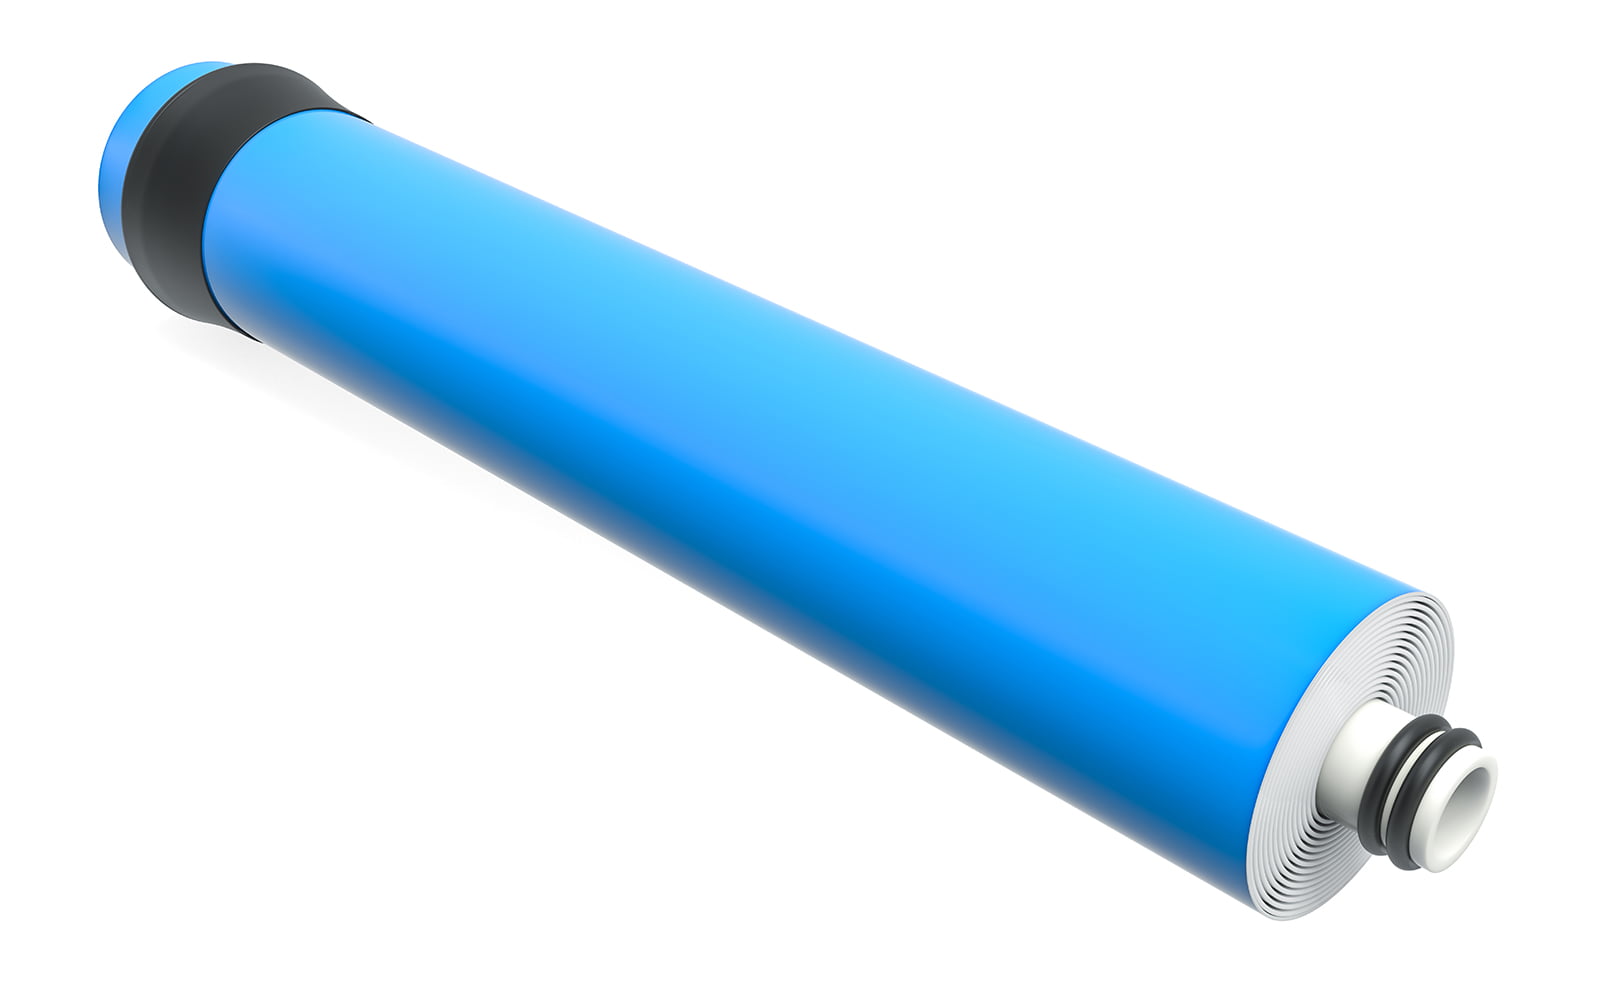
A semipermeable reverse osmosis membrane that is in good condition removes up to 99% of all remaining contaminants from your water. This includes lead, arsenic, fluoride, chromium, 98-99% of waterborne pathogens and much more. TDS drop to almost 0.
FYI: The safest way to determine if your membrane needs changing is by using a TDS meter. If the rejection of output water TDS drops below 80% it is time for a replacement.
Carbon post-filters are usually filtration stage 4 or 5. They have the purpose to give your water a refining touch. The carbon removes any residual tastes and odors that may have leached into the water while being stored in the pressure tank.
Polishing filters should be changed about every 12 months. Some may even be good for up to 2 years.
Last but not least, a remineralization filter balances the pH of your RO water before it comes out of the faucet. It does so by reintroducing minerals such as calcium, magnesium, or potassium back into the water. This also provides for an even better taste.
Such remineralizing filter stages need replacement about once a year, depending on your water usage.
For specific instructions refer to your owner’s manual. Alternatively, follow this link to learn how to clean and sanitize a reverse osmosis system in even greater detail. In a nutshell:
Meanwhile, you can soak the membrane in different chemical solutions, depending on its type and as recommended by the manufacturer. This helps to eradicate organic matter and remove stuff like mold and mildew – think fouling. It will also prevent scaling. Both are important for optimum operating pressure, water output and water quality.
Sooner or later, your RO system will grow slime and accumulate other dirt and deposits. Cleaning and sanitizing the system and the storage tank in particular will keep everything in good condition and prevent recontamination of the water – think biofilm.

Adequate storage tank pressure is important for your RO system to function properly. Thus, you should check it about once a year. Any low pressure gauge will work fine for this.
FYI: A tank may lose about 1 psi per year.
What’s important is that you measure the pressure when your tank is empty. It should read somewhere around 6 – 8 psi. In case your tank is underpressurized you can use a simple bicycle pump to fix it.
Draining the bladder tank is optional and should be done in case you only use some filtered water occasionally and the rest sits in the tank for longer periods of time. Even with reverse osmosis, it’s hard to maintain the quality of the stagnant water so draining the tank and letting it refill afterwards allows you to refresh the RO water entirely.
How often to drain? Every couple of weeks, again depending on how much water you use.
It is important to service a reverse osmosis system regularly to keep it working. A lot of contaminants in water cannot be seen, smelt, or tasted, so if your maintenance is not up to date, you could be drinking contaminated water and only realize it once you get sick.
It is also important to service your system regularly to increase its lifespan. A well-maintained unit might last you 10-15 years. Changing the filters regularly will also mean your RO membrane is protected for as long as possible.
If you forget to change the filters for a long time, your whole unit will need to be drained, cleaned, and sanitized, and new filter components will need to be installed.
All in all, not servicing your RO system regularly may result in the following:
Unfortunately, you cannot 100% rely on treated city water to come without contaminants. For example, lead and chromium-6 are sometimes found in municipal water. If you want to get rid of these and other tap water contaminants, you need to take good care of your RO system to make sure it performs at its peak.
Not to mention all municipal water is chlorinated to kill pathogens, and that chlorination will damage your reverse osmosis membrane. For this reason, carbon pre-filter changes on a regular maintenance schedule are essential. The same goes for sediment pre-filters.
And remember: The quality of feed water you have coming through your system will help determine how frequently the filters and RO membrane need to be changed. Contaminants will vary depending on where your city gets its municipal water. For example, some cities receive water from a nearby lake, others from rivers or groundwater.
Well water is highly susceptible to contamination as no third-party controls it; therefore, it is not regularly tested or treated. Households using well water are at higher risk of bacterial and viral contaminants that may cause digestive issues. In rural areas, they are also more likely to be contaminated with agricultural runoff and chemicals. And this is only the tip of the iceberg.
Considering that well water often contains more TDS and contaminants than city water, RO systems on well water may need extra pre-filtration or post-filtration steps, such as additional sediment filters, iron-filters, or a UV purifier, and the maintenance schedules may be more frequent.
For one, if you have hard water, you’ll need to change the membrane every 2 or 3 years; for soft water, every 5 to 7 years.
There are some signs your water or system may show when it is due for maintenance, but a lot of the time, there are no signs, and you may only notice your water is contaminated once you become ill.
If your reverse osmosis system exhibits the following signs, you may have forgotten to adhere to the maintenance and filter change schedule. If that is the case, you will need to replace all the filtration components and completely clean and sanitize your system before using it again. And do not drink the water until that has been done!

RO water should taste very neutral, almost ‘flat’, as all of the minerals and contaminants that give the water flavor and odor have been removed.
If your purified water has a noticeable taste and smell, it is a sign that one or more of your filtration components is not working. If your water tastes or smells like chlorine, it’s important to change your RO membrane along with the filters, as chlorine is highly damaging to RO membranes.
Also, keep an eye (or a nose, rather) out for metallic-tasting water, rotten egg smells, or musty smells, which could indicate the presence of metals or bacteria.
This may be because your RO system cannot produce enough water because it is clogged up with debris or limescale from filters that have not been changed.
This can indicate that your RO membrane is not in good condition. Also, your pre-filters might not be doing their job correctly.
While most people choose to maintain their reverse osmosis system themselves, you have the option to hire a local contractor to do the work for you.
After-sales services are provided by a range of companies, so reach out to 2 or 3 and ask for prices for better comparison.
This checklist covers all the maintenance tasks that you should routinely perform on your reverse osmosis system.
Every 6-12 Months
Every 12 Months
Every 2-5 Years or When TDS Rejection Drops Below 80%
Optional: Every Couple of Weeks
Checklist for download: Reverse Osmosis System Maintenance Checklist.pdf
If you have any questions or thoughts about maintenance of a reverse osmosis system please don’t hesitate to leave a comment below!
About the Author Gene Fitzgerald
![]()
![]()
![]()
![]()
![]()
![]()
![]()

Information provided on BOS is for educational purposes only. The products and services we review may not be right for your individual circumstances.
We adhere to strict editorial guidelines. Rest assured, the opinions expressed have not been provided, reviewed, or otherwise endorsed by our partners – they are unbiased, independent, and the author’s alone. Our licensed experts fact-check all content for accuracy. It is accurate as of the date posted and to the best of our knowledge.
Thank for your information. I hope can learn more about RO systems
Reply