How to Install a Reverse Osmosis System? 2024 Installation Guide
Written by: Gene Fitzgerald // Last Updated: Feb 1, 2024
This page may contain affiliate links. If you buy a product or service through such a link we earn a commission at no extra cost to you. Learn more.
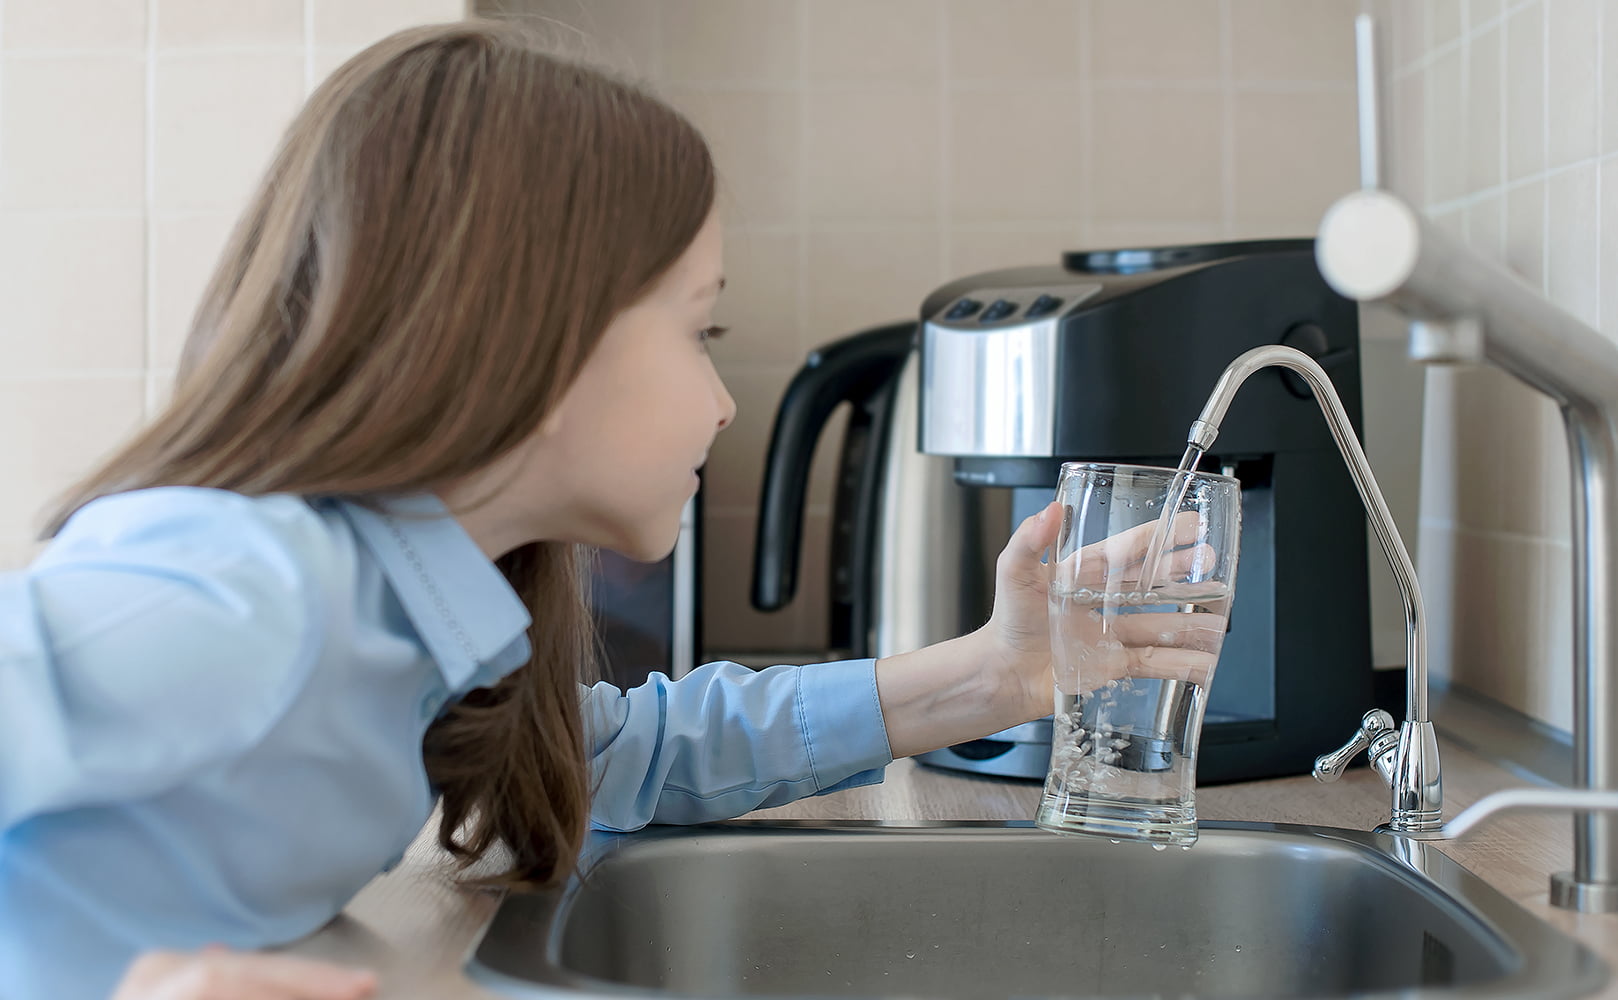
So you have decided to add a reverse osmosis water filter system to your home, because you don’t want to be exposed to nasty water contaminants any longer.
You found a great model online and purchased it a couple of days ago. This morning, the system arrived in a big, heavy box. You opened the package to take a first look and…
Wow, you didn’t expect the system to have that many different parts. Hopefully you have the skills to set everything up correctly. After all, you are not a trained plumber. But considering the costs for hiring a professional, it’s a priority for you to do the installation yourself.
Don’t worry, we’ve got you covered! This guide has all the information you need for a trouble-free setup.
Contents
show
Key Takeaways
How to install a reverse osmosis system:
- Faucet – Drill a hole in your countertop or sink. The faucet should be positioned with convenience in mind. A flat area is required.
- Drain saddle – Install on sink drain line. Place above and as far away as possible from dishwasher discharge and garbage disposal.
- Feed valve – Turn off cold and hot water supply beneath your sink. Release pressure in the water lines by opening the faucet. Remove tubing from cold water valve and install the new feed valve. Reconnect tubing.
- Storage tank – Place within 10 ft of the RO faucet. Wrap threaded port at the top with Teflon tape. Screw on the tank valve/connector.
- RO module – Mount and connect color-coded tubing to feed water valve, tank valve, drain saddle, and RO faucet.
- Install the filter elements (pre-filters, RO membrane, post-filter).
- Open the feed water valve and the RO faucet but keep the storage tank valve closed. Check all connections for leaks.
- Allow system to flush out any debris.
- Close RO faucet and open storage tank valve.
- Allow tank to fill, then drain. Repeat this step.
Reverse Osmosis System Installation Diagram
We have created this reverse osmosis system installation diagram to better illustrate how the individual components are supposed to connect with one another.

Filter System Components
System Module
This usually single piece of plastic connects the RO system components. This includes the pre and post-filters, the RO faucet, and the storage tank. Some units will come with a bracket to mount the system module.
Pre-Filters
Pre-filters are usually a sediment pre-filter for debris (there may be more than one depending on your system and feed water needs) and a carbon filter for chlorine and chemicals.
Both help to protect the delicate RO membrane from damage and fouling – before the unfiltered water gets to the reverse osmosis membrane, it will pass through the sediment and carbon pre-filters.
RO Membrane
The RO membrane is the main water filtration component and is what will eliminate most of your contaminants after they have passed through the pre-filters.
Post-Filter(s)
RO-filtered water will leave the storage tank and pass through the post-filtration stages. These may vary depending on your unit but can include a remineralization filter, and a carbon filter to eliminate any strange tastes or smells from the storage tank.
Bladder Tank
This pressurized tank stores the RO water after it has passed through the RO membrane, and it ensures you always have filtered water on demand.
Faucet
This faucet is separate from your main spout, and it means you do not have to waste your RO water on things like dishwashing and can use your main faucet for that.
Drain Saddle
The drain saddle and line direct the wastewater produced during filtration away from the unit for disposal.
Feed Water Valve
This valve is the connecting valve between your RO system and the water supply under your sink.
ASO Valve
The auto shut-off valve will stop the system from filtering water when the storage tank reaches capacity, and it will switch on again once the water in the tank is used.
Check Valve
This valve prevents water from flowing back towards the RO membrane possibly causing damage.
Flow Restrictor
This increases the pressure of the water passing through the RO membrane, and restricts wastewater production.
Tubing
Various tubes and lines connect the different components of the RO system.
Fittings/Connectors
RO systems usually use easy-to-connect, color-coded quick fittings, so you know what goes where.
Location: Where to Install the…
RO Unit
Installing under the kitchen sink is the standard, albeit not always the most convenient solution due to limited space. Other options are the basement, garage or a utility room, running a water line to the kitchen sink (delivery pump may be required).
What’s important is that you install on a cold water line, downstream of any other water treatment equipment such as a softening system. Also, do not install where freezing temperatures may occur.

Faucet
Do you have an extra hole in your sink? You’ll need to drill one if there’s none. Use a flat surface where you can use the faucet conveniently without disrupting other kitchen tasks like doing the dishes.
Water Storage Tank
The water storage tank needs to be within 10 ft of the reverse osmosis faucet if you don’t want to experience low-pressure issues. A tank can stand upside or lay on its side.
Drain Saddle
This saddle needs to be connected to your sink’s drain pipe. It’ll fit a standard-sized pipe of one-and-a-half inches. Go above the P/J-trap and far away from any disposal. Both vertical and horizontal pipe sections work, although horizontal is recommended for noise reduction.
Instructions: How to Install a Reverse Osmosis System
It’s time for you to learn how you can hook up your new reverse osmosis under sink system. With a little bit of preparation and the necessary tools it’s really not that difficult to pull off.
Also, every system should come with detailed installation instructions. If that isn’t enough, you can find plenty of helpful videos on YouTube.
And lastly, individual steps may vary from product to product and also depend on your specific plumbing setup. Therefore, the following instructions are given as a general guideline. Remember: All plumbing must be completed in accordance with state and local codes.
Preparations
It might already be too late, but prior to purchasing a reverse osmosis system you should ensure that there is enough space under your kitchen sink to accommodate a filter module + tank.
Furthermore, you need to make sure that there actually is a cold water line that you can use as your feed source (which, of course, is nearly always the case).
Once the system has been delivered, unbox it and double check that all components fit in their desired location. This way you know if you need to make adjustments to pipes etc. before you can start with the installation itself.
Tools & Supplies You Need
Gather all the necessary tools and components beforehand. Having everything lined up can save you from a lot of frustration. The following list makes no claim for completeness:
- RO system installation manual
- RO module
- Water storage tank
- Faucet
- Filter cartridges + RO membrane
- Installation kit including color coded tubing, filter wrench, stop connector, tank valve, faucet connector, drain saddle
- Power drill
- ¼” (⅜”) (½”) drill bit (size depends on faucet type used)
- Screwdriver
- Tubing cutter
- Utility knife
- Adjustable wrench
- Towel
1. Faucet Installation
Let’s start by installing the reverse osmosis faucet that will soon provide you with clean, great tasting drinking water.
Again, you need to decide where you want to place it – unless your sink already has an extra hole that you want to use (might be covered by a chrome plate). If not, you have to drill a new hole in the sink or countertop. The faucet should be positioned with convenience in mind. A flat area is required.
Please note: You may require a special type of drill bit to prevent scratching or chipping depending on the material.
For a stainless steel sink, mark the spot with a center punch. Then gently grind away enough surface material to safely accommodate the ¼” drill bit. Now carefully drill a hole. Go extra slow (a drop of oil can work wonders). For a ⅜” or ½” hole, drill a ¼”pilot hole first.
When you are done, remove any remaining metal chips that could damage the surface and clean up sharp edges.
Put the faucet stem through the hole and secure it from the bottom with washers and a hex nut. Then attach the quick connect fitting and tighten with a wrench.
Congratulations, you have just completed the hardest task!
2. Installing the Drain Saddle
The next step is to install the drain saddle a.k.a. drain line adapter on the drain line.
The saddle/adapter should be placed above and as far away as possible from the dishwasher discharge and garbage disposal to avoid clogging and to protect your RO system from potential contamination and fouling. What’s more, it should be at least 6″ above the p-trap.
Drill a ¼” hole in the top or the side of the drain line (never the bottom). Secure the drain clamps with bolts aligning the clamp hole with the hole in the pipe. Be careful not to overtighten.
3. Feed Valve Installation
In step three, we are going to install the inlet feed valve which connects your reverse osmosis system to the cold water line.
First, turn off both the cold and hot water supply. If valves are inoperable, shut off the entire water to your home. Then release the pressure in the water lines by opening respective outlets. Remove the tubing from the cold water valve. Install the new feed valve (adapter might be required) and tighten with a wrench. Make sure to close the feed valve for now.
Connect the cold water tubing to the new valve (adapter might be required) and turn the water supply back on.
Further Reading:
4. Water Storage Tank Installation
You want to place the water storage tank within 10 feet of the drinking water faucet in order to not lose significant pressure. (Keep in mind that, depending on its size, the tank can weigh more than 25 pounds when filled to the top.)
Before putting it in position, wrap about 6 layers of Teflon tape around the threaded port at the top. Then screw on the tank valve or tank connector. They should thread on easily and only need to be hand-tight.
By the way, with many systems the storage tank can also be placed on its side without compromising filtration performance. This comes in handy if you don’t have much space in your kitchen cabinet.
5. Mount + Connect RO Module with Tubing
When mounting the RO module, which is optional, take into consideration that every once in a while you will need to replace the RO membrane + filters and possibly perform other maintenance tasks. In other words, there needs to be sufficient space underneath the system.
To connect the module we use the color-coded tubing. Most systems come with quick-connect fittings. Simply push the tubes into their respective fittings as far as they will go. You can test a connection by trying to pull back gently.
FYI: Water residues in the tubing means that the system was tested by the manufacturer. Keep a towel at the ready!
- Yellow feed water line – Push the yellow supply line onto the previously installed feed water valve on one end (tighten nut a half turn past hand-tight). Connect the other end to the feed port of the RO module. If necessary, cut the line so that it does not kink.
- Green tank line – Connect the green line to the tank valve and the outlet port of the filter system.
- Black drain line – Connect the black line to the drain saddle and the flow restrictor of the RO module. Cut the line so that the water can flow downhill without loops.
- Blue faucet supply line – Connect the blue line to the quick connect fitting of the RO faucet and to the post filter outlet port.
Pro tip: Trimmed connections will maximize water flow. At the same time, extra tubing might come in handy if the system ever needs to be relocated.
6. Filter + Membrane Installation
Almost done!
Insert the various pre-filters and the RO membrane into their housings according to the instructions provided:
- For the pre-filters, remove the filter housing, insert the filter and screw the housing back on with all O-rings in place. Carefully tighten with the filter wrench.
- For the RO membrane, remove the housing cap and carefully push the cylinder into the socket until completely in. Then put the cap back on while making sure that any O-rings sit tight.
Usually, the first filter is a sediment pre-filter, followed by carbons pre-filter(s), and lastly the membrane. Then come the post-filters.
7. Starting the System
Finally, it’s time to start your new reverse osmosis system. Here is how:
- Open the feed water valve and the RO faucet but keep the storage tank valve closed. You will hear gurgling noises. This is just air leaving the system.
- Check all connections for leaks. Our reverse osmosis troubleshooting guide might help.
- After about 10 to 15 minutes, water will start to dribble out of the dispenser – don’t worry if the first trickle of water has a darkish color. These are just carbon fines being flushed out. Close the faucet and open the storage tank valve to allow the tank to fill.
- Filling the tank will take anywhere between 3 to 10 hours depending on the pressure and quality of the incoming water. As soon as it’s full, you will no longer hear water running down the drain. This is when you have to open the drinking water faucet to flush the whole unit.
- When the water is again down to a dribble the storage tank has emptied. Close the faucet and let the tank refill.
- Flush a second time by opening the faucet.
Some manufacturers recommended to flush a new system 2-3 times before use. Once you’ve done that the setup is complete and your water is ready for drinking.
Installation Video
A video says more than a thousand words!
Can I Connect My RO System to My Refrigerator/Ice Maker?
An under sink RO system may be connected to an ice maker, fridge, or coffee machine. To do this, an extra pump may need to be installed to make sure you have enough pressure in the water lines for it to reach these appliances.
Countertop units will not be able to be connected to these things.
Calling a Professional
Not everyone feels comfortable installing an RO system DIY-style. If you, too, prefer to turn to an expert we recommend you simply contact a local plumber in your area.
Cost
How much the installation will cost depends first and foremost on the type of system you want to have installed:
- Countertop system, free – Reverse osmosis countertop systems are highly portable and can be fitted to and removed from a standard kitchen faucet within seconds. No installation required. → list of best RO countertop systems
- Under sink system, $150-400 – As we have seen, standardized under sink systems require proper installation – something you can do yourself within 1-2 hours time if you are technically skilled. The outsourcing costs should range somewhere between $150 and $300 USD, maybe up to $400 USD in special cases.
- Whole house system, $500+ – It’s difficult to estimate the price for the installation of whole house RO water purifier systems as they are usually more complex. Also, additional supplies such as valves and tubing add to the costs. $500 USD is probably the bare minimum. Again, talk to plumbers or contractors in your area. And if you are looking for a system to add to your home check our whole house/commercial RO water filtration system buying guide.
What to Look Out for
If you don’t already have a plumber in mind whom you trust, checking out local reviews online is a great starting point. Some popular sites you can use are:
- Angie’s List
- Yelp
- HomeAdvisor
- Google Reviews
Asking for estimates from more than one plumber will likely save you a lot of cash. Let them know that you have already purchased a system, but need help with the setup. Ask for their expertise and references.
What Are the Benefits of Installing a Reverse Osmosis Water Filtration System?
By installing a reverse osmosis water filtration system, you can enjoy benefits such as:
- Highly advanced water purification that can remove up to 99.9% of most contaminants and give you pure and healthy drinking water.
- Better tasting water, free of bacteria and chemicals that make it unpalatable.
- Simple to install and maintain, you can do it on your own for the most part.
- Under sink units are quite customizable if you want to add different filter stages or lines to a coffee machine or ice machine.
- Cheaper than bottled water over time. Even though the initial output costs will be higher, if you used to drink bottled water at home, an RO system will save you money in the long run.
If you have any questions or thoughts about installing a reverse osmosis system please don’t hesitate to leave a comment below!
About the Author Gene Fitzgerald
![]()
![]()
![]()
![]()
![]()
![]()
![]()

Information provided on BOS is for educational purposes only. The products and services we review may not be right for your individual circumstances.
We adhere to strict editorial guidelines. Rest assured, the opinions expressed have not been provided, reviewed, or otherwise endorsed by our partners – they are unbiased, independent, and the author’s alone. Our licensed experts fact-check all content for accuracy. It is accurate as of the date posted and to the best of our knowledge.